Monthly Archives: January 2015

An Organized Crafty Stash, Day 3 of 5 – Die-namics

5Days_BlogHeader

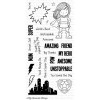
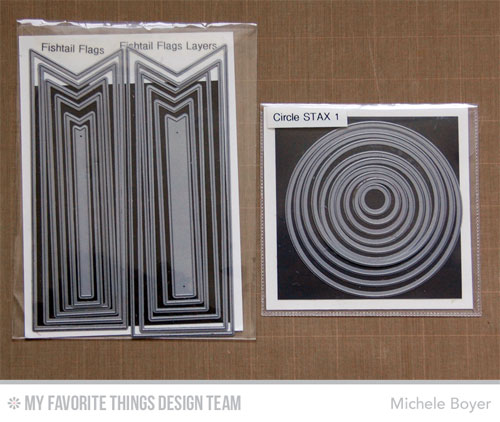
Hi everyone! Welcome to another installment of Five Days to an Organized Crafty Stash with My Favorite Things!  Today we’re sharing our ideas for managing Die-namics. 

Necessary statement:  I attribute 90% of my stamp room organization to Jennifer McGuire and her incredibly creative and brilliant ideas.  I cannot thank her enough. (You can find her info on die organization here.) 

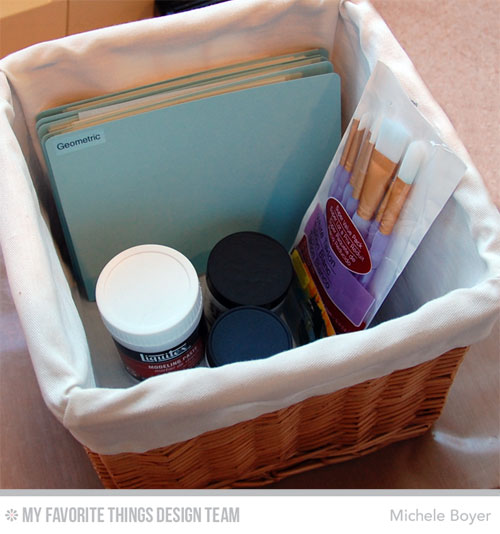
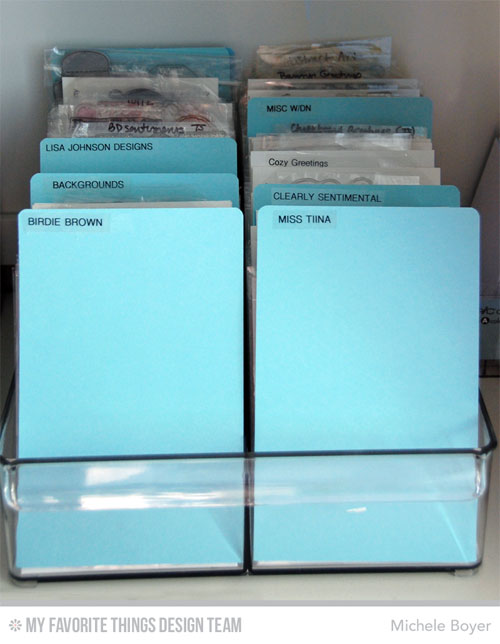
I purchased two of these refrigerator bins from Bed, Bath & Beyond. They’re a bit pricey (for bins) but worth every penny.  (Plus I had a coupon for each.) I use one bin for dies and a second for stamps.

Michele Boyer/Die-namics Organization

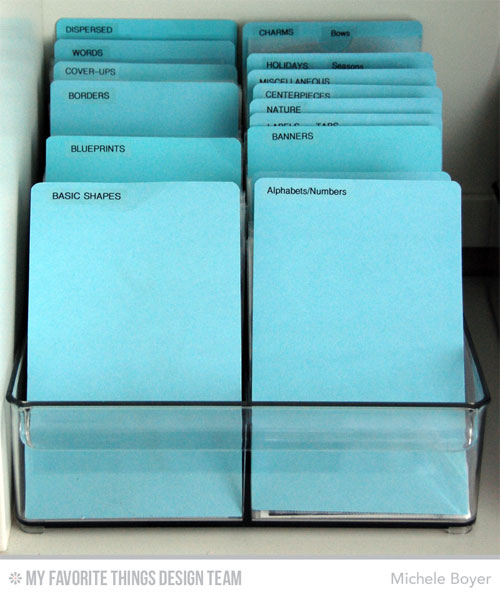
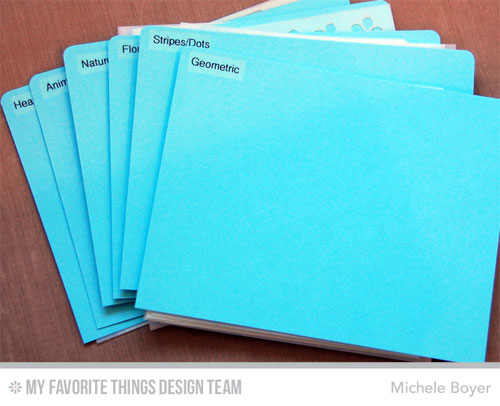
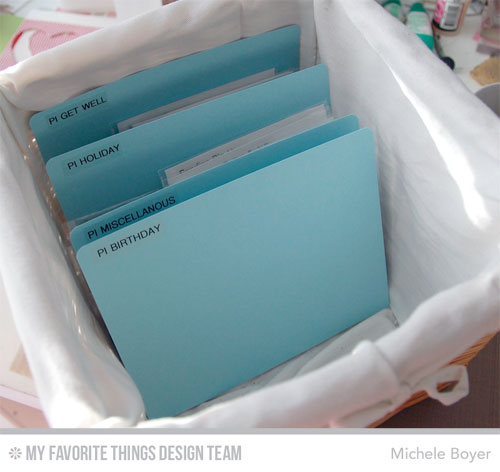
Here’s a close-up of my labels.  The categories are basically in order of most used. (I hate to dig through things.)

Michele Boyer/Die-namics Organization Labels

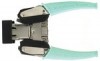
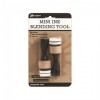
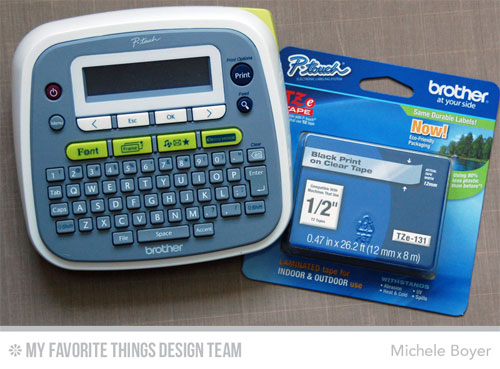
I use this label maker and tape to label my Blu Raspberry dividers. I’ll eventually switch the dividers out for something more sturdy but for now they work great!

I accidentally bought black on white tape once so you may notice a white label. I’m not picky enough to peel it off and replace, but I do prefer clear.  

ETA:  Free downloadable files are now available HERE for printing labels for MFT stamps, dies, stencils, etc.

Michele Boyer/Die-namics - Label Maker
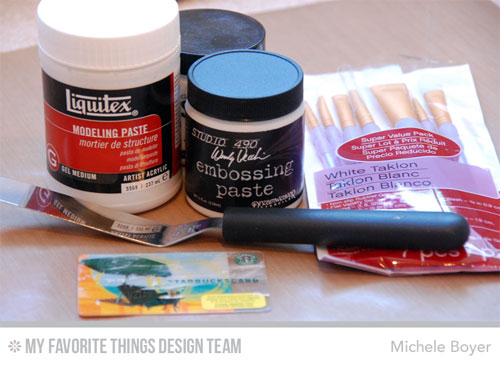
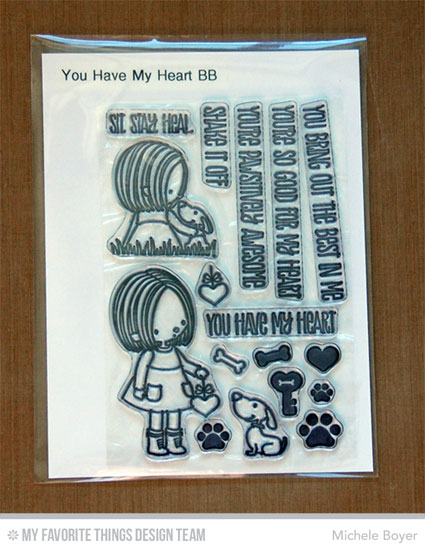
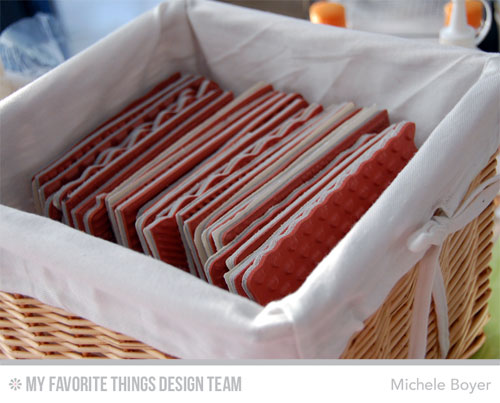
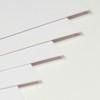
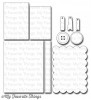
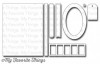
I purchase these magnetic sheets from my local Home Depot (about $4), cut to size and adhere to Sweet Tooth card stock to place in each sleeve.

Michele Boyer - Magnetic Sheets (Vent Covers)

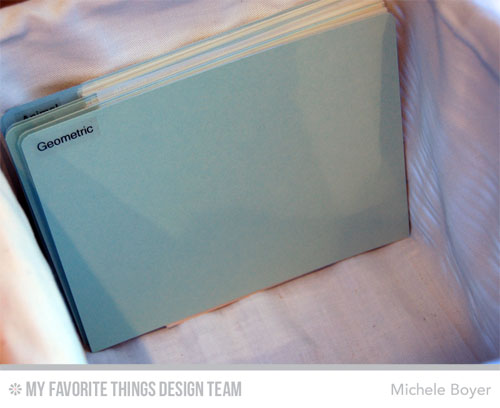
I had originally used three types of sleeves for my dies but I’m transitioning down to two.  And they just happen to now be available here in the MFT store.  🙂

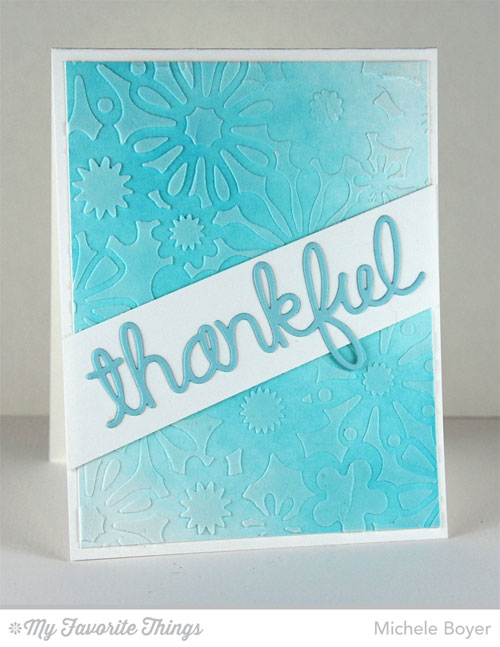
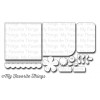
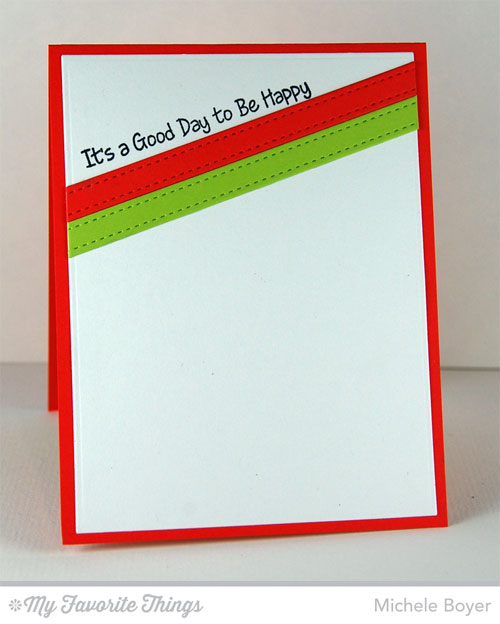
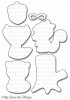
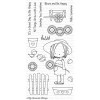
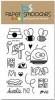
Here’s a sample of my dies on the magnetic sheets. *So happy*   

Michele Boyer - Die-namics Stored on Magnetic Sheets/Clear Pockets

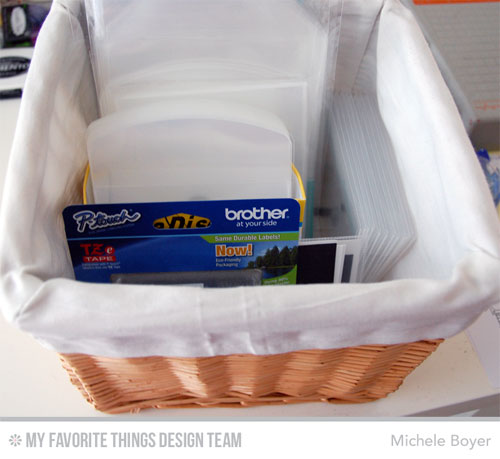
I keep the label maker on my desk but everything else is stored in a basket on a shelf over my dies.

Michele Boyer/Organization Supplies Storage

I cannot begin to tell you how great this system works for me. It took a while to get organized as I already had a LOT when I started but it was worth every minute, every penny. I already thanked Jennifer once, but I will thank her again.  And again. And again. ♥

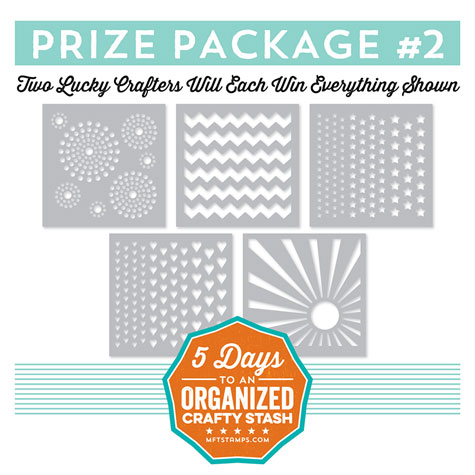
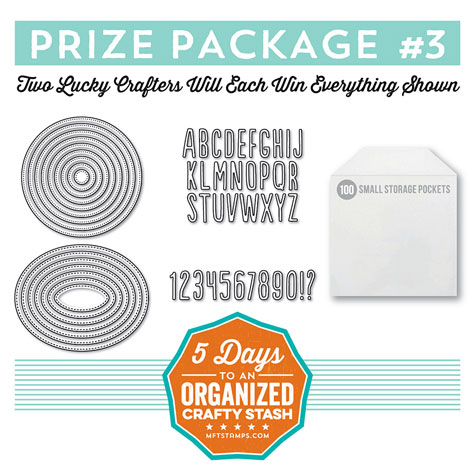
Head on over to the MFT blog for a list of direct links to more Die-namics organization! And be sure to leave a comment there on the MFT blog for your chance to win one of two Prize Packages:

5Ways_Prize3a

Thanks for stopping by!


An Organized Crafty Stash, Day 2 of 5 – Stencils

5Days_BlogHeader

It’s Day 2 of Five Days to Organizing Your Crafty Stash with My Favorite Things!  Today we are focusing on stencils.  They don’t take up a lot of room, but when you have quite a few, it’s better to have them organized than in one thick pile, hooking into each other.  🙂

I have lots of shelves in  my stamp room and quite a few baskets.  I use a small square one for stencils as well as stencil-related supplies.

Stencils-1-500

I used Berrylicious card stock to create a few dividers for my stencils, using my handy label maker to label each. (Now available are free downloadable files to create your own labels for MFT stamps, dies, stencils, etc. HERE . YAY!)

Stencils-2a-Label-Maker

I have some perfectly sized clear pockets on the way.  I look forward to using them as side-by-side stencils get hung up on each other and would be so much easier to browse and remove if “individually packaged.”

Stencils-2-Files

For now, they are at least organized.  🙂

Stencils-3-Basket-Extra-Room

Since there’s so much extra room in the basket, I’ve also placed inside modeling pastes, a palette knife, paint brushes and a few gift cards I sometimes use for spreading pastes.

Stencils-4-Extras

Be sure to visit the MFT Blog for links to more stencil storage, and don’t forget to leave a comment for your chance to win one of two prize packages:

5Ways_Prize2aThanks for visiting!


An Organized Crafty Stash, Day 1of 5 – Stamps

5Days_BlogHeaderToday My Favorite Things kicks off Five Days to an Organized Crafty StashEach day we will highlight a different area of the craft room and share ideas for putting everything in its place. To make it even more fun, two prizes will be given on Days 1 through 4 with one Grand Prize on Day 5.  (And believe me, it is g-r-a-n-d!) For your chance to win one of these AMAZING prize packages, be sure to leave a comment on each day’s Organization post on the MFT Blog.

Necessary statement:  I attribute 90% of my stamp room organization to Jennifer McGuire and her incredibly creative and brilliant ideas.  I cannot thank her enough. (You can find her info on stamp organization here.)

I file most of my stamps in this bin from Bed, Bath & Beyond.

Michele Boyer - Stamp Organization

Each stamp set is placed into one of these clear pockets and filed under the appropriate category.

Michele Boyer- Stamp Set in pocket

If the set has coordinating Die-namics dies, I adhere a magnetic sheet to the back of the white insert so all pieces are kept neatly together.

Michele Boyer/dies stored behind stamp set in pocket

I use these vent covers (magnetic sheets) available from Home Depot for about $4 per pack.

Org-Mag-sheets

Pure Innocence sets are filed in a basket on one of my shelves, sorted by holiday, birthday,  miscellaneous, etc.

Stamps-3-PIsBackground stamps are stored in a basket as well.

Stamps-4-Backgrounds

Head on over to the MFT Blog for direct links to more stamp storage solutions! And don’t forget to comment there for your chance to win one of two prize packages:

5Ways_Prize1a

Thanks for stopping by!

Love You

Hi everyone!  I have a busy week of blog posts coming so I wanted to squeeze in a quick Paper Smooches card.  🙂

This cute little busy bee and sentiment are from Lots of Love.  The trio of hearts was stamped three times across the bottom, leaving a little room on the end for the bee to add more hearts.

Love-You-Bee-500

All stamping was done a panel of X-Press It Blending Card with images colored using Copic markers.

Love-You-Bee-CU

Thanks so much for stopping by!  I will be back very soon.  🙂

Additional supplies/info:  Copic markers (R81, R83, R85, Y21, YR23, YR27, BG10, C00, C1).  Finished size 4 1/4″ x 5 1/2″.

You’re SUPER

Hi everyone!  I’m back on the Craftsy Paper Crafts blog today with another fun fold.  Today I’ll walk you through the steps to create square, rectangular and round easel cards.  (There is one easy formula to create all.)

Finished-Square-MFT-WM-500Here, I’ve used Birdie Brown’s You’re Super by My Favorite Things. All stamping is done on X-Press It Blending Card with coloring using Copic markers.

Here’s a peek at the open card:

Finished-Square-MFT-WM-In

You can find my post HERE. Thanks for looking!  🙂

Additional supplies/info:  Copic markers (E00, E11, E31, E35, BG11, BG13, BG18, R01, R02, R24, R27, R89, Y19, Y21, N5, N7, N9), enamel dots.  Finished (closed) size 4 1/4″ x 4 1/4″.

p;

hello, Fiona

Hi everyone! I believe I saw a little note that Stamping Bella is releasing 30 or so new images soon so I want to get my current stamps used before I’m enticed to buy a “few” more.  🙂

Isn’t Uptown Girl Fiona Loves Flowers beautiful?  She was fun to color.

Hello-UG

As usual, she’s stamped onto X-Press It  Blending Card and colored with Copic markers.  The sentiment is from Paper Smooches’ Salutations.

Hello-UG-CU

I’ll be back soon.  (I’ve been very busy.)  🙂

Thanks for visiting!

Additional supplies/info:  Copic markers (E00, E11, E13, E15, E18, E35, E40, BV000, R01, R02, R81, R83, R85, R89, YG91, YG95, YG97, Y21, YR23, C00, C1, BG70).  Finished size 4 1/4″ x 5 1/2″.

Playing with Paste

Hi everyone! I’m playing with embossing paste on the Craftsy Paper Crafts blog today.  Two sets of step-by-step instructions plus a few amazing samples I found around the web.  You can find my post HERE.  (Easy to create.  And fun!)  🙂

On this sample I used My Favorite Things’ Funky Floral stencil, which just happens to be my favorite stencil.  🙂   The script die-cut is from Words of Gratitude Die-namics.
Floral-Final-MFT-500

My second sample uses Stripes stencil, Blueprints 14 (flower) and Birthday Greetings.

Stripes-Final-MFT-500 Again, you can find my post HERE.  Thanks for looking!  🙂

thankful card

Additional supplies/info:  Palette knife.  Finished size 4 1/4″ x 5 1/2″.
.
Celebrate card

Additional supplies/info:  Clear embossing powder (sentiment), palette knife.  Finished size 4 1/4″ x 5 1/2″.

Creative Construction with Blueprints

Hi everyone!  Today the MFT team begins a brand new monthly challenge using  Blueprints. Each month we’ll focus on a specific collection.  From those, we will be challenged to assemble a card based on one of the provided Blueprints sketches as well as design an original card combining elements from the featured Blueprints.

This month we’ve gone back to the beginning with Blueprints 1 and 2.  I decided to also include the current Color Palette Challenge of Lemon Drop, Tropical Teal, Limelight and Persimmon.  LOVE this combo!

BP-BothI chose to follow one of the sketches provided with Blueprints 1 using Miss Tiina’s Cute Critters.

Hey-Foxy-BP-500r

I also used Cute Critters Die-namics to die-cut the fox before stamping and coloring with Copics.

Hey-Foxy-BP-CU

Inside, I included a couple more elements from Blueprints 1 as well as a Persimmon fox.

Hey-Foxy-BP-In

On my combo card, I use the stitched circle and wide stitched strip from Blueprints 1, the thin stitched strip from Blueprints 2 and Birdie Brown’s Every Day is a Picnic.  

Hello-Sunshine-BP-500r

The girl and sun were die-cut using Every Day is a Picnic Die-namics and adhered using foam tape. (Sentiment is from Sunflower Sweetheart.)

Hello-Sunshine-BP-CUr

I had a couple of die-cut strips left over so I used them inside.

Hello-Sunshine-BP-In

Head on over to the MFT Blog for a list of participating DT to see more Blueprints versatility.  You can find out more about the current Color Palette Challenge HERE on the new Challenge and Inspiration blog.

MFT_CreativeConstruction_SideBar

Print

Thanks for visiting!

Hey, FOXY card

Additional supplies/info:  Copic markers (YR07, YR09, YR18, E40, E41, R0000, R01), Glossy Accents.  Finished size 5 1/2″ x 4 1/4″.
.
Hello, Sunshine card

Additional supplies/info:  Copic markers (E00, E11, E31, E35, R01, R02, Y21, BV000, BG15, BG18, BG78, YR07, YR09, YR18, Y15, YG05, YG07, YG67).  Finished size 4 1/4″ x 5 1/2″.

Hello, honey

Hi everyone! What a dreary day it is here, cold and rain…all day long. Bleh. Hopefully these cute little bees will add a bit of cheer. I used Bee Mine from Paper Smooches along with coordinating dies (Bee Mine Icons), just released this month.

Michele-Bee-Mine-IconsThe bee shapes were die-cut from X-Press It Blending Card, stamped with My Favorite Things Black Licorice hybrid ink and colored with Copic markers.  I thought the honeycomb pattern (from Echo Park’s Everyday Eclectic) was a perfect match.  🙂

Michele-Bee-Mine-IconsCU

Thanks so much for stopping by!  I hope the weather is better where you are!

Additional supplies/info:  Copic markers (Y32, Y35, BG10), Kool Tak clear foam squares.  Finished size 4 1/4″ x 5 1/2″

Craftsy Blog Awards are Here!

Craftsy would like to honor  bloggers from around the web who inspired us throughout 2014 and they want YOUR vote! Show your appreciation by nominating your favorite bloggers today, and get entered for a chance to win an online Craftsy class of your choice just for voting!

1craftsy

You can vote for ANY blogs in the following categories:

  • Sewing
  • Quilting
  • Embroidery
  • Knitting
  • Crochet
  • Cake Decorating
  • Photography
  • Drawing
  • Painting
  • Cooking
  • Gardening
  • Woodworking
  • Paper Crafts
  • Jewelry
  • Spinning & Weaving

Click HERE for details and the link to nominate YOUR favorite bloggers!

Voting ends January 20th so hurry on over!