Category Archives: Craftsy

Explosive News|Explosion Card (tutorial)

It’s always fun to add something a little unexpected to a card. How about a pop-out insert that opens to be bigger than the card itself? Fun right? And super easy!

Intro-Photo

I started with Paper SmoochesGreat Chemistry stamp set. I paper-pieced the scientist’s glove which made inserting the beaker very easy! (The set with comes with a couple different options of what to place in the hand.)

Michele Boyer - Paper Smooches

Copic markers – BG10, BG70, C00, C1, C2, C3, C6, E00, E11, E35, E41, E42, R01, R02, Y21, YR14, YR23

I created my insert with one-sided patterned paper to add a bit of color to the folds. The white side was stamped lightly with a pattern of beakers and light bulbs with the sentiment stamped in the center.

Michele Boyer - Paper Smooches (explosion card, open)

The insert opens to be completely flat so it’s easy to add a written message once assembled.

You can find complete step-by-step instructions with photos HERE on the Craftsy blog. I hope you’ll check it out.  🙂

1amichele siggy

Create Quick and Easy Tissue Paper Flowers in Minutes (tutorial)

When fresh flowers aren’t seasonally available, why not make your own from tissue paper?  Tissue paper flowers are inexpensive and incredibly easy to create. On the Craftsy blog today, you’ll find step by step tutorials for three different flowers,  all of which can be made in just minutes.

Final-Trio2

You can create very small or very large flowers simply by adjusting the size of your tissue paper sheets.

Small-and-Large

Create different flower styles by combining paper colors. Or create a totally different look with a simple change in the way the paper edges are cut.

Daisy-Step-8-Push-yellow-back

Tissue paper flowers can be used to create a floral arrangement, as party decor, dress up gift wrapping and more! No matter the use, you’ll be amazed at just how easy tissue paper flowers are to create!

Purple-Fringe-Finished

I hope you’ll check out the FREE tutorial (found here).

1amichele siggy

12 Holiday Gift Tags That Take Packages From Ordinary to Extraordinary

Looking for some DIY holiday gift tag inspiration?  On the Craftsy blog today, you’ll find twelve amazing ideas to get those creative juices flowing!

BeFunky-Collage65-

Simple silhouettes, fun/quirky sentiments, beautiful mixed media, computer printables and more!

Take your packages from ordinary to extraordinary! Check it out!

Revisiting the One Sheet Wonder

If you’re like me, you probably have a sheet (or twenty) of patterned paper tucked away somewhere, unused. Why not put it (or them) to good use with the One Sheet Wonder, an oldie but goodie technique that provides patterned pieces for use on a set of cards.

Michele Boyer - Simon Says Stamp

To create this entire stack of cards, I used Simon Says Stamp’s Sending & Wishing stamp set and dies with Hero Art’s Stamptember exclusive Prayers stamp set and die and one 12″ x 12″ sheet of Recollections’ Pink Roses patterned paper (from Michael’s). The only extras required are card bases and matting (card stock) for the patterned pieces. I love the results, but even more so I love having a stack of pretty all occasion cards on hand to send at a moment’s notice.

Michele Boyer - One Sheet Wonder

I put pencil to paper and created a template that resulted in 14 QUICK and EASY cards. I really don’t know why I didn’t think to do this sooner. Imagine how quickly you could create a set of holiday cards!

Michele Boyer - One Sheet Wonder Card Sketches

On the Craftsy Paper Crafts blog today, you can find larger photos of my One Sheet Wonder template and corresponding card sketches as well as tips for creating your own One Sheet Wonder and keeping all those pieces organized.  I hope you’ll check it out and give it a whirl! I know I’ll be using my template again soon!

Thanks for visiting!

1amichele-siggy1

Three Quick and Easy DIY Bookmarks

Creating a bookmark to coordinate with a handmade card can be quick and easy as well as a nice surprise for the recipient.  I chose three previously designed  cards and created a matching bookmark for each using three different styles.

1a-Intro-Final-Magnet

The bookmark above includes a hidden magnet to snugly hold the place of the marked page.

3-Elephant-Final

To use this bookmark, the page is inserted between the longer panel and the elephant so the elephant appears to be floating or peeking over the top of the page.

2a-Final-Intro

The quickest and easiest of the three was designed with elements pulled directly from the card.

You can find step by step tutorials for each HERE on the Craftsy blog today.

Thanks for visiting!

1amichele-siggy1

Sweet and Spooky Halloween Inspiration

Looking for some (not so) spooky inspiration for Halloween? On the Craftsy Paper Crafts blog today you’ll find 13+ ideas for cards, tags and treats.

2-BeFunky-Collage

None are mine. All fab designers from around the web.  I hope you’ll check it out. Not only will you find some great ideas for Halloween, but you might discover a new crafter whose work you’ll love!  🙂


Stamp Positioner Comparisons, Tips and Tricks

1a Intro Photo

If you’re new to stamping, stamp positioners can seem somewhat foreign. What do they do? How do they work? In this post, I show step-by-step how I use three different stamping tools for positioning stamps and more. Here’s a quick overview.

Stamp-a-ma-jig

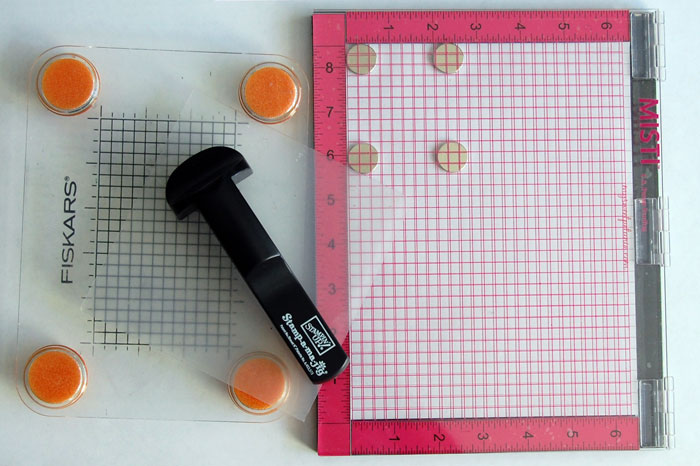
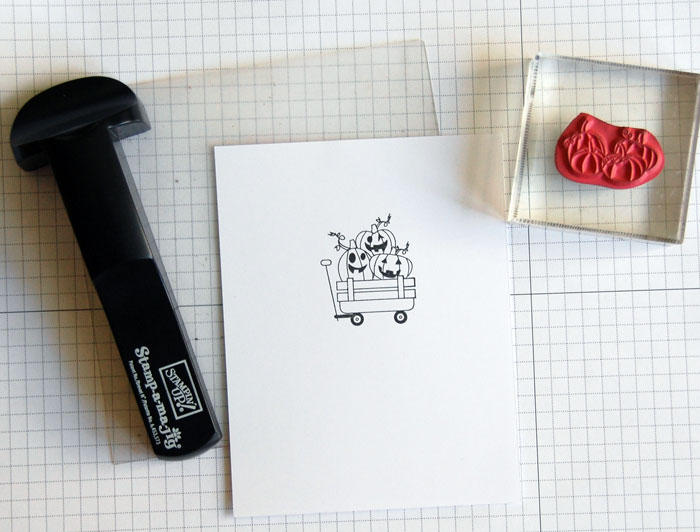
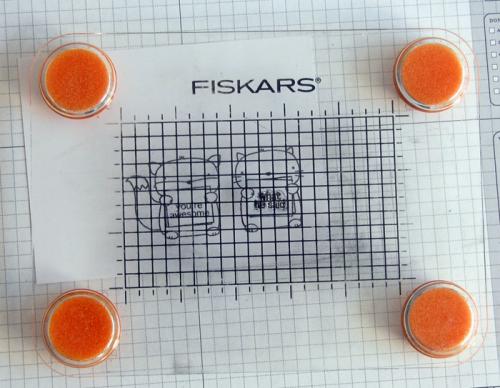
The Stamp-a-ma-jig, which consists of a black T-shaped handle and clear, reusable imaging sheet, is one of the most basic and least expensive stamp positioners.  An image or sentiment is stamped onto the imaging sheet then positioned over card stock for perfect placement. I also sometimes stamp an image or sentiment onto the imaging sheet to see how it might look in different locations on my project.

Stamp PressThe Stamp Press is another great tool to have on hand. It’s basically an acrylic platform on foam feet. As pressure is applied, the foam feet allow adjustments in any direction before pressing ink to paper. For me, it’s a “must have.”

20-MISTI-closed2

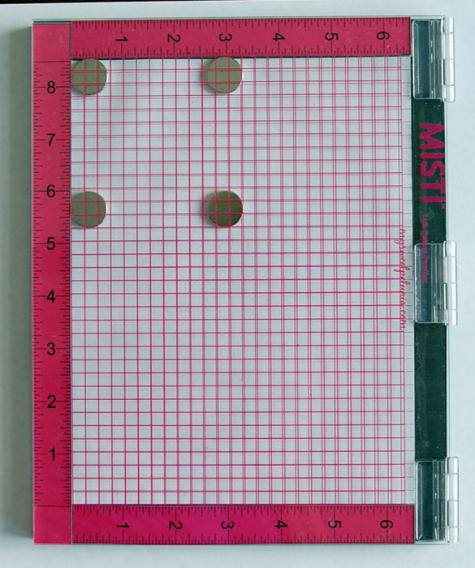
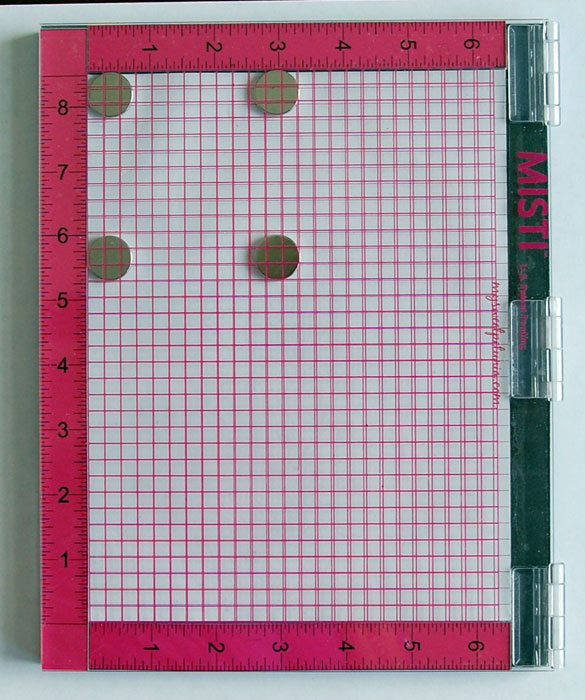
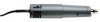
And then there’s the MISTI –Most Incredible Stamp Tool Invented, which can be used with both rubber and clear stamps.  The first time I used it, I’m pretty sure I heard angels sing.

I’ve always felt “solid image challenged” but with this tool, I can achieve perfect results every time.

Blog-photo-2

See? I love it.

But back to positioning stamps, I place my card stock inside, positioning the magnets to hold the paper in place. I lay my stamp on the paper in the desired location and when the MISTI is closed, the stamp then sticks to the inside cover. Once the stamp is mounted, it’s easy to tweak a little in any direction. Using the grid, you can be assured the impression will be straight and just where you want it.

33-Ink-stamp-and-close-to-transfer-ink

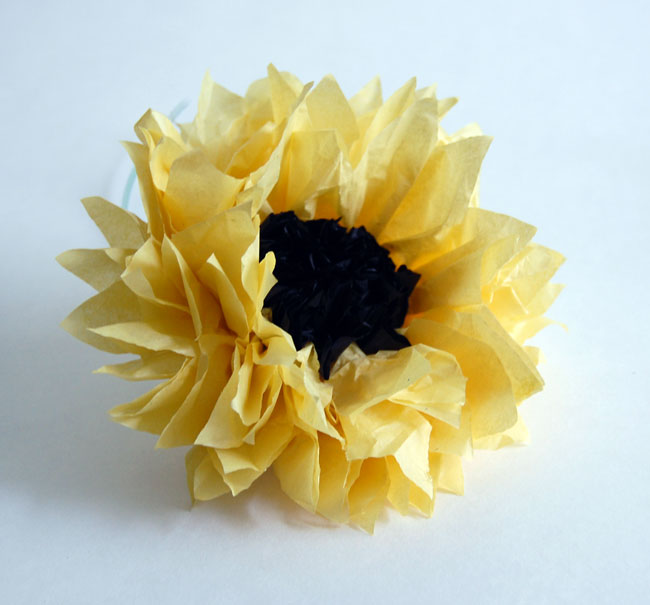
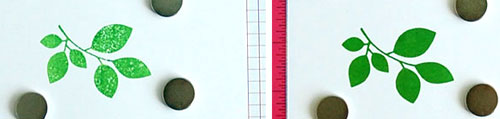
I also use the MISTI to stamp larger images. I find it much easier than using a wide or long acrylic block. As with solid images, if the impression is not perfect the first time, simply stamp it again. The image will stamp in the exact same place every time (unless you move the stamp or paper, of course).

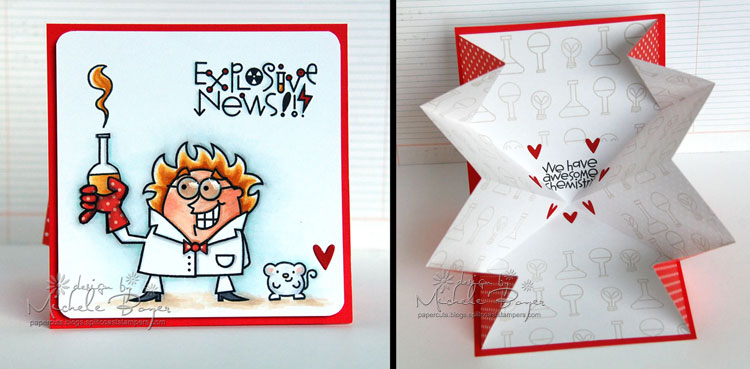
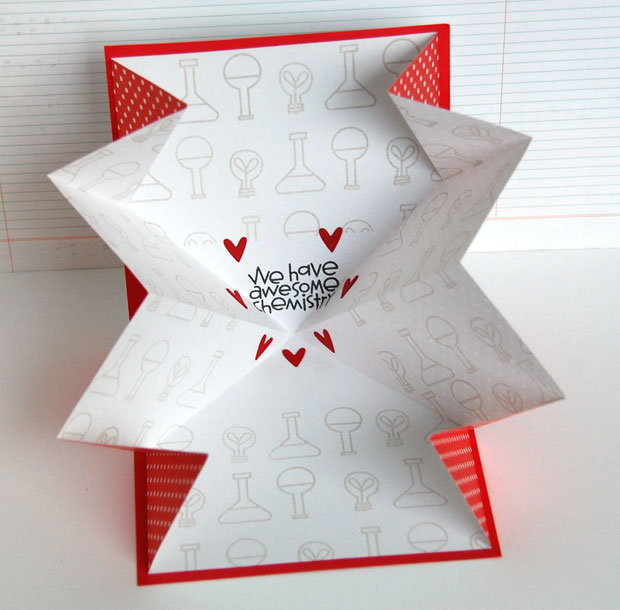
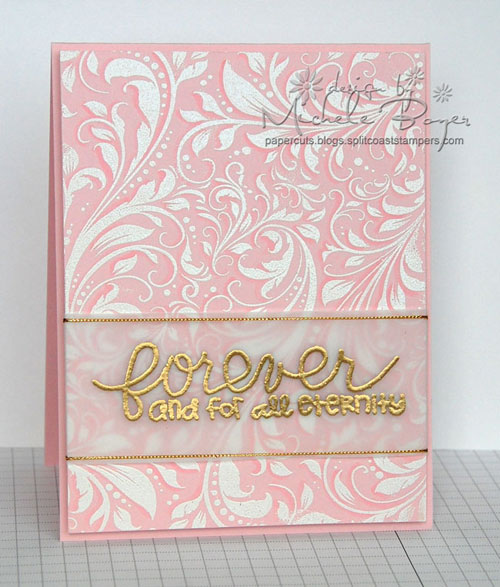
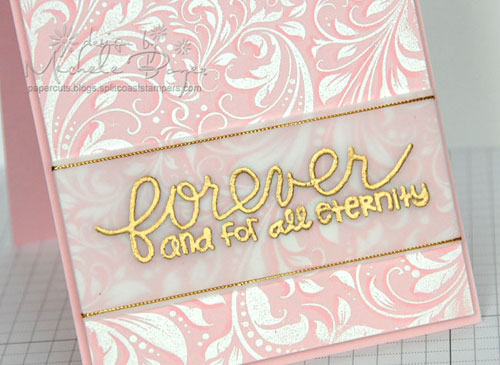
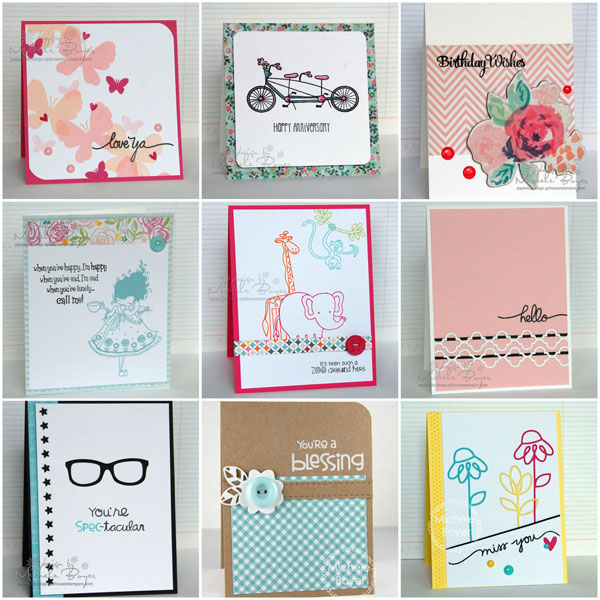
I also use the MISTI to stamp portions of a sentiment in multiple colors, like this and the second card on this post. Because the stamp and paper stay in the same place, it’s super easy to just mask off and ink different portions of the stamp.

You can  see, step-by-step, how I use the Stamp-a-ma-jig, Stamp Press and MISTI HERE.

Thanks for visiting!

1amichele siggy

forever and for all eternity

Hi everyone! Today I’ve had some fun with heat embossing.

I used MFT’s Garden Flourish Background to white emboss on pink, then used a pink Copic to outline the left edges of most of the flourishes. I love the look of the added dimension.

Final-Full-500

The sentiment, from Pretty Phrases by Paper Smooches, was gold embossed on vellum.

Final-CU-500

For a complete step-by-step tutorial and tips on heat embossing, please check out my post HERE on the Craftsy Blog.

Thanks for visiting!

1amichele siggy 

Additional supplies/info: Gold cord, R00 Copic marker. Finished size 4 1/4″ x 5 1/2″.

Fun with Washi Tape

On the Craftsy blog today I have some ideas for using washi tape on cards – from grounding to striping, die-cut reveals and banners.

Craftsy- Washi Tape

I also include a few of my favorite non-card uses. If you’d like to take a peek, you can find the post HERE.

Thanks for stopping by!

1amichele siggy

Quick and Easy Card Ideas

Hi everyone!  I’m posting a bit later today than I had planned. My kids had a swim meet this morning, then it was delayed almost two hours for a passing storm (because we haven’t had enough rain already this summer…I shouldn’t complain, I know, but we have had a LOT of rain. Our back yard is a spongy mess.)

ANYway…

BeFunky-Collage4

On the Craftsy Blog today, I have nine ideas and tips for creating cards in 15 minutes or less.  A couple of the samples you may have seen shared here on my blog but most are new.  You can find the post HERE.

Thanks for stopping by!

1amichele siggy