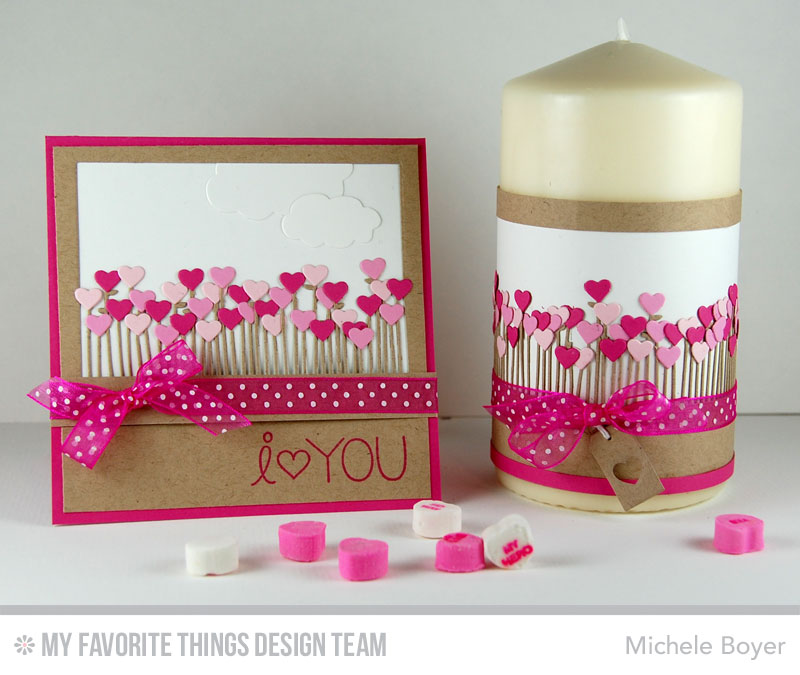
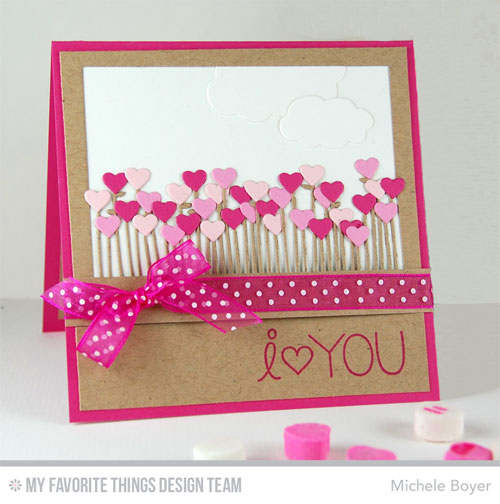
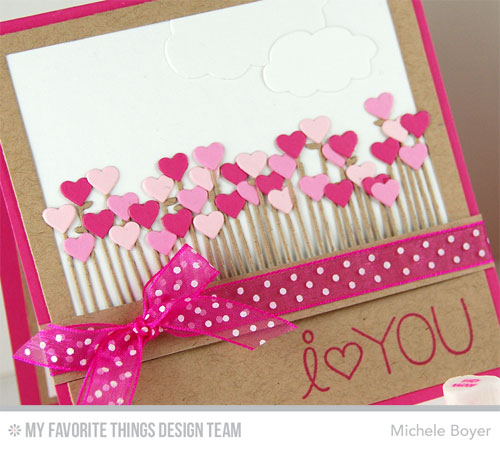
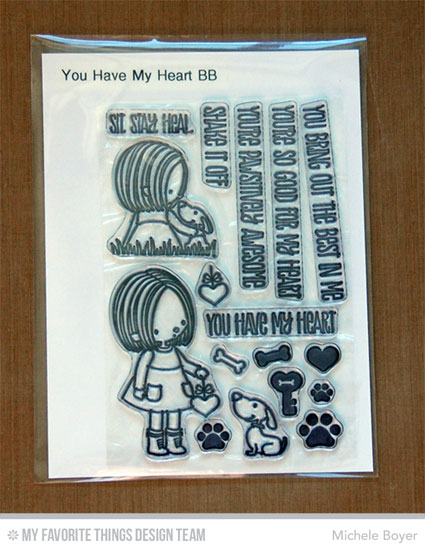
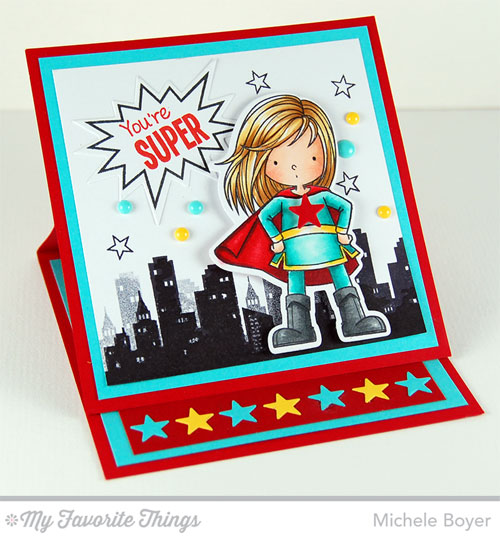
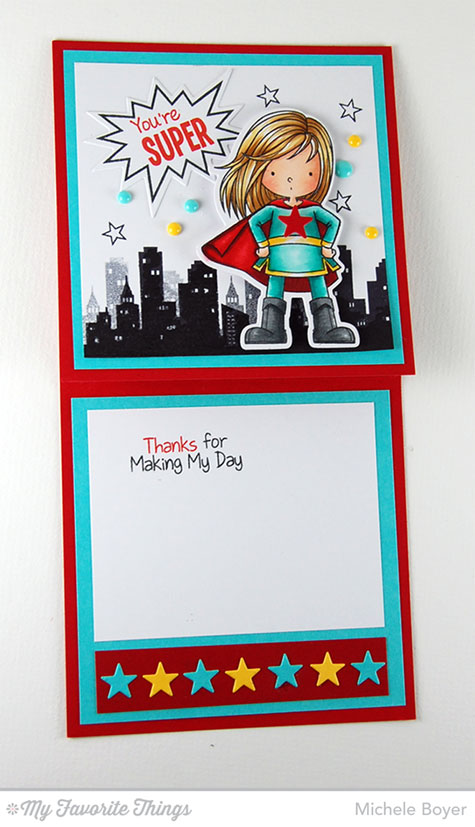
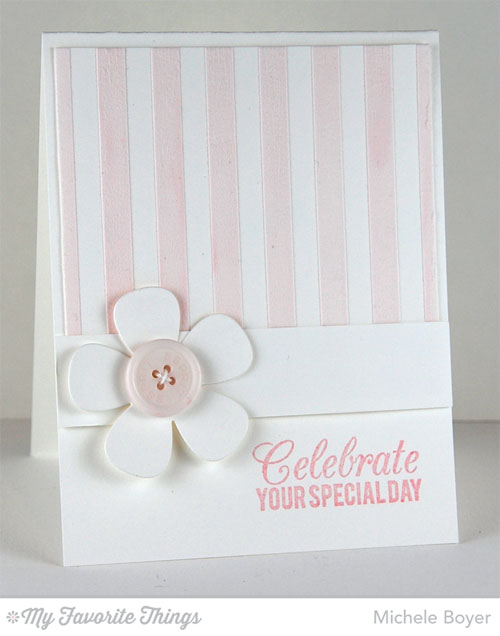
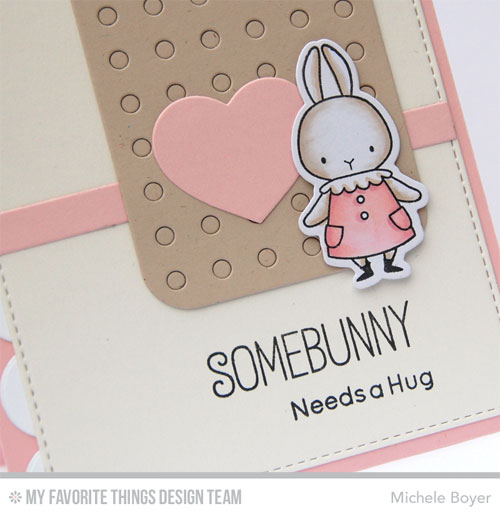
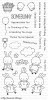
Hi everyone! Welcome back to a second day of February 3 release previews with My Favorite Things! Today I’ve used a super cute new set by Birdie Brown, Somebunny, along with Blueprints 22.
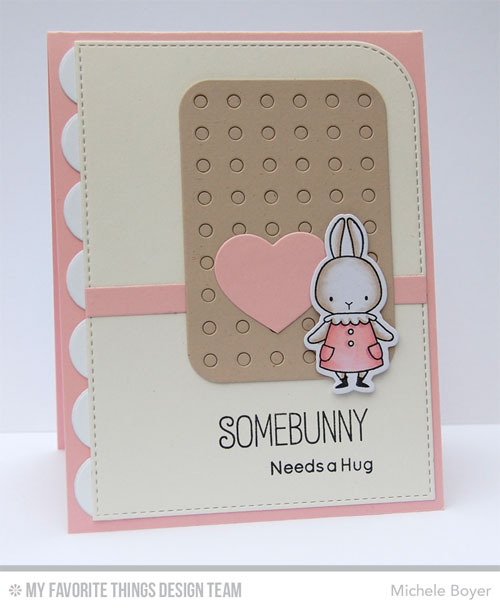
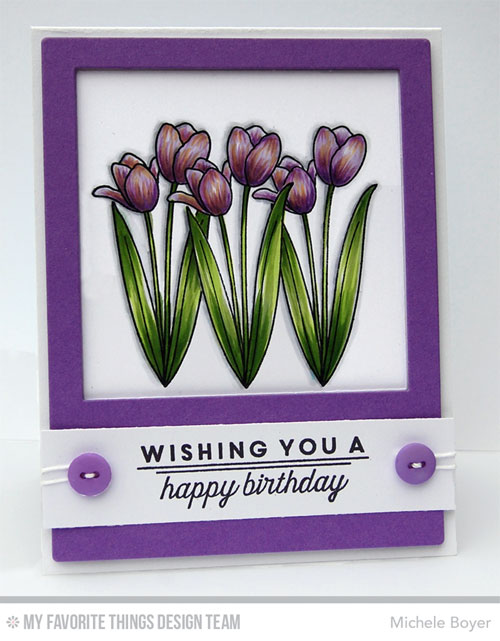
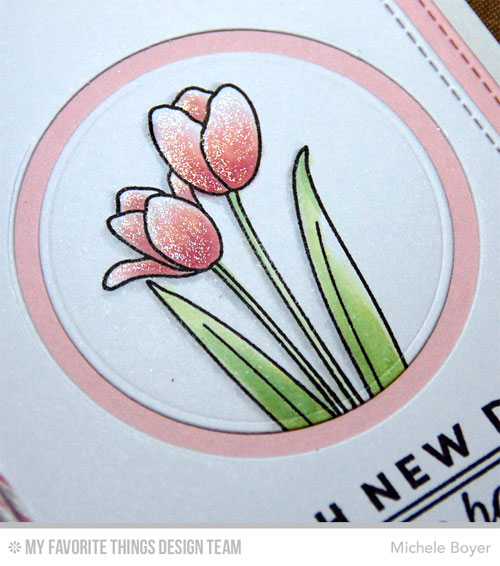
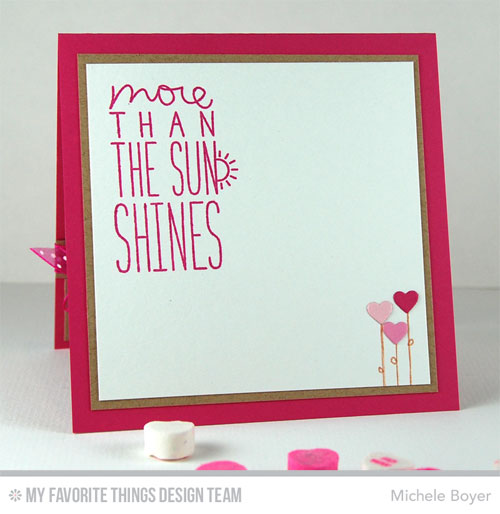
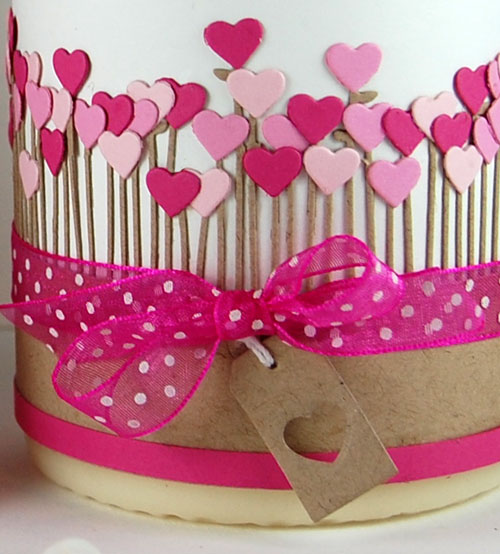
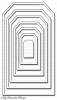
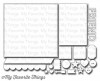
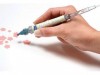
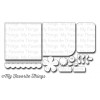
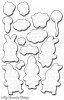
The little bunnies in this set are so sweet. Kind of old fashioned. I ♥ them. I used coordinating Somebunny Die-namics to die-cut the bunny from X-Press It Blending Card then colored with Copics. All other pieces were die-cut using Blueprints 22.
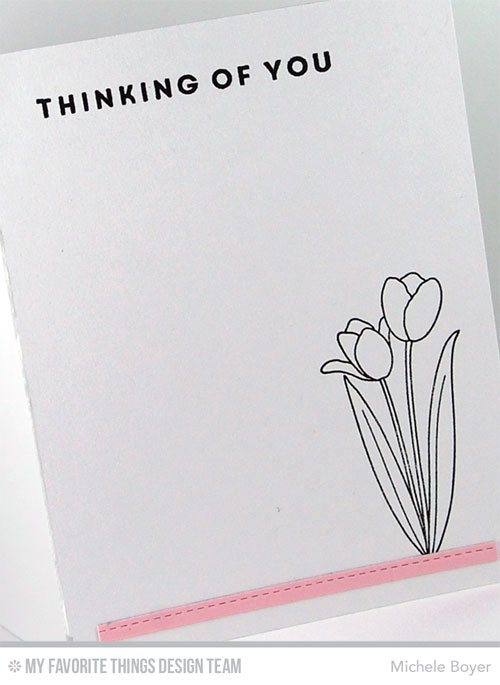
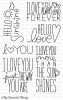
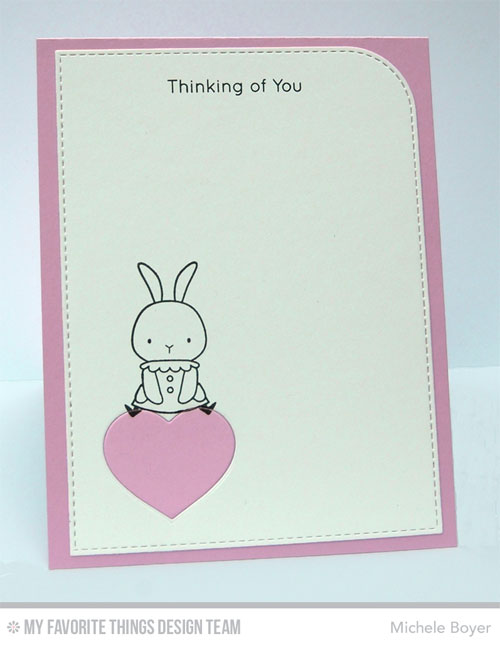
Inside, I stamped a partial sentiment and a second bunny sitting on the Blueprints 22 heart.
Be sure to check out the MFT Blog for direct links to more Countdown samples, info on prizes and all you need to know about our February 3 release!

And don’t forget, starting tomorrow:
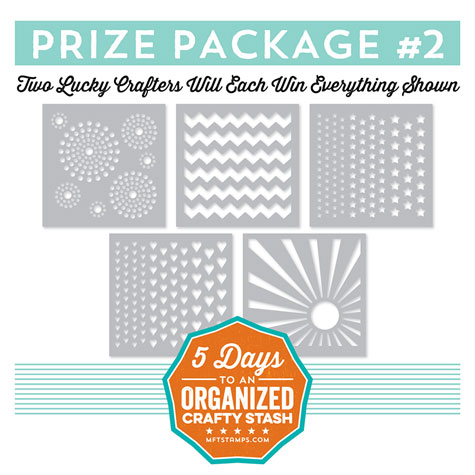
MFT will be giving away one stamp set and Die-namics combination every day from February 1 – 13, and then on the 14th, we’ll give $300 towards the March release to one Instagram follower and the friend she tags. $300! You can follow MFT HERE, and you can follow me HERE.
Thanks so much for stopping by! I’ll see you tomorrow!

Please note that links to new products will not be in effect until time of release, Tuesday, February 3, 10 p.m. EST.
 |
 |
 |
 |
|
|
|
 |
|