Category Archives: A Day for Daisies

Watercoloring with Copic Various Ink

Photo-16

Hi everyone! Today I’m sharing how to create a watercolor look using Copic Various Ink. It’s a fun technique that mimics watercolor although there is no water involved.

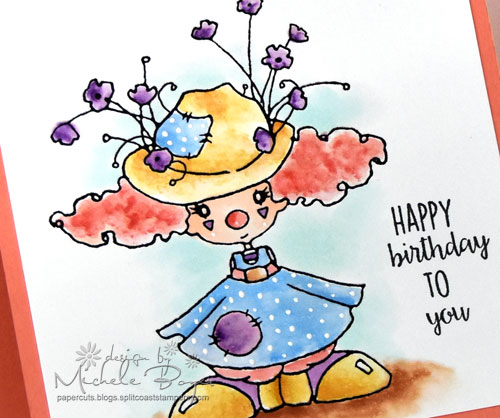
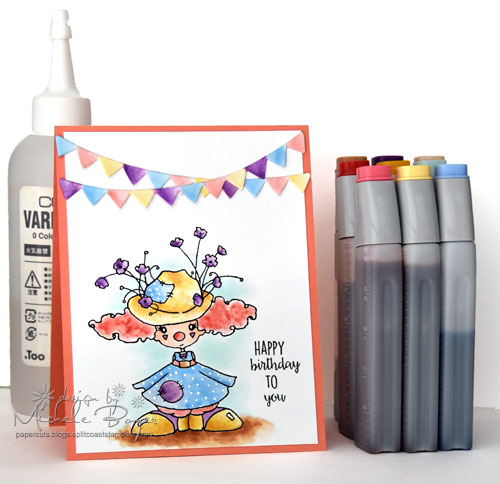
I used several ink refills (B32, BG10, E00, E33, R24, R32, V09, Y21, YR23) and Colorless Blending Solution to paint Miss Polly Clown digital image by A Day for Daisies. I think the style of A Day for Daisies’ images is perfect for watercolor.

Photo-14

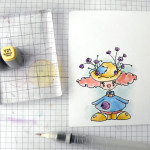
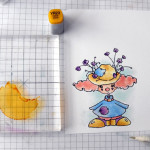
I simply applied a drop or two of ink onto one end of a large acrylic block then used a waterbrush filled with Colorless Blender to pick up the ink and apply to watercolor paper. I would have used a paint pallette but a certain (not so) little artist in my family is currently using it. At times throughout my coloring, I was not satisfied with the flow of Colorless Blender from my water brush so I dropped several drops of Colorless Blender onto the other end of my acrylic block and used the brush to pick up both (Colorless Blender first then the ink). In between colors, I cleaned the brush and acrylic block with additional Colorless Blender.

If you have no Various Ink on hand, the technique can be achieved with markers and Colorless Blender. Note that the color concentration will be less than that of the Various Ink so you’ll have to scribble a considerable amount of ink onto the acrylic block. Simply pick up with a Colorless Blender-filled waterbrush, or a paint brush dipped into Colorless Blender to apply.  Regardless of whether Various Ink refill or marker is used, the resulting color will be lighter as the amount of Colorless Blender increases.

Photo-2  Photo-3  Photo-4

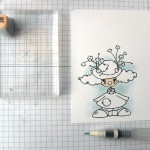
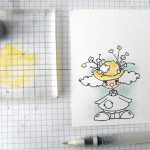
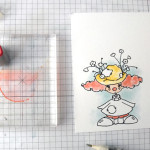
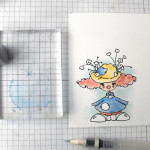
I started with the background, using BG10 to fill in color around the image. The Colorless Blender helps to fade the color out as the brush is moved further away from the image. Next, I colored the skin (E00) and then the hat (Y21).

Photo-5  Photo-6  Photo-7

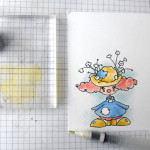
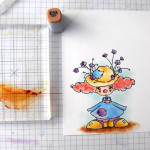
On the hair and britches, I used a base color of R32. After coloring the dress and hat patch with B32, I returned to Y21 to color portions of the shoes.

Photo-8  Photo-9  Photo-10

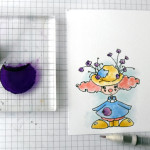
While V09 is a highly pigmented ink, the Colorless Blender allows for a very light application. I used only a tiny bit of V09 with the Colorless Blender on the dress patch, shoes and flowers. Once dried, I added a bit more color to create depth and variation. Next, I used R32 and Y21 to add a bit more color variation to the hat and hair, then used YR23 to create darker shadow on the hat and shoes.

Photo-11  Photo-12

To add even more variation to the hair, I added a bit of R24 then grounded my cute clown with E33.

Photo-13

Once I was satisfied with the coloring, I used Copic’s Opaque White to add bright white dots to the dress and patch on the hat. I also added a tiny dot beneath each triangle on the cheeks.

To finish my card, I stamped a sentiment from Stamping Bella‘s Tiny Townie Birthday Party then die-cut (from watercolor paper) and colored a Taylored Expressions Skinny Mini Party Border.

I hope you’ll try this fun technique. When you do, please come back and comment below with a link to your art. I would love to see it!

Thanks for visiting!

1amichele siggy

Hello There

**FIND MY GIVE-AWAY HERE**

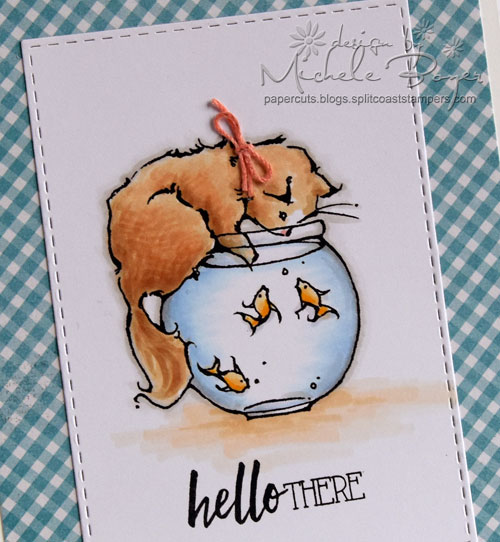
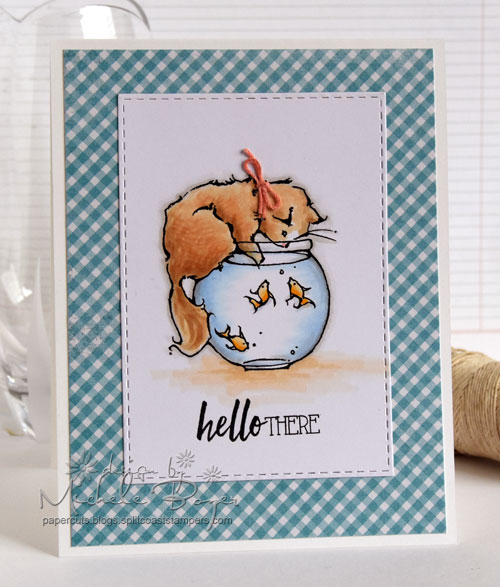
Hi everyone! Today I’ve colored a super cute digital kitten image from A Day for Daisies. I love so  many of their images. For today, I’ve chosen Cat and Three Fish.

I’ve also used Copic’s Coloring Cats & Dogs with Copic Markers book for a bit of help with coloring the cat. (You may recall I used the book in this post to help with coloring a pup.)

Hello-there-500-with-Copic-bk

In the cat section of Coloring Cats & Dogs with Copic Markers, there are tips on smooth blending, two-color and three-color blends, feathered strokes, direction of strokes, using the colorless blender to fade to white or create texture, long hair, short hair, tons of info!

Michele Boyer - A Day for Daisies

Copic markers – B41, E31, E51, E53, R21, W00, W1, Y17, Y32, YR21

I used only three colors on the cat (other than a dot of pink for the nose) and tips for adding texture to the fur. I didn’t do a ton of blending as I like A Day for Daisies images best colored in a sort of “loose” fashion.

After coloring the cat, I used an R21 marker to color the white string tied around the kitten’s neck. Probably not a good idea to tie a string around a kitten’s neck in real life, but I think it’s ok here.  😉

Michele Boyer - A Day for Daisies

To color the fish bowl, I used instruction from another of Copic’s books, Intro to Coloring with Copic Markers.  (Another very helpful resource!)

Thanks so much for visiting today!

1amichele siggy 

Happy Easter: Water Coloring with Copics

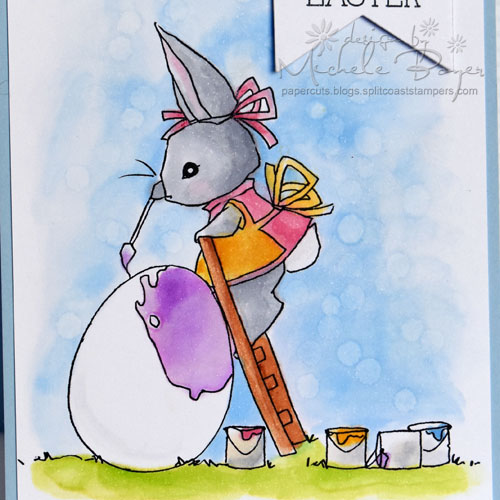
About a week or so ago I stumbled upon an adorable digi-image titled Easter Art by A Day for Daisies. This little bunny is the sweetest, high on the ladder painting her rather large egg. So cute.

Michele Boyer - A Day for Daisies

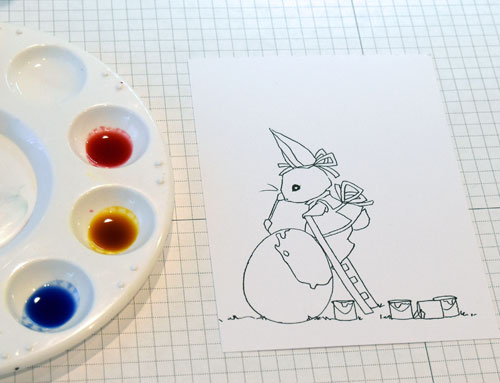
Instead of using traditional paints to watercolor, I used Various Ink (refills for Copic markers) and Colorless Blender Solution.

Supplies

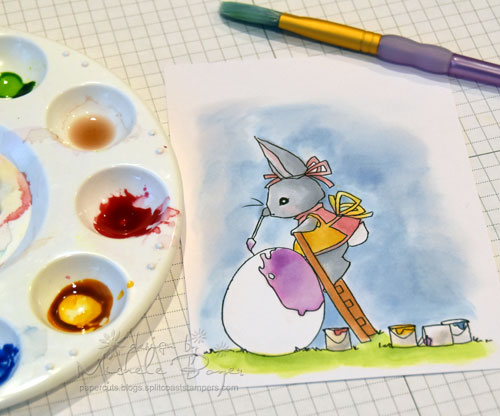
Simply drop each ink, as well as Blending Solution, into the wells of a paint palette. Dip brush into Blending Solution then ink, then add to your image.

Note: The Colorless Blender will lighten the ink so choose shades a bit darker than the anticipated results.

Happy-Easter-Step-1

To add depth, additional ink may be applied once the initial application is dry.

Copic markers may be scribbled onto a palette or acrylic sheet then picked up with the dampened brush, but I find it much easier to use Various ink so that a larger amount of ink is ready at all times.  This is especially helpful in coloring large areas.

Happy-Easter-Step-2

To add a bit more interest to the background, I dipped the end of a q-tip into Blender Solution then dotted over the background. The Blender Solution lightens or “pushes” the color aside to create the lighter areas.

Michele Boyer - A Day for Daisies

Copic – B21, C3, E33, R83, V09, Y21

I just love her. ♥

Thanks so much for visiting today!

1amichele siggy

Watercolor with Copics, a tutorial

Hi all.  🙂

Today I have sweet Flower Maiden 2 by A Day for Daisies “watercolored” using Copics.

WC-Final2

The watercolor look is easy to achieve with Copics and Colorless Blender.  You can use the markers themselves scribbled onto a palette or acetate, or you can use Copic refills, otherwise known as Various Ink. I prefer to use Various Ink.

You can find a complete step-by-step tutorial on the Craftsy blog HERE.  I hope you’ll check it out. 🙂

WC-Final-CU

Thanks so much for visiting! Have a great day!

1amichele siggy

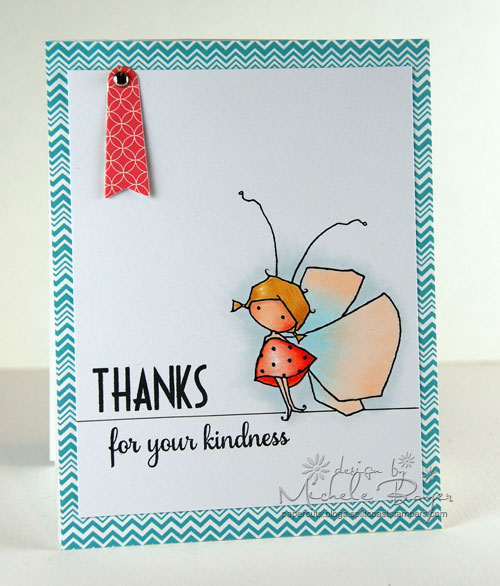
Thanks for Your Kindness

Hi everyone!  Just want to let you know I have a second Copic blending tutorial on the Craftsy blog today (here).

Michele Boyer/A Day for Daisies

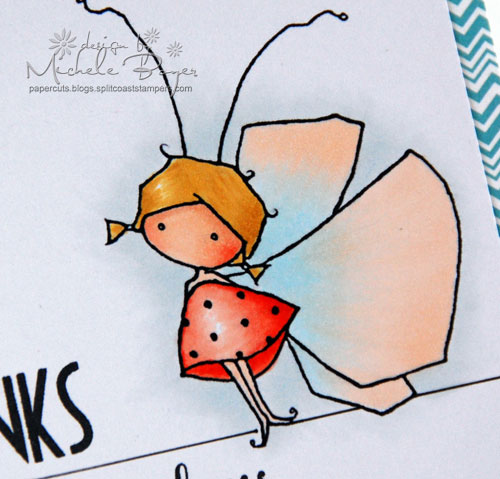
I used four different types of blending to color Bitsy Bug Dot digi-image from A Day for Daisies.

Michele Boyer/A Day for Daisies

I hope you’ll check it out (here).  Thanks!

Copic Coloring Guide Level 4 Blog Hop and Give-away

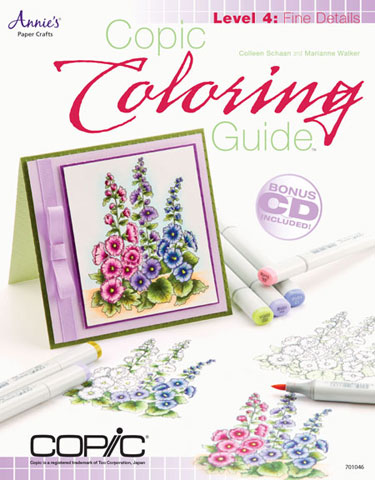
Good morning and welcome to a very special blog hop!  I’m certain you’ve heard about the release of the new Copic Coloring Guide, Level 4: Fine Details authored by Colleen Schaan and Marianne Walker.  Would you like to win a copy?  Of COURSE, you would!   :)

To help kick off the celebration, each designer on the hop is giving away a copy of the book. Please comment on this post* for your chance to win mine! Commenting will close at 9 a.m. EST, Monday, July 1st.  Winners will be announced on the individual designer’s blog.

*Contest (on this blog) limited to US and Canadian residences only.

The 64-page book is the latest in the Coloring Guide series, offering information and educational material for crafters of all skill levels.  From light source to shading and shadows, to mixing mediums and tackling detailed images, this book shows how to take your coloring up one notch further by focusing on the fine details.

An included CD contains all of the hand-drawn images used in the tutorial section of the book, along with the assembly instructions for all of the projects.  All information is presented in an easy-to-follow format.

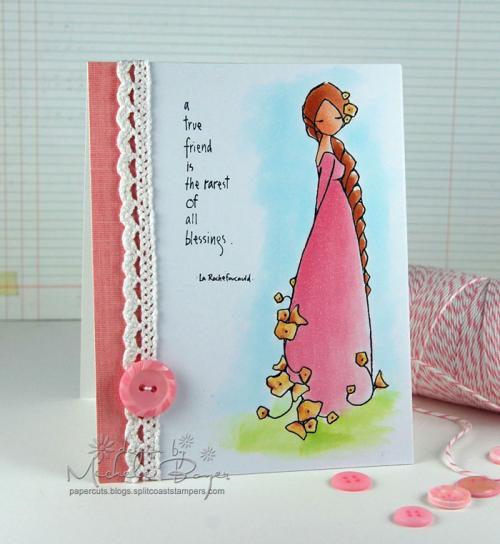
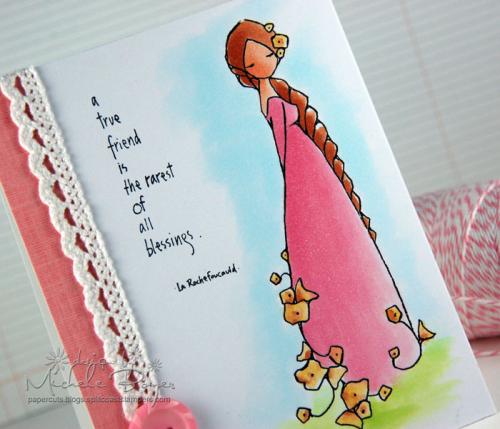
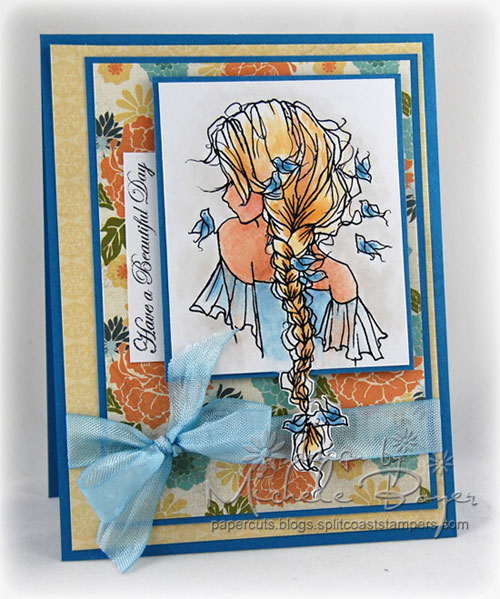
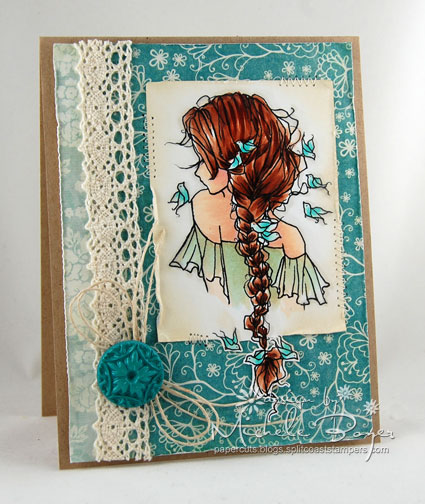
Here’s a peek at one of my favorite projects from the book using Braid in My Hair from A Day for Daisies.

Be sure to visit each and every designer listed below to better your chances of winning!  GOOD LUCK!  🙂

Copic Coloring Guide Level 4: Fine Details is now available at many stamping and scrapbooking stores. Visit your local store today and ask about availability.  It is also sold through the Annie’s catalog, accessible online at Annie’s.


A Day for Daisies

It was quite a while ago that I did a bit of shopping in the A Day for Daisies store. Broni had used this image and the second I saw it, I *really* wanted it.

This image is Braid in My Hair.    Just gorgeous.

I colored her with Copics then paired her with my (current) favorite collection from My Mind’s Eye, “The Sweetest Thing” Bluebell.

Love, love, love this image. 🙂

While coloring the hair I was reminded of a project from one of my first art classes.  We were to draw anything but the task was to incorporate the entire alphabet.  Here’s what I came up with.  (If you click on the image, you can see it in a larger format.)

Can you find the letters?  (They’re in order.)

I received an A but argued just a bit because I thought I should have earned an A+.  (I know…)  My grade was reduced because I “didn’t use color.”   (As I recall, that was not part of the requirement.) Ok. *sigh*  🙂

I’ll be back soon with MFT October previews!  Thanks so much for visiting today!  🙂

m.
Digi Stamp:  A Day for Daisies “Braid in My Hair”  Ink: VersaMagic Wheat (sponged around edges) Paper:  MFT Kraft, X-Press It Blending Card, MME The Sweetest Things Bluebell (6×6)  Accessories:  Copic markers (E00, E11, R20, E13, E15, E18, BG10, BG11, BG13),  MFT hemp cord, MME button, X-Press It 1/4″ foam tape.  Finished size 4 1/4″ x 5 1/2″.