Monthly Archives: June 2017

Sending You Lots of Love (stamping bella)

Hello crafty friends! TGIF, which means it’s also time for another challenge with Stamping Bella.  🙂

Last week’s challenge was to create a shaker or spinner card. Since I have lots of Queen & Company goodies, I created a shaker.

Sending-You-Lots-of-Love-500

After stamping Petunia’s in Love onto X-Press It Blending Card, I colored with markers then carefully cut around the image. (There is a coordinating die but I couldn’t find it at the moment.) The sentiment, stamped in white then white embossed, is from Mail Chick.

Sending-You-Lots-of-Love-CU

Inside the heart shape, I placed Queen & Company sequins in red, pink, yellow and green.

Next week’s challenge is to create anything at all. Use any current Stamping Bella image then email your card to [email protected] by next Thursday to be featured on the SB blog and to be entered to win some Bella Bucks! (All challenge details can be found HERE.)

Thanks so much for stopping by! 🙂

1amichele siggy

Using Die-cuts with Double-Sided Adhesive Sheets

**Paper Smooches Release Hop can be found HERE**

Hi everyone! Today I’m sharing a second way to use double-sided adhesive sheets by X-Press It.  In a previous post I used the sheets to create a clear card. This time I’m using baby beads (from Queen & Company) to embellish a sun and rainbow from Paper Smooches.

Wishing-You-Sunshine-500

X-Press It Double-sided Adhesive Sheets are super tacky and die-cut very easily. I’ve tried many brands and X-Press It is, by far, my favorite.

DSS8.5X115

The adhesive sheets are available in packs of five sheets (8 1/2″ x 11″ only, which is perfect for paper crafters like us!), 25 sheets (several sizes) and a 31.5″ x 27 yard roll.

Wishing-You-Sunshine-CU

I adhered a piece of adhesive sheet to a block of white card stock cut slightly larger than my rainbow die. Placing the die on the adhesive side, I die-cut the two together, then die-cut a second rainbow from just card stock. I carefully removed the release paper from the cloud/rainbow outline as well as the interior cloud pieces and adhered the corresponding card stock pieces over those areas. This left only the rainbow stripes with exposed adhesive release paper.

Wishing-You-Sunshine-CU3

Removing one strip of release paper at a time, I poured beads over the exposed adhesive then pressed down to ensure the beads were securely adhered. I then removed the next strip of release paper and poured the next color of beads, repeating this process until all stripes were filled. (I highly recommend working with a funneled tray if using baby beads as they go EVERYWHERE. Sometimes they even jump out of the tray but it does help tremendously to keep them (mostly) confined (and with the funnel, the unused beads can be returned to the container).

Wishing-You-Sunshine-CU2


Adhesive sheets can be used for many purposes. I mostly use them for clear cards, creating stickers or as an easily (and NON-MESSY) application of adhesive to the back of more intricate die-cuts such as words.  I simply adhere card stock to the adhesive sheet, then die-cut with the die on the card stock side. *Always place the die on whichever side of the stack you want on top.*

Thanks for visiting today!  🙂

1amichele siggy

Paper Smooches July Release Hop

It’s Pep Rally week and we are here today to share a sampling of the NEW Paper Smooches JULY 2017 release!  TWO new stamp sets and SIX new dies will be available to purchase at 8:00 p.m. PT on June 30th. You will find our new products HERE once they go live.

To add extra fun to our hop, we are offering a $25 gift code to choose what you like from the PS online store.

Here are the details:

  • FOUR winners will be chosen at RANDOM from any of the design team blogs and the PS Blog to win the $25 prize.
  • Just leave a comment on any of the design team blogs listed below or the PS blog for your chance to win!  (You do not need to comment on all blogs to qualify but it increases your chances.)
  • Deadline: You have until midnight PT on Sunday, July 2nd to leave a comment.
  • Please check the Paper Smooches blog on Monday, July 3rd to see if you are one of the FOUR lucky winners.

To increase your chances of winning:

  • Tell us that you Facebooked about our blog hop.
  • Tell us that you Tweeted about our hop.
  • Tell us that you posted on your blog about our blog hop.

Today I have used new Body Language stamp set.

Paper Smooches - Michele Boyer

I randomly stamped the stomach, heart, lungs and kidneys (lol) onto X-Press It Blending Card then colored with Copic markers. I used Copic Opaque White and a toothpick to add tiny dotted highlights to the cheeks.

Paper Smooches - Michele Boyer

Copic markers – BG10, BG70, E11, E13, E21, E31, E93, E95, R83, R85, RV11, RV32, W00, W1; Copic Opaque White

That sentiment cracks me up. I love it. 🙂

Be sure to hop along and comment with the rest of the DT to increase your chances of winning one of four $25 gift codes.

 Thanks for visiting!  Good luck, and happy hopping!

1amichele siggy

Stamps: Paper Smooches Body Language  Dies: MFT Fishtail Flag Layers  Ink: Taylored Expressions Oreo, MFT Electric Red  Paper: Taylored Expression Pink Champagne; X-Press It Blending Card; Echo Park Summer Party   Other: Copic markers and Opaque White

Stamping Bella Summer Previews – Mermaids, Mushrooms and Maps

Hi everyone! I’m back today to share three more samples from Stamping Bella‘s upcoming Friday, June 30, release!  🙂

Stamping Bella - Michele Boyer

First I used new Tiny Townie Mermaid. The set includes the mermaid, treasure chest, bubbles and plant. The sentiment (my favorite) is from new Under the Sea Sentiments.

Stamping Bella - Michele Boyer

Copic markers – BG10, BG11, BG13, BG70, C00, C1, C2, C5, E00, E01, E11, E31, E33, E35, E40, E41, E43, R00, R01, Y00,Y02, Y17, Y32, YG03, YG17, YR15, YR24, YR27; atyou Spica Buttermilk and Clear glitter pens

I colored with Copic markers then added subtle sparkle to the mermaid’s tail with Buttermilk and Clear atyou Spica glitter pens. For a bit more sparkle, I adhered a few white Petite Posies. They very well could have fallen from the treasure chest. 🙂

Stamping Bella - Michele Boyer

Next is Uptown Girl Melinda has a Map.

Stamping Bella - Michele Boyer

Copic markers – BG10, BG70, E00, E01, E11, E31, E33, E35, E40, E41, E42, E43, E44, R00, R01, Y21, YR12, YR14, YR15, YR18, W00, W1, W2, W4, W7, Colorless Blender

After coloring with markers, I stamped the sentiment with the lower three lines shifted a bit to the left to accommodate the image.

Dreams-Come-True-500

And lastly,  I used new Fairy Garden Fairy, this time with her mushrooms and the included sentiment.

Stamping Bella - Michele Boyer

Copic markers – BG000, BG10, BG70, E00, E01, E09, E11, E31, E40, E42, E43, G20, G21, W00, W1, W2, W3, Y11, Y21, YR14; Copic Opaque White

She’s so sweet. 🙂

Stop by the Stamping Bella blog to see today’s preview sets, and be sure to leave a comment on each preview day for the chance to win a $25 gift certificate to the Stamping Bella shop. Good luck!

1amichele siggy

Stamping Bella Summer Previews – Fairies, Floaties and BFFs

Where to begin?  Stamping Bella‘s summer release is AMAZING and so very much fun to color! So much fun, in fact, that I have four samples today (and three more tomorrow). I couldn’t stop. 🙂 New stamps and dies will be available for purchase on Friday, June 30.

On my first card I used new Fairy Garden Sign with Fairy Garden Fairy. *sigh* ♥♥♥

Stamping Bella - Michele Boyer

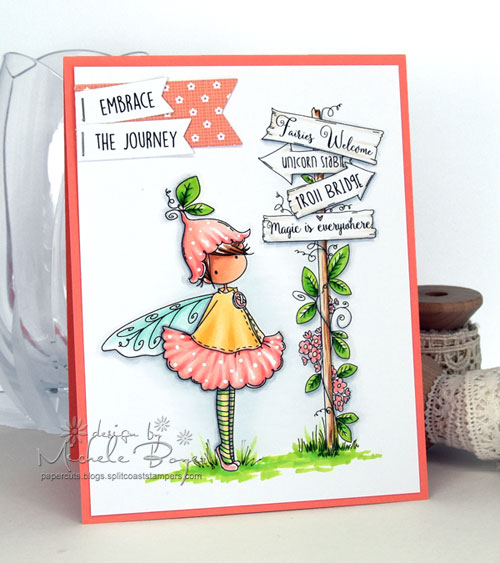
Isn’t she adorable? And the sign? Love, love, love. (Don’t take the Troll Bridge!) 😉

Stamping Bella - Michele Boyer

Copic markers – BG10, BG11, BG70, C00, C1, C2, E00, E01, E11, E30, E31, E33, E35, E40, R12, R20, R21, R22, Y32, YG01, YG03, YG06, YG17, YR21; Copic Opaque White

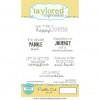
Embrace the Journey is one of two sentiments that comes along with the sign. I broke the phrase apart, stamping onto two flags. Coloring was done with markers and dots were added using Copic Opaque White.

Stamping Bella - Michele Boyer

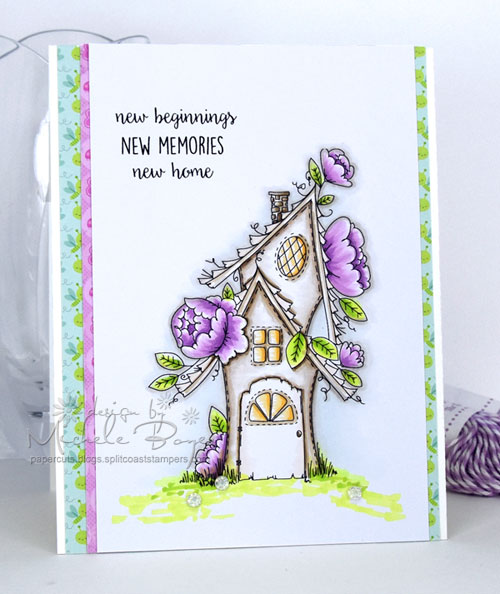
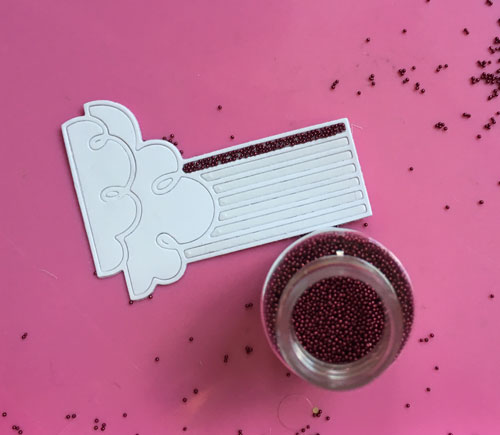
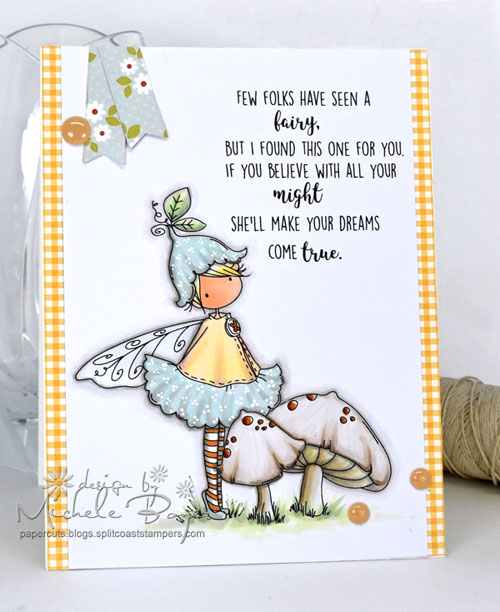
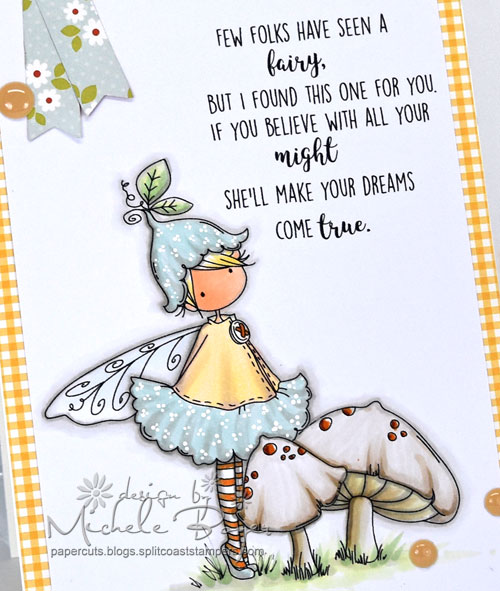
Next, I colored sweet Fairy House Garden.

Stamping Bella - Michele Boyer

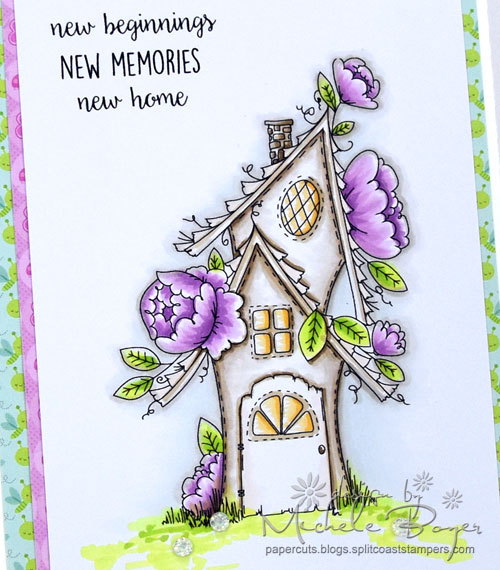
Copic markers – BG70, E000, E40, E42, E43, V01, V12, V15, W00, W1, Y32, YG01, YG03, YG06, YR21

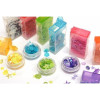
After coloring, I added some super sparkly Queen & Company white Petite Posies.

Stamping Bella - Michele Boyer

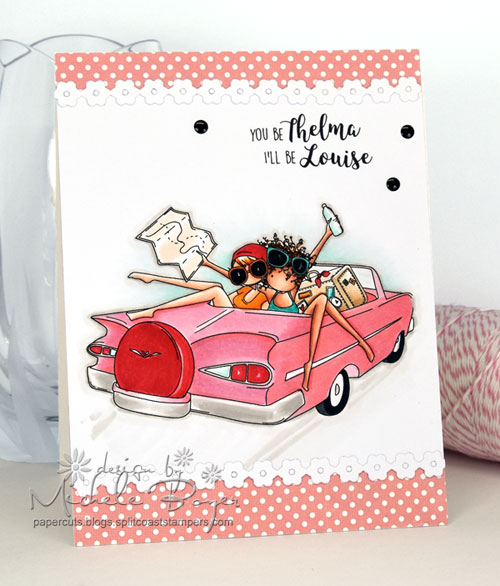
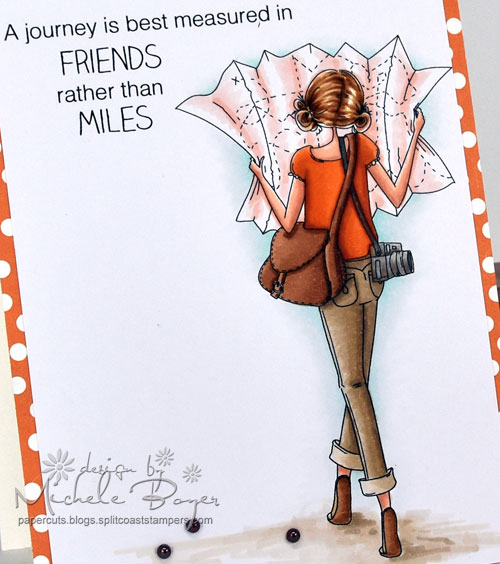
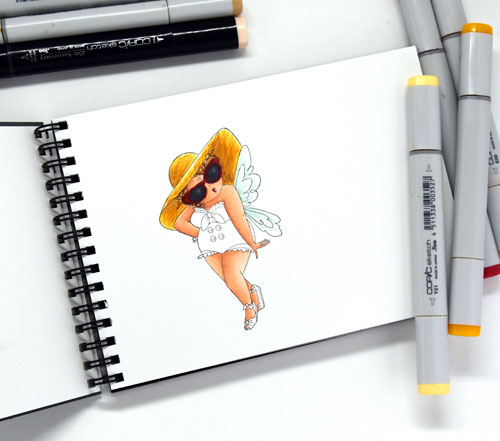
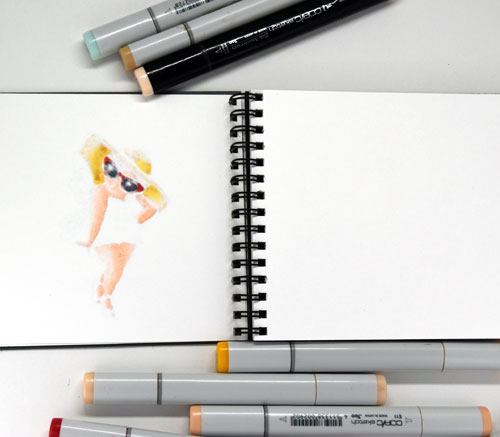
Next up are Uptown Girls Thelma & Louise. So cute! 🙂

Stamping Bella - Michele Boyer

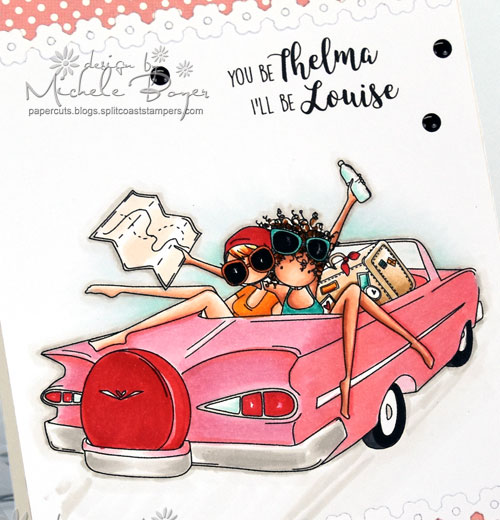
Copic markers – BG10, BG11, BG13, BG70, E000, E00, E01, E11, E30, E31, E33, E35, N5, N9, 110, R22, R24, R32, RV11, RV42, W00, W1, W2, Y21, Y38, YR15, YR18, YR21, YR68

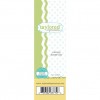
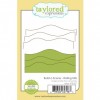
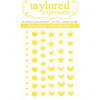
Once the image was colored and layered over patterned paper, I added decorative borders (Taylored Expressions’ Skinny Mini Borders 2) along with a few enamel shapes (also from Taylored Expressions).

Stamping Bella - Michele Boyer

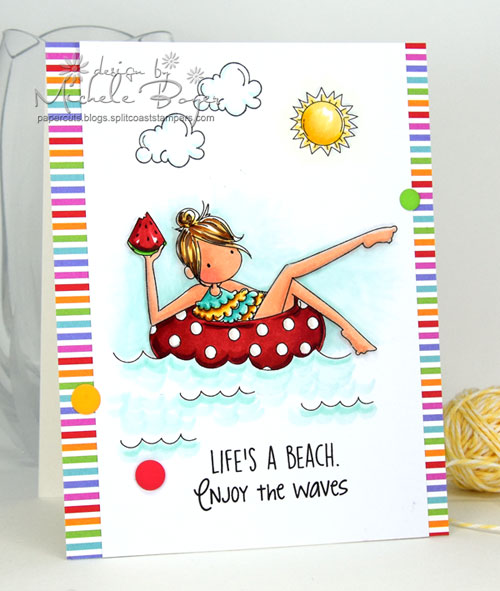
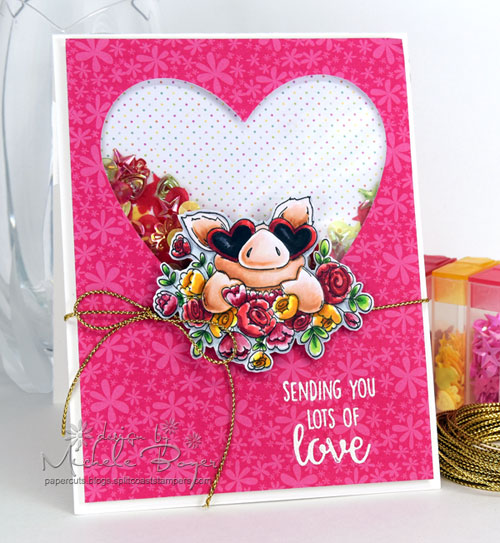
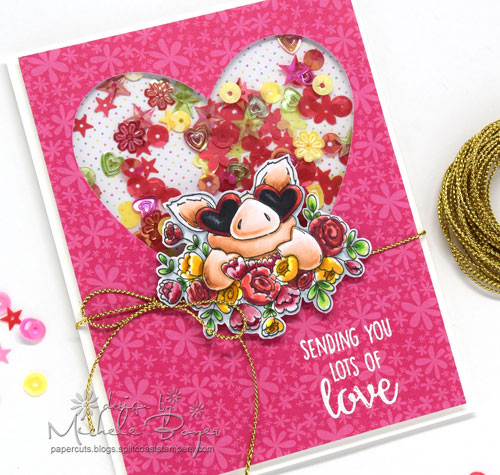
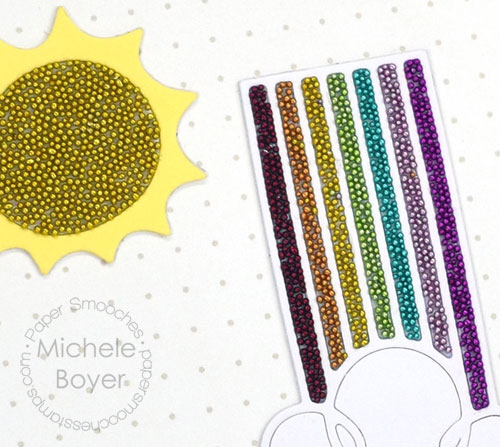
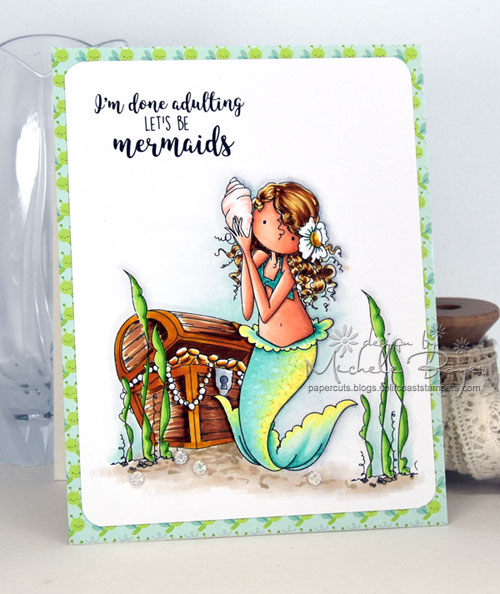
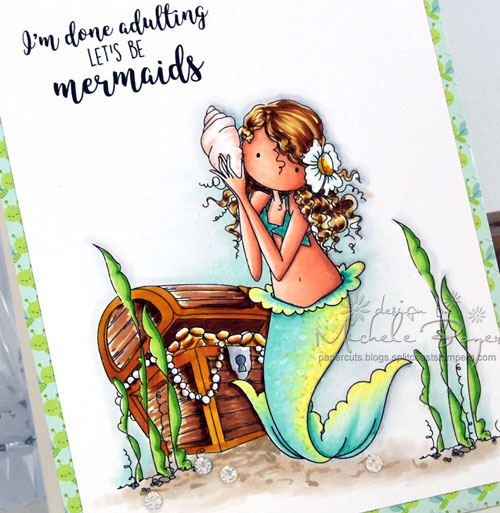
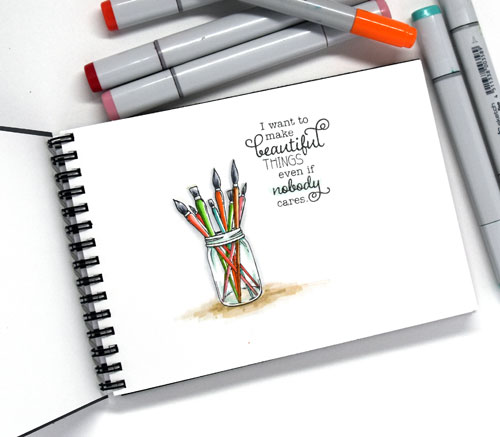
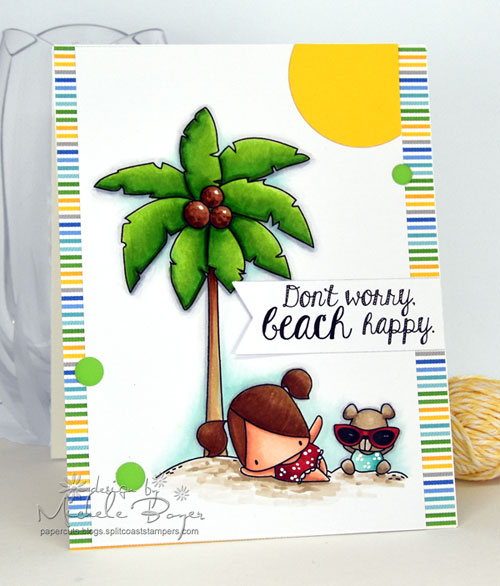
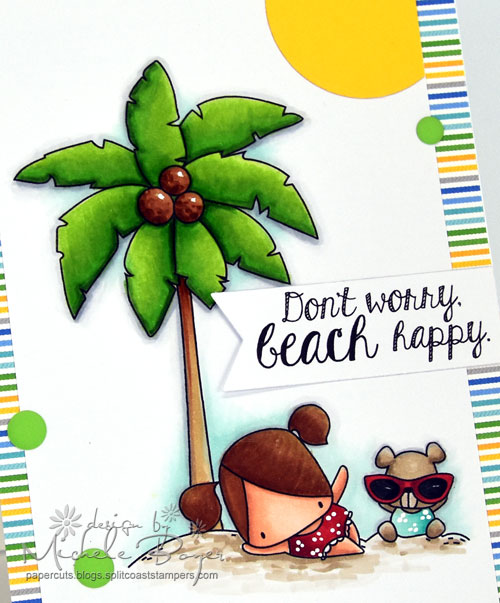
And lastly (for today), I used new Tiny Townie Frances Loves to Float along with a new Summer Sentiment.

Stamping Bella - Michele Boyer

Copic markers – BG10, BG11, BG13, BG15, BG40, BG70, C00, C1, E00, E01, E11, E31, E35, R21, R27, R29, R89, Y19, Y0000, Y21, YG07, YG17

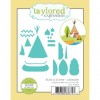
The set comes with the main image, the sun, waves, sunglasses, flip flops, a mound of sand and a beach umbrella. The clouds are from previously released Edna Blows a Kiss.

Be sure to head over to the Stamping Bella blog to see even more previews. While you’re there, leave a comment on each preview post for the chance to win a $25 gift certificate to the SB shop!

Thanks for visiting!

1amichele siggy

Tracking Copic Skill with a Sketchbook

Hi everyone! Today’s post is a little different from my norm. I wanted to share with you an idea I had on tracking Copic coloring progress. I am always trying to improve my coloring, whether it’s shadow, glass, skin, fabric, anything really.  So I have begun a Copic sketchbook where I will color any thing, any time, whether I want to practice a specific technique or just color for the sake of coloring. By the time the book is filled, I hope (and expect) to see improvement in my skill. 🙂

Copic Sketchbook by Imagination International, Inc.

I use Copic’s 5″ x 7″ sketchbook available from Imagination International, Inc. (Also available in 11″x 14″, 4″ x 6″, 5″ x 12″, 7″ x 10″ and 9″ x 12, ranging in price from $4.99 to $24.99.)   5″ x 7″  is the perfect size for my purposes and easily tucks into my purse or luggage.

Taylored Expressions "A Life She Loved"

Within the super-thick cover are 50 sheets of high quality (70 lb.) Japanese illustration paper, perfect for use with Copic markers and mixed media.

SB3

Stamping Bella “Edna Loves the Ocean”

Copic ink does bleed through to the back of the paper but did not bleed through to the next page. This may depend on just how much ink is applied, but even red did not bleed to the next page (as shown in the photo below). It may be a good idea to tuck a piece of scrap paper beneath when coloring, just in case.

SB4

When my book is filled, I will come back to share my results. Is anyone with me in this experiment? It will be fun!

Thanks for stopping by!

1amichele siggy

Stamping Bella NEW Summer Release Previews – Don’t worry. Beach happy.

Hi everyone! Welcome to Day 1 of Stamping Bella‘s Friday, June 30 release previews! This might be my favorite release ever so I’ve been (im)patiently waiting to share my samples. 🙂

Today Stamping Bella introduces a new line called The Littles. Oh my gosh, they are so cute. Of the new sets, I used Littles Palm Tree set with a sentiment from Summer Sentiments.

Stamping Bella - Michele Boyer

Also available are coordinating dies but for my card, I simply layered the images, masking as needed. I colored with markers and added tiny white dots using Copic’s Opaque White.

Stamping Bella - Michele Boyer

Copic markers – BG10, BG11, BG13, C00, C1, C2, E00, E01, E11, E31, E33, E35, E40, E42, E43, N7, 110, R27, R39, YG03, YG06, YG17

Be sure to stop by the Stamping Bella blog to see each day’s featured releases. Don’t forget to leave a comment while you’re there for the chance to win a $25 gift certificate to the Stamping Bella shop. The new release will be available for purchase Friday, June 30.  🙂

Thanks for stopping by!

1amichele siggy

Stamps: Stamping Bella The Little Palm Tree set, Summer Sentiments   Dies: MFT Circle Stax 2, Fishtail Flag Layers  Ink: Taylored Expressions Oreo   Paper: Taylored Expressions Sugar Cube, X-Press It Blending Card, Doodlebug Anchors Away  Other: Copic markers, Copic Opaque White, Doodlebug Matte Sprinkles Christmas.

Especially for You (stamping bella)

Hi everyone! It’s time for another challenge with Stamping Bella. This week I used Uptown Girl Brittany the Birthday Girl.

Stamping Bella - Michele Boyer

The challenge last week was to design using this inspiration photo:

June 23

I went with the cake theme. 🙂

Especially-for-You-Pink-CU

Copic markers – BG10, BG70, C00, C1,C2, E00, E01, E11, E33, E35, R81, R83, R85, RV32, Y21

After stamping, I colored with markers then added a sprinkling of Queen & Company‘s pink posies. (Patterned paper is from Queen & Company as well.)

Next week’s challenge is to create a spinner or shaker card. Use any current Stamping Bella image then email your card to [email protected] by next Thursday to be featured on the SB blog and to be entered to win some Bella Bucks! (All challenge details can be found HERE.)

Thanks so much for stopping by! 🙂

1amichele siggy

Life is Simple (taylored expressions)

Hi everyone. I hope you’re enjoying the summer weather. While it is not as hot here as in Arizona (thankfully), we make up for it in humidity. Y-U-C-K.

Today I’m sharing a card I created using a handful of Build a Scene dies from Taylored Expressions. (I wish I were in that canoe right now…)

Build a Scene Lakeside, Taylored Expressions

I used Lakeside with Lakeside Border, Rolling Hills and clouds from Little Bits Sun & Clouds. Before adhering the hills and trees, I lightly sponged Salt Water Taffy ink to create a sky.

Build a Scene Lakeside, Taylored Expressions

After die-cutting each piece, I sponged the edges with either the same or slightly darker ink as the card stock color. This helps to create definition as well as depth. I thought the sentiment, from Paddle Out, was perfect. There are actually a few sentiments from the set that would work here but I like this one the best. 🙂

Thanks so much for visiting day!

1amichele siggy

Hoping to Make You Smile and a BIG Paper Smooches SALE

Hi everyone. Today I’m sharing a very quick and easy card using Paper Smooches‘ new Kindness Sampler (fabulous stamp set) with Garden Blooms dies. But first I want to let you know about a big BIG hot sale (because it’s supposed to be 120 degrees in Arizona this week! That is hot, hot, HOT! Please note ALL sale details:

Paper Smooches Hot Sale

During the sale dates ONLY…the FREE TAM will NOT be the Garden Greetings stamp set.  Instead, orders that are over $60. after sale discount has been applied will receive our Critter Card Puns stamp set for free. 

If you missed Jennifer McGuire‘s video using our Shaped Card dies and Critter Card Puns stamp set – you won’t want to miss it.  It’s so amazing!  You will find it HERE.

The sale is valid on products currently in stock.  At the moment, the only product that is out of stock is our Cozy Coffee Die. 

The Garden Greetings stamp set is still available to purchase and will become the free TAM set again once the sale ends on June 21st at 8:00pm PT.  We needed to substitute the free TAM product during the sale because it’s so hard to anticipate demand. 

Now onto my card. 🙂

Garden Blooms dies - Paper Smooches

I first die-cut the flowers from white card stock, removed the inside pieces of the blooms and colored the outlines with markers.

Garden Blooms dies - Paper Smooches

Copic markers – BG13, R85, Y19, YG17

I used a powder tool to brush over a strip of black card stock then stamped the sentiment using white pigment ink then white heat embossed. To finish, I added a few heart enamel shapes. To create the longer stems, I die-cut the stem portion of each flower a second time, colored, then placed the extensions below the sentiment strip, snipping away any extra length.

Thanks so much for visiting today! Be sure to check out that amazing sale!

1amichele siggy