Monthly Archives: June 2017

Creating a Removable Hair Bow Embellishment

Hi everyone! Today I did a bit of playing around with material (treated with Terial Magic) and hair clips.

Stamping Bella - Michele Boyer

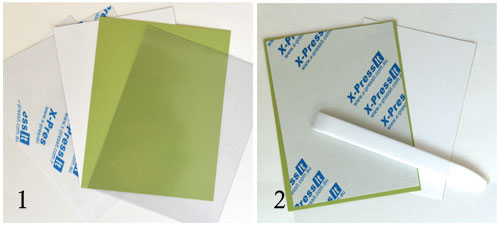
Terial Magic is a liquid fabric stabilizer that allows fabric to be treated pretty much like paper. You can see how I used it HERE to stamp on, color and die-cut fabric.

Lots-of-Love-1a

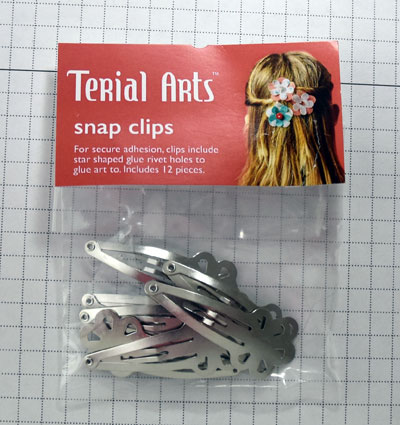
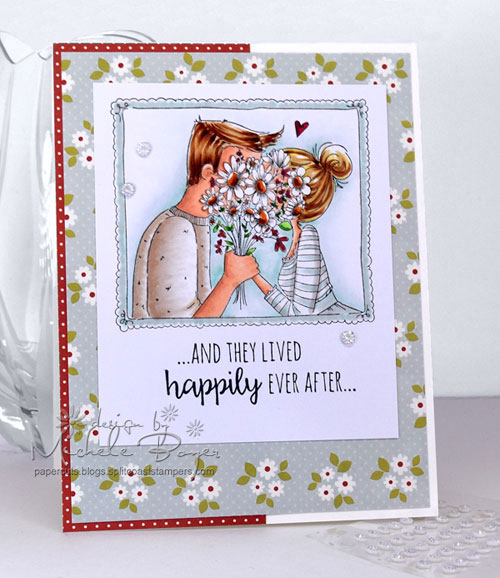
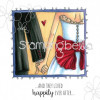
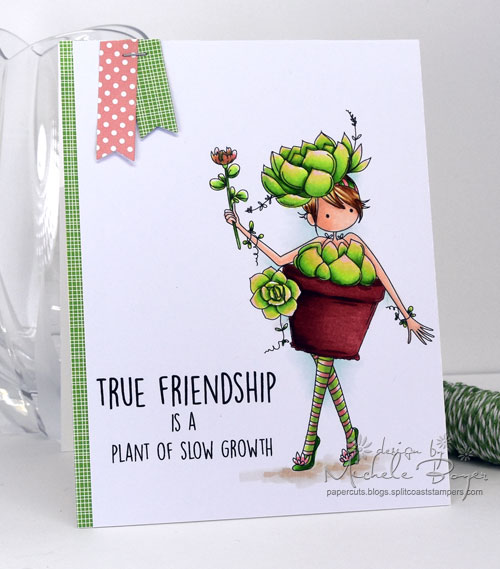
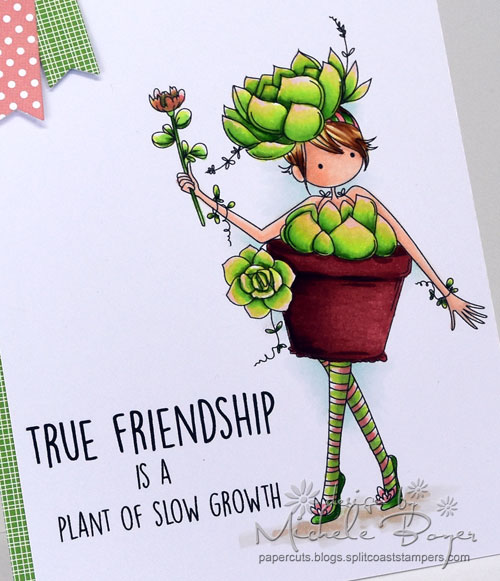
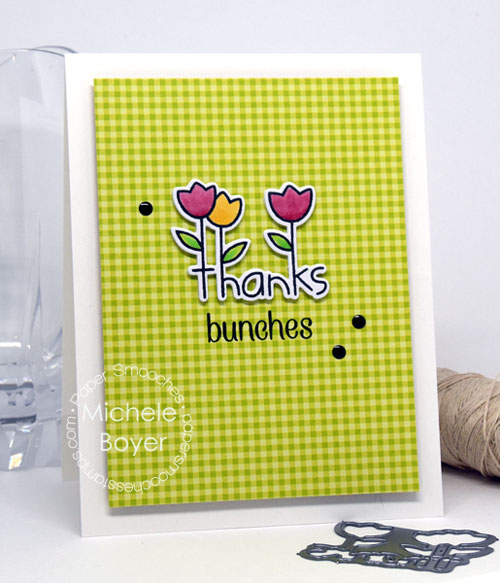
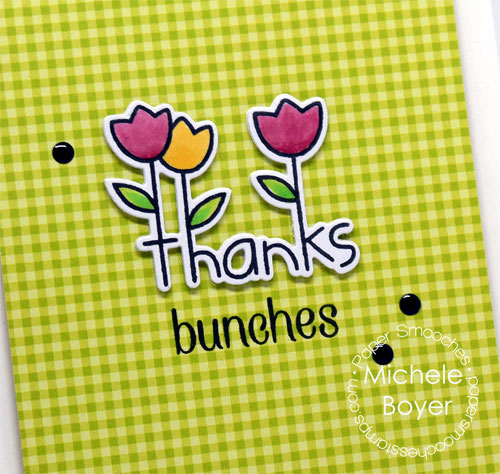
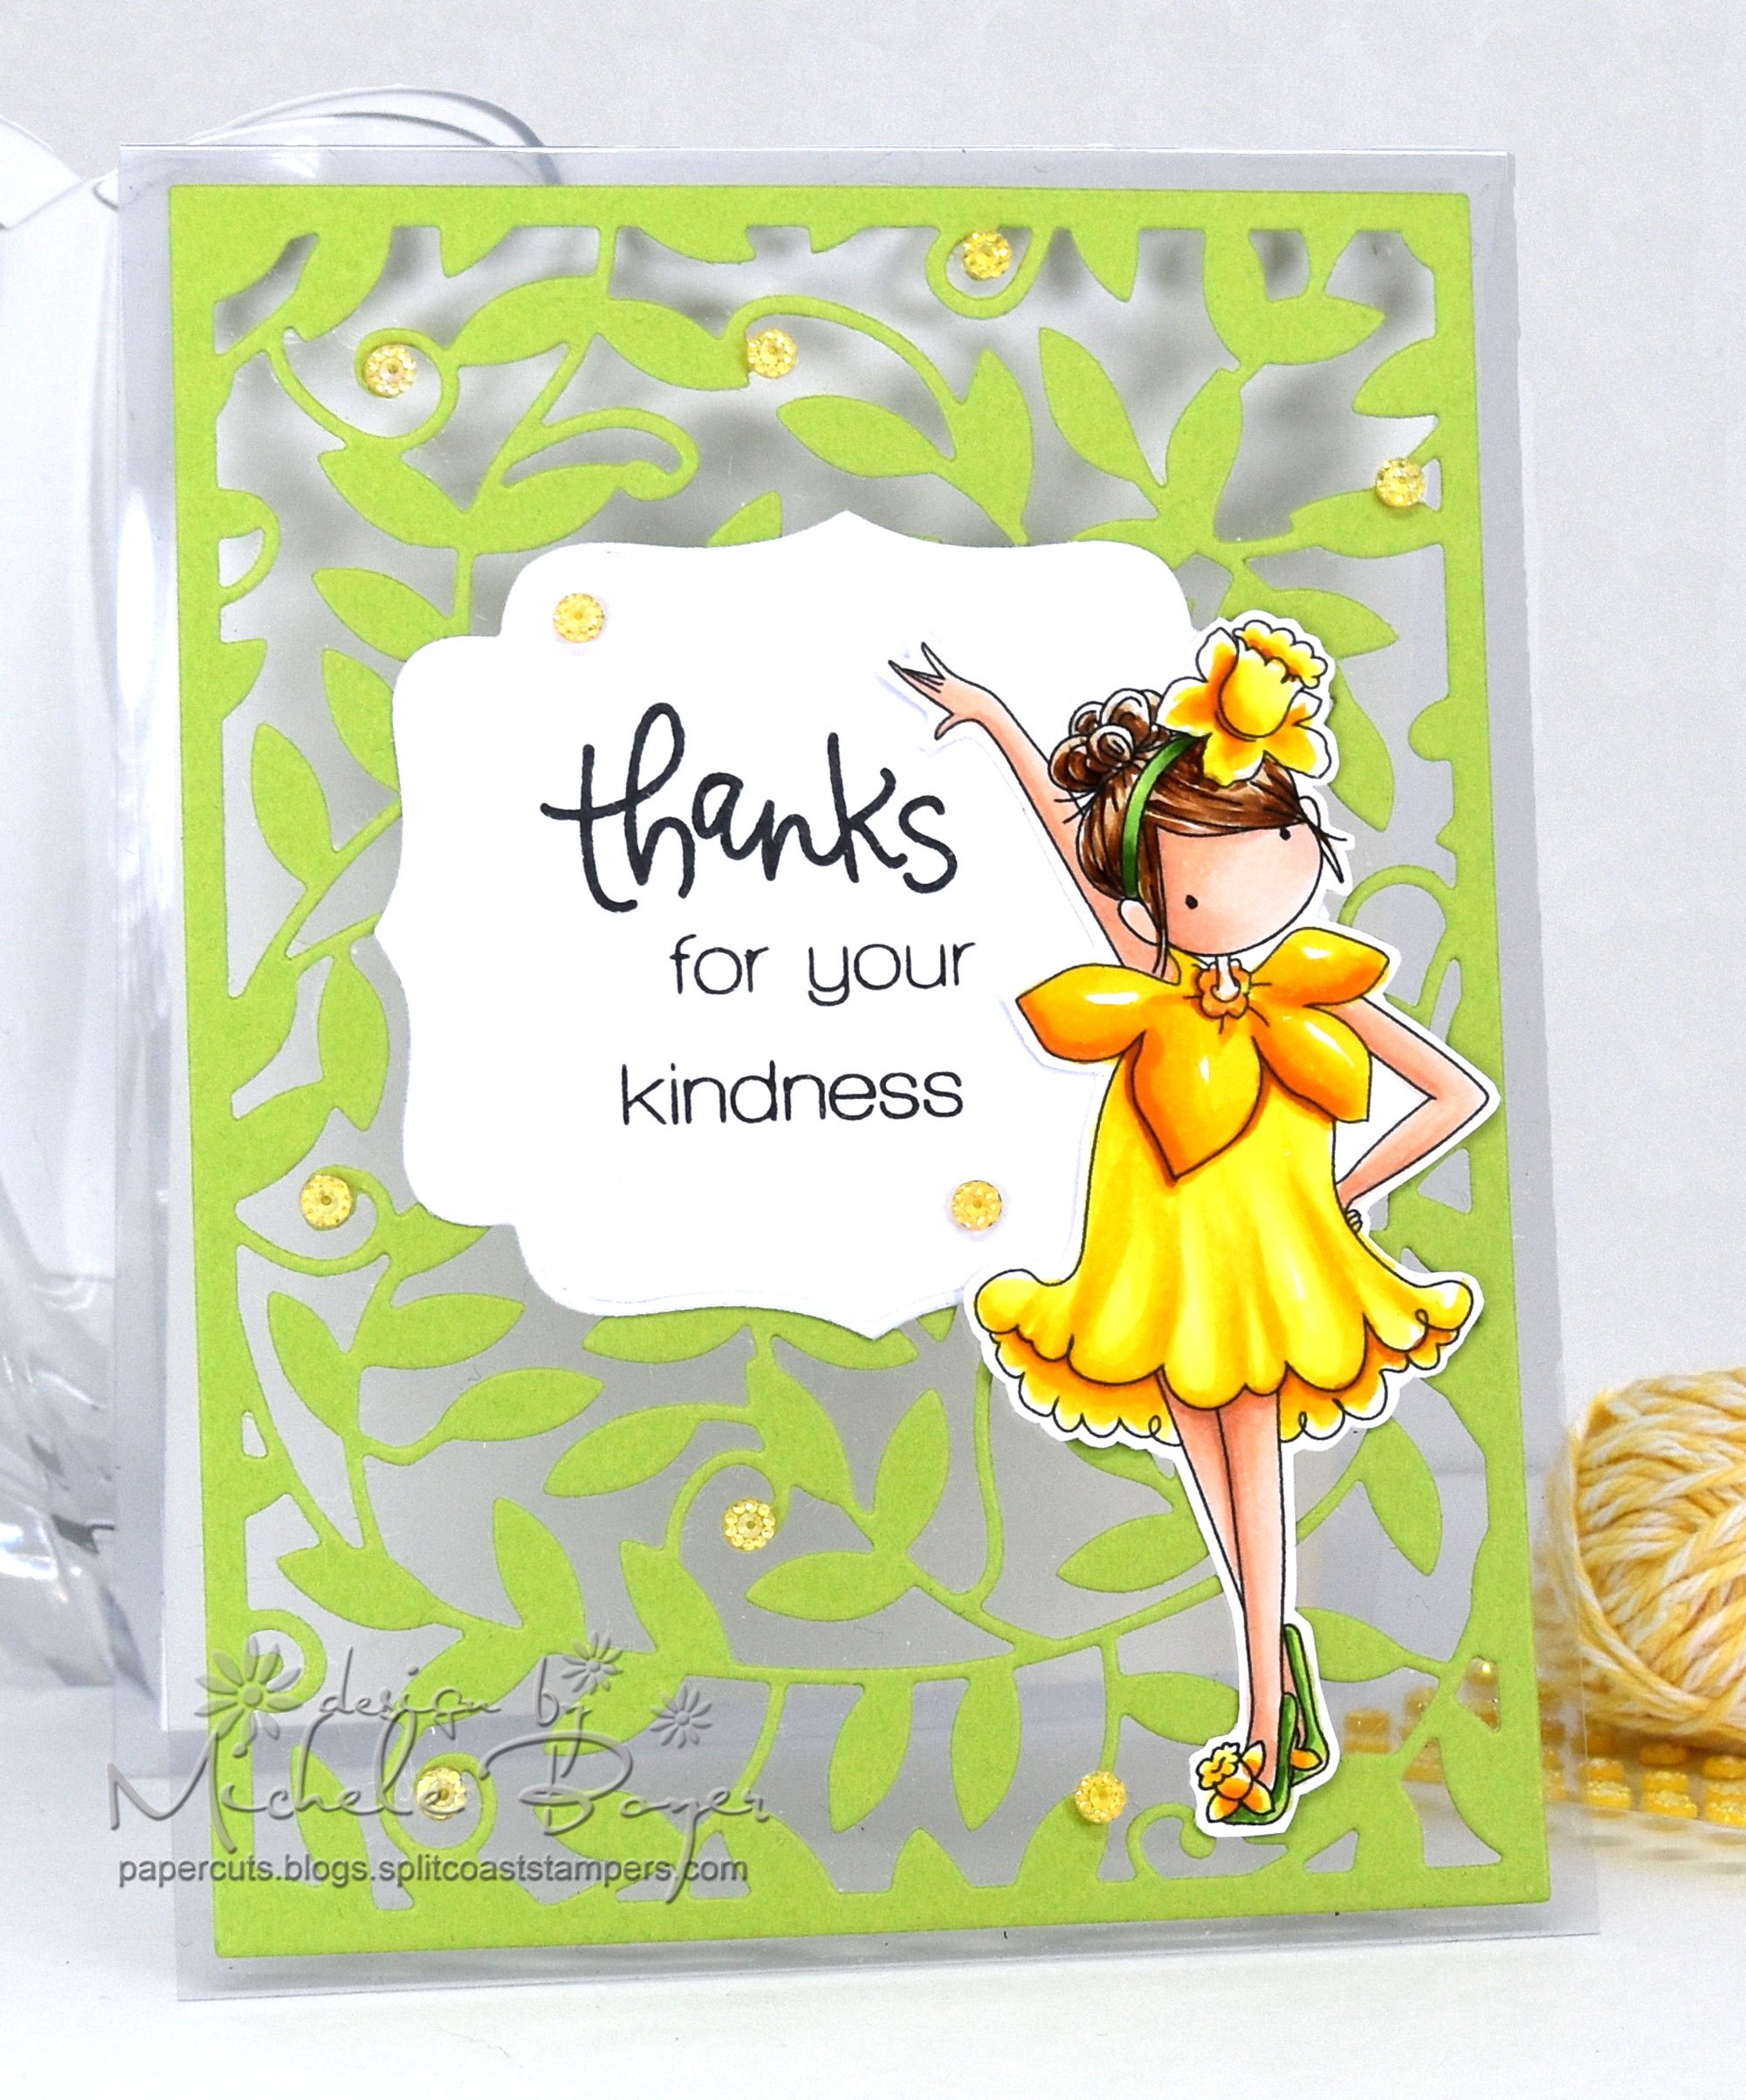
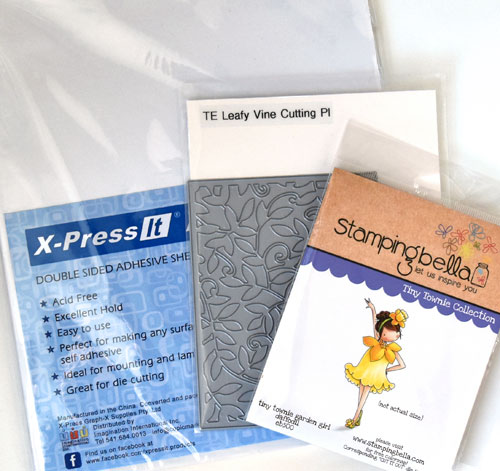
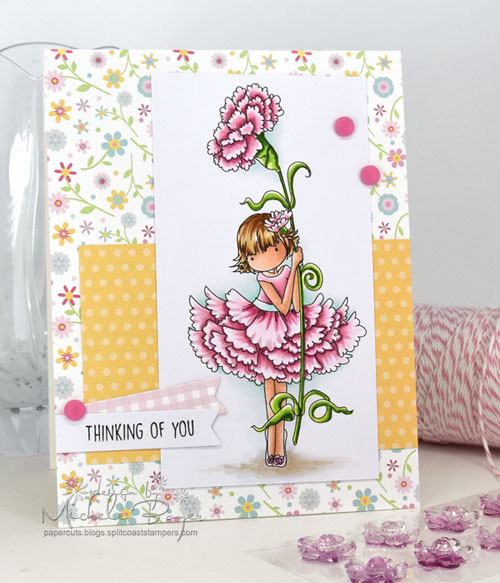
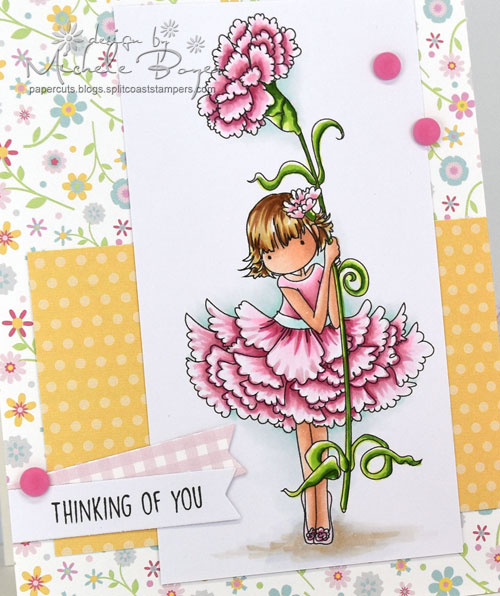
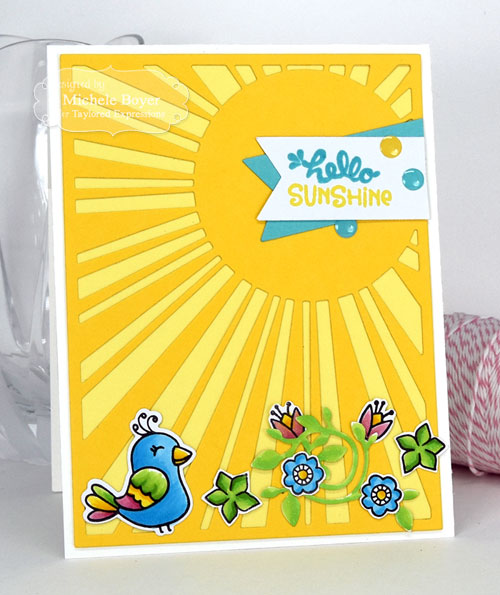
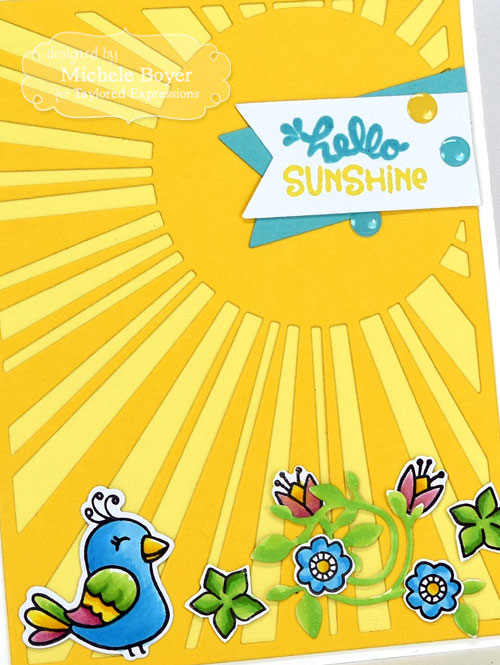
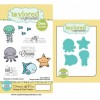
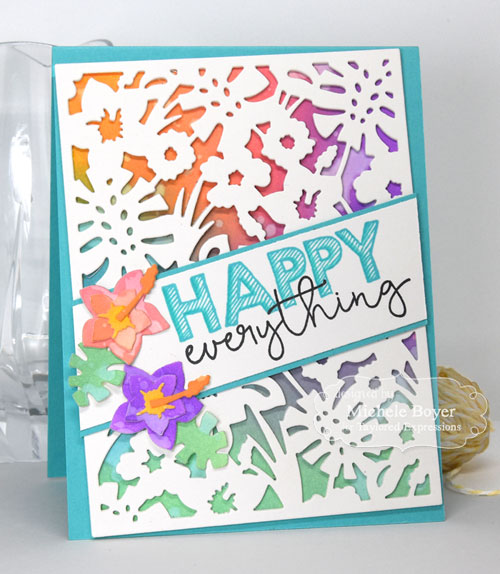
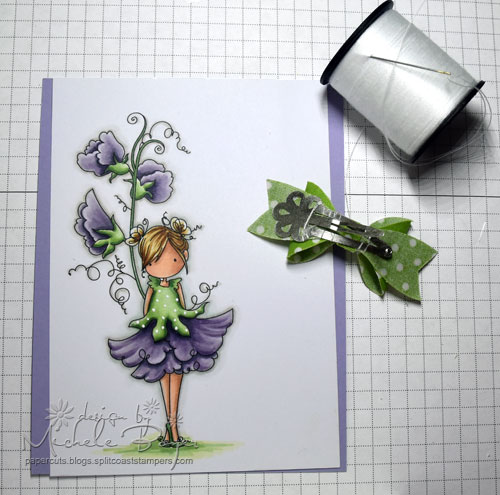
I used some pre-treated fabric (left from another project) and a Terial Arts snap clip to create a bow that can later be removed from the card and used as a barrette.  I think it coordinates perfectly with my colored Tiny Townie Garden Girl Sweat Pea from Stamping Bella.

Lots-of-Love-3

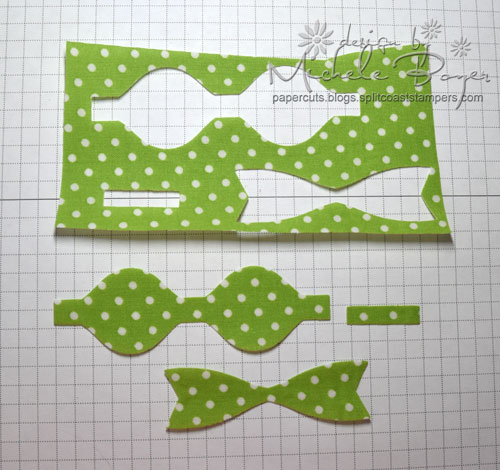
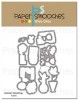
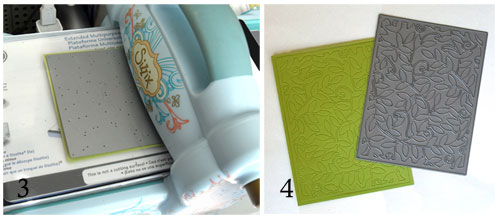
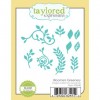
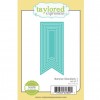
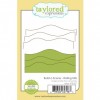
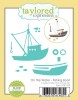
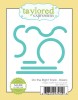
Because my fabric was treated with Terial Magic, I was able to very easily die-cut bow pieces from Taylored ExpressionsMini Mix & Match Bows. I only ran the dies/fabric through my die-cutting machine one time. No frayed edges or uncut threads. No problem.

Lots-of-Love-4

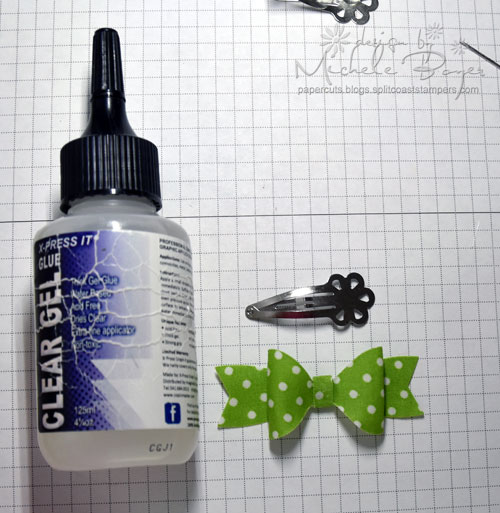
I used X-Press It Clear Gel Glue to assemble the bow.

Lots-of-Love-5

I positioned the clip on the bow so that the clip was not seen from the front then used thread to hold the clip in place.

Stamping Bella - Michele Boyer

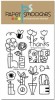
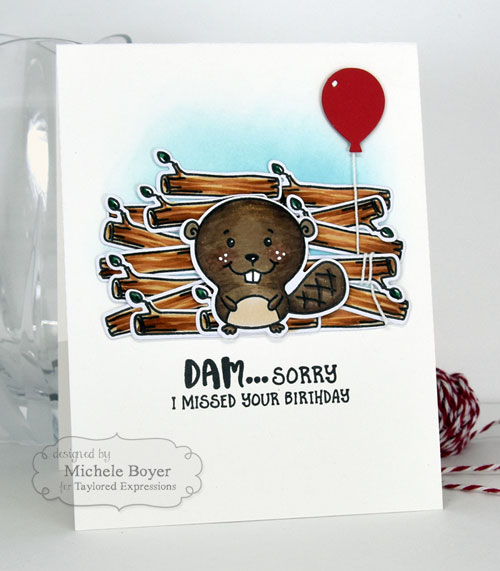
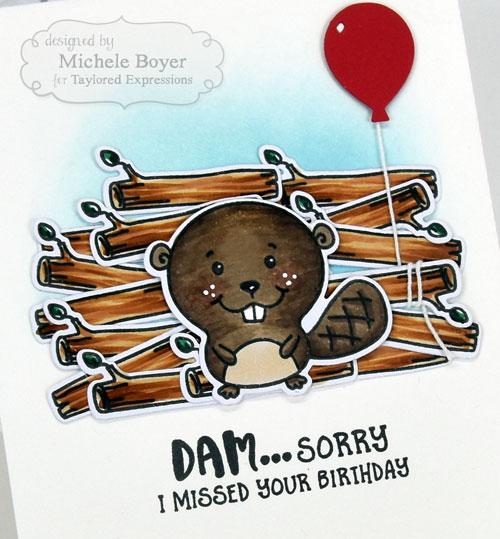
Copic markers – BG10, BG70, E00, E01, E11, E13, E31, E35, G20, G24, G40, G43, G46, R01, W00, W1, W2, Y21, V20, V22, V25, V28; Copic Opaque White (dots on shirt)

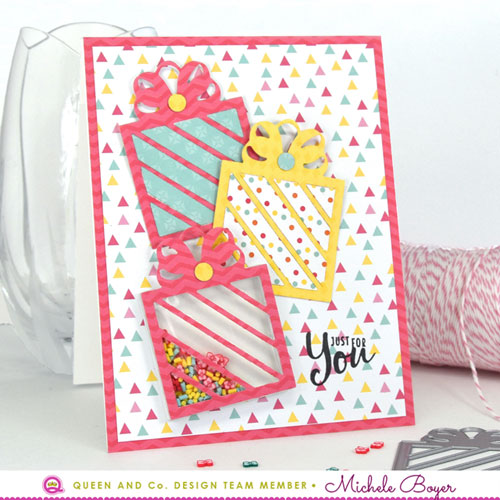
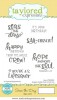
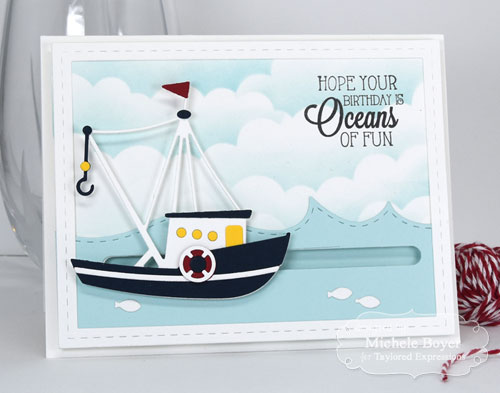
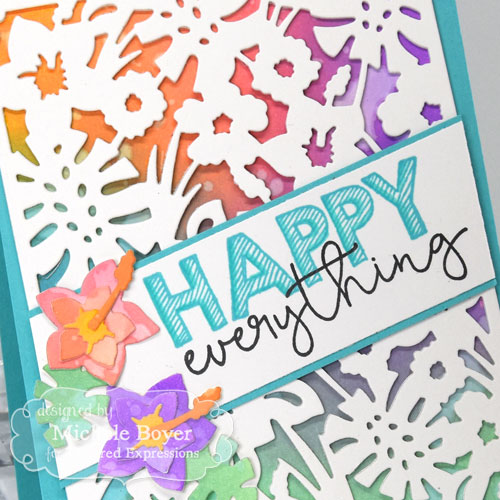
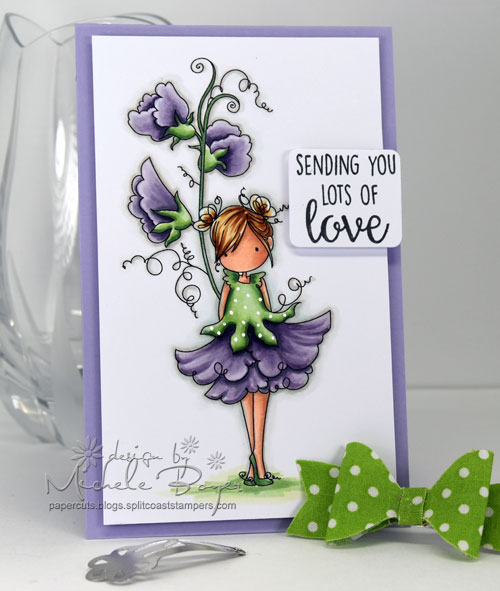
I used foam tape to pop up the colored panel so that when the bow is in place, the panel lies flat. The sentiment, from Stamping Bella’s Mail Chick, is also popped up on foam tape.

I think the card is still cute once the barrette has been removed. 🙂

Thanks so much for visiting today.

1amichele siggy

Queen & Co. Pretty Presents Card Kit

Hi everyone! Today I have two more cards to share using Queen & Company‘s new Pretty Presents kit. I previously posted two kit cards HERE. Everything, other than base card stock, ink and adhesive, is included in the kit.

Just-for-You-PP-500

On my first card, I created one shaker present using the pre-cut foam and acetate pieces. The remaining two presents are simply filled with coordinating patterned paper.

Just-for-You-PP-CU-500

I added a bit of dimension to the top two presents by tucking clear foam squares beneath the top edges of each. To add detail to the bows, I adhered die-cut circles left over from the present die used on  my next card.  🙂

Congrats-PP-500

Here I used the largest of the three dies to create my trio of presents.

Congrats-PP-CU-500

To add detail to the gifts, I die-cut the top ribbon portion a few extra times and adhered the additional colors behind each bow.

Both cards can be created in just minutes with the fab Pretty Presents kit. It’s sooo easy to incorporate fun shakers when all pieces are cut and ready to be used! Even stamps are included! You can find the Pretty Presents kit as well as refills HERE.

Thanks for visting!

1amichele siggy

And They Lived Happily Ever After (stamping bella)

Hello everyone! Welcome to another Bellarific Friday with Stamping Bella! This week’s challenge was to create an anniversary, wedding or love themed card.

Happily Ever After - Stamping Bella

I wanted to create something that wasn’t specifically for a wedding or anniversary, but could work for either, or even an engagement card. I used Close-Ups In Love with a sentiment from Close-Ups I Do.

Happily Ever After - Stamping Bella

Copic markers – BG10, BG70, E00, E01, E07, E11, E35, E40, E41, E42, R29, R59, Y21, YG06, YG17, W1, W2, YR14

After coloring with markers, I added a few super sparkly White Petite Posies from Queen & Company. (I’ve mentioned before that they are one of my favorite embellishments. They go with everything!)

Next week’s challenge includes this inspiration photo:

Inspiration photo

Use any current Stamping Bella image then email your card to [email protected] by next Thursday to be featured on the SB blog and to be entered to win some Bella Bucks! (All challenge details can be found HERE.)

Thanks so much for stopping by! 🙂

1amichele siggy

True Friendship is a Plant of Slow Growth

Hi everyone! I’ve wanted to color this super cute image for some time. She’s Tiny Townie Susie the Succulent from Stamping Bella.  A coordinating die is also available but today I used just the image.

Stamping Bella - Michele Boyer

I think she’s sweet as can be, and what a perfect sentiment. It’s so true.

Stamping Bella - Michele Boyer

Copic markers – BG10, BG70, E00, E01, E07, E08, E09, E11, E18, E31, E35, E40, E42, R00, R01, R22, W2, Y21, YG01, YG03, YG06, YG17

I stamped Susie onto X-Press It Blending Card and colored with Copic markers. On the succulents, I used R01 on the tips, moving the marker from the tips down toward the center, then I used YG01, feathering up and over most of the R01 to blend the two together. After doing so, I added in some darker hues and shadows with YG03, YG06 and finally YG17.

You can find Susie, as well as many other totally adorable Tiny Townies HERE.

I’ll be back tomorrow for Bellarific Friday! Hope to see you then!

1amichele siggy 

Thanks Bunches (paper smooches)

Hi everyone! Happy Monday! It’s finally the last crazy week of school here, although my kids are coming and going at wonky times, depending on final exam schedules. (I can’t keep up. I’m thankful one drives himself.)

With the end of the school year, I’ve needed a handful of thank you cards and this one, using Paper SmoochesGarden Greetings with coordinating dies, is one of my faves.

Garden Greetings - Paper Smooches

The Garden Greetings stamp set is this month’s TAM, or Thanks a Million, set which is FREE through June 30 with any $60 retail order. It’s a SUPER cute set. 🙂

Garden Greetings - Paper Smooches

Copic markers – R83, RV32, Y21, YG03, YG07

After stamping and coloring with markers, I die-cut the image then die-cut four or so additional, plain white pieces to stack beneath. It adds dimension, giving the appearance of a chipboard piece.

I’m off to take Child #2 to school for her last final exam. Woohoo!  (Well, Woohoo once the test is over.)  🙂

Thanks for stopping by! Have a great week!

1amichele siggy

Clear Cards Made Easy

Hi everyone! Today I’m sharing some tips on how I create clear cards. I find working with acetate to be a little tricky at times, specifically in reference to adhesive.  What is the best adhesive to use, and how can I avoid that adhesive being seen on the inside of the card?

Stamping Bella - Michele Boyer

X-Press It Double-sided Adhesive Sheets (available from Imagination International, Inc.) are my “go-to” adhesive for clear cards. They are perfect for mounting, laminating and basically making any surface sticky. They are acid-free, provide an excellent hold and are ideal for die-cutting. Win/win for papercrafters!

1a

For my card today, I used the double-sided adhesive sheets, acetate, Taylored ExpressionsLeafy Vine Cutting Plate and Label Stacklets 2Stamping Bella‘s Tiny Townie Garden Girl Daffodil and Simon Says Stamp‘s Thanks stamp set.

Here’s how I created my card:

1-and-2

1 – Cut two adhesive sheets to 4 1/4″ x 5 1/2.” One piece will be adhered to the green card stock for die-cutting. The other will be adhered to white card stock which will serve as the “inside” portion of the card for writing a personal message.

2 – Remove one side of the release paper from the double-sided adhesive sheet and adhere each to green and white card stock. Using the side of a bone folder, apply firm pressure over both surfaces. Trim the white card stock piece to slightly smaller than 4″ x 5 1/4″.

3-and-4

3 – Place the die face down onto the green card stock and die-cut. I used a shim (added in after the photo was taken) and ran the stack through my Big Shot several times to ensure a good cut.

4 – The die will likely not cut through the remaining release paper but that’s ok.

5-and-6

5 – Use a sharp pin to carefully peel away the negative pieces from the die-cut.

6 – Remove release paper from the back and carefully adhere the die-cut panel to the front of the acetate card. Again, burnish over the die-cut using a bone folder to ensure all edges are firmly adhered.

7-and-8

Remove release paper from the white card stock. Open card and carefully align the edges of the white card stock with the green front. Close card to adhere white card stock to inside of card. You can see in the photo that the back side does not show messy adhesive at all. 🙂

Stamping Bella - Michele Boyer

Copic markers – E00, E01, E11, E31, E35, R00, R01, Y06, Y08, Y15, Y17, YG03, YG06, YG17, YR14, YR15

If desired, die-cut a second label and adhere to the back side of the front. As well, a second image shape can be die-cut and adhered to the back of the colored image before adhering to the card. In doing so, no Copic marker coloring will show through to the inside of the card.

Once my card was complete, I adhered a handful of super sparkly Queen & Company yellow Petite Posies. (They’re so very pretty!)

Thanks so much for vistiting today!

1amichele siggy

thinking of you (stamping bella)

Hi everyone! It’s another great Bellarific Friday with Stamping Bella! This week I used lovely Tiny Townie Garden Girl Carnation.

Staming Bella - Michele Boyer

I just cannot get enough of these Garden Girls. They are so sweet and I truly love coloring them. The pretty papers (Flirty Florals) and pink Rivets are from Queen & Company.

This week we followed this {Mojo}Bella sketch:

June 9

I pretty much stuck to it, adding a bit of length to accommodate the main image panel.

Staming Bella - Michele Boyer

Copic markers – BG10, BG70, E00, E01, E11, E31, E35, E40, E41, E42, RV10, RV11, RV21, RV32, RV34, Y21, YG01, YG03, YG17

I colored with Copic markers then added two tiny flags. The sentiment is a partial from Thinking of Youabella 2.0.

Next week’s challenge is to create with a wedding, anniversary or love theme. Use any current Stamping Bella image then email your card to [email protected] by next Thursday to be featured on the SB blog and to be entered to win some Bella Bucks! (All challenge details can be found HERE.)

Thanks so much for stopping by! 🙂

1amichele siggy

Taylored Expressions July Release Now Available

Hi everyone! I hope you’ve enjoyed the Taylored Expressions‘ June release previews over the last several days. All new stamps and dies are now available in the TE store. Before you head over, I have two more samples to share.

First, I used new Tropical Trio stamp & die combo with new Sunshine Cutting Plate.

Taylored Expressions - Michele Boyer

My Lemon Meringue sun was adhered atop a block of Potato Chip card stock with banners die-cut and stamped in Cookie Monster and Lemon Meringue ink.

Taylored Expressions - Michele Boyer

Copic markers – B02, B04, R83, R85, Y08, Y19, YG03, YG07, YG17

The cute bird and flowers were all colored with Copic markers with the bird die-cut using its corresponding die and the flowers cut by hand.

Next I used new Striped Background with Little Bits Sailboat and stars, again, cut using Starry Night Cutting Plate. (It’s one of my faves!)

Taylored Expressions - Michele Boyer

I stamped the stripes using Blue Corn ink, added a couple of tiny clouds from Build a Scene Calendar and framed with a Stitched Circle and Stitched Frame.

Taylored Expressions - Michele Boyer

The sentiments are from new Seas the Day stamp set, each stamped onto a Banner Stacklet die-cut.

To see more projects, please head over to the TE Blog for a complete list of our designers. Also on the TE Blog today, you’ll find a list of winners from the preview posts. Maybe you are one of them!

Thanks so much for visiting!  🙂

1amichele siggy

Taylored Expressions June Previews – Day 3

Hi everyone! It’s Day 3 of Taylored Expressions‘ June 6 release previews! Today I am sharing (what I think are) my two favorite samples from this release. First up is On the Water Fishing Boat with new On the Right Track Basics, a new die set for creating interactive cards.

Taylored Expressions - Michele Boyer

I love this fishing boat because it reminds me of Deadliest Catch (which is actually about crab fishing but that’s ok).  The boat was a lot of fun to assemble. I especially like the intricate parts, like the crane. (It’s so detailed and very cool.)  🙂

Taylored Expressions - Michele Boyer

I used the long, straight element from On the Right Track Basics to create a horizontal slider within the Rolling Waves. On the back of the front panel, I adhered small squares of foam tape at each end of the track to keep the boat from sliding past the card edges.

My second card uses new Busy Beaver stamp & die combo, created in honor of Canada’s 150th birthday July 1st. The set is super cute with several play-on-words sentiments (including an “eh?”).  🙂

Taylored Expressions - Michele Boyer

I stamped and die-cut a handful of logs, colored the beaver with Copics then added white dots to his cheeks using Copic’s Opaque White and a toothpick.

Taylored Expressions - Michele Boyer

Copic markers – E31, E33, E35, E41, E43, E44, E47, G17, G28, R20; Copic Opaque White

I colored a small patch of card stock with a red marker then die-cut a Little Bits Balloon and “tied” it to one of the logs.

Taylored Expressions is celebrating Release Week with some fabulous giveaways! Visit the TE Blog to answer Taylor’s Question of the Day for a chance to win a prize from the latest release!

question of the day

I hope you’ll stop back tomorrow when I’ll have two final samples using TE’s new stamps and dies. Thanks for visiting!

1amichele siggy

Taylored Expressions June Preview – Day 2

Hi everyone! I’m back today with two more samples using Taylored Expressions‘ June 6 release product.

First, I created a summer scene using new Build a Scene Tropical, Sitting Pretty Nautical Accessories and Little Bits Pail & Shovel.

Taylored Expressions - Michele Boyer

I used clouds from Little Bits Sun & Clouds, a Stitched Circle for the sun and Build a Scene Rolling Hills for sand and water.

Taylored Expressions - Michele Boyer

The Little Bits Adirondack Chair was placed beneath the palm tree, and I used a tiny star from Starry Night Cutting Plate to embellish the pail. The sentiment, from Paddle Out, was stamped using Sugar Cube ink then white embossed.

Next, I used new Tropical Cutting Plate along with Distress Oxide inks.

Taylored Expressions - Michele Boyer

I first blended Worn Lipstick, Spiced Marmalade, Wilted Violet, Cracked Pistachio and Broken China Oxide ink onto a block of Sugar Cube card stock. I spritzed on some water then once dried, I adhered a Sugar Cube Tropical Blooms panel over top and added a sentiment from C’mon Get Happy.

Taylored Expressions - Michele Boyer

The flowers, from Build a Scene Tropical, were die-cut from Distress Oxide blended card stock, assembled and adhered.

Taylored Expressions is celebrating Release Week with some fabulous giveaways! Visit the TE Blog to answer Taylor’s Question of the Day for a chance to win a prize from the latest release!

question of the day

I’ll be back tomorrow with more previews! Thanks for visiting!

1amichele siggy