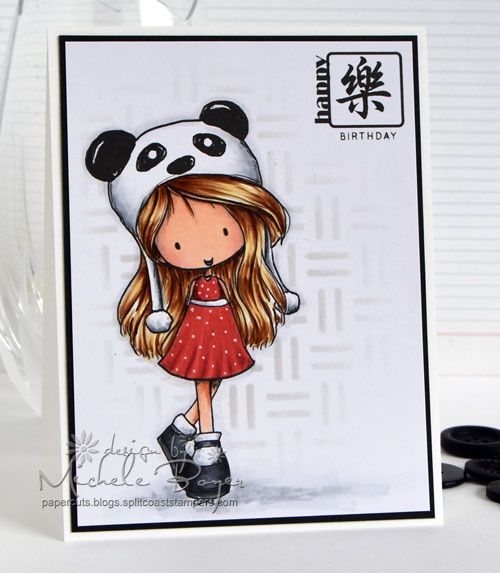
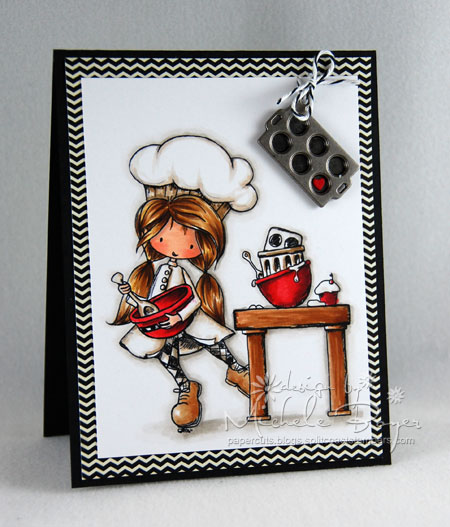
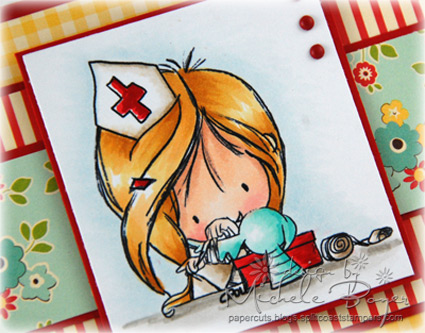
Hello. 🙂 Halloween is just around the corner and I’ve had this cute little Tiddly Inks witch colored on my table, just waiting to be put together. Since I have a marathon of posts coming up beginning Friday, I thought I better get to it now.
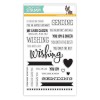
Witchie, Witchie, Screamie, Screamie
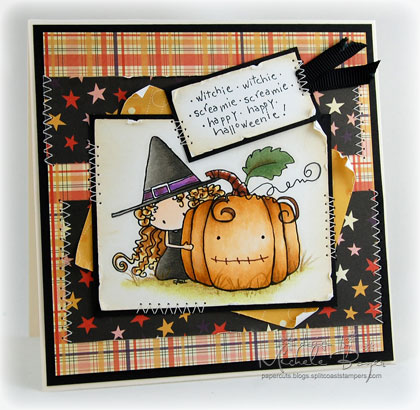
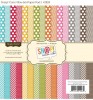
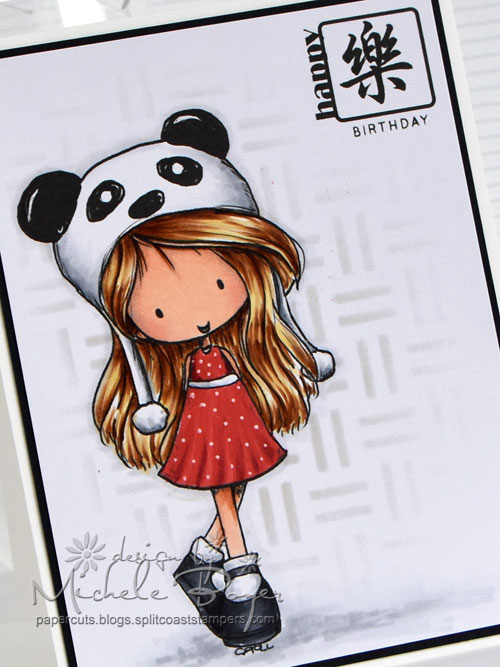
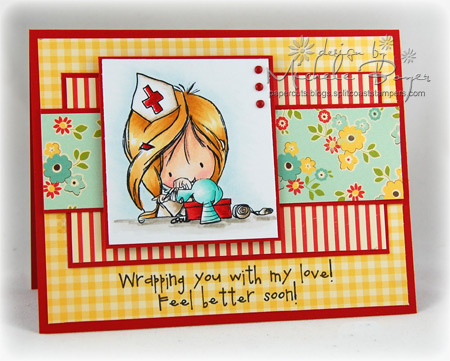
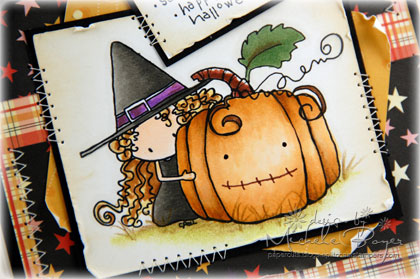
Other than the big piece of plaid, the patterned strips and blocks were leftover scraps from Cosmo Cricket’s Matilda paper pad. I got the idea for the little face on the pumpkin from one of the other patterns in the pad. I love the little “stitched-ish” smile.
Do you see that little black ribbon tag on the sentiment? I added that as an afterthought. The card was all put together and I decided I wanted to add “something.” So guess what I did? I stitched the whole card together when I added it. Yep. Stitched straight through to the back. lol. UGH. (And this was right after I checked tonight’s dinner in the crockpot only to find that I’d forgotten to plug it in.) ????? SO…I cut the back off the card, cut around the stitches and glued the front onto a new card base. It’s a little thick (lol) but good as new. 🙂
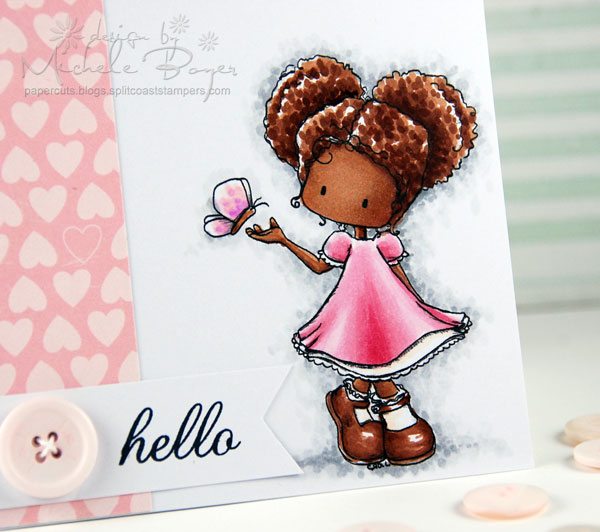
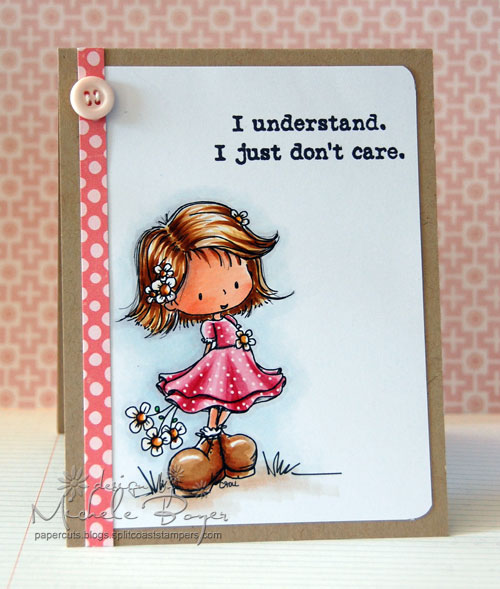
As usual, my image is colored with markers, and then the ground and bits of shading were added with pencils.
I’ll be back on Friday with this month’s JiFFy Challenge and then My Favorite Things previews begin Saturday! 🙂
Thanks SO much for stopping by! (And if you’d like to make me feel better, feel free to share one of your own stupid moments. lol.) Have a great day!
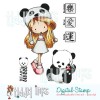
Digi-image: Tiddly Inks “Peekaboobug” Sentiment: Lockhart Stamp Co. “Witchie, Witchie” Ink: Memento Tuxedo Black, VersaMagic Wheat Cardstock: Papertrey Ink Vintage Cream, Black Patterned Paper: Cosmo Cricket Matilda 6×6 paper pad Accessories: Copic markers (E000, E00, E31, E33, E35, E57, YR0000, YR00, YR23, V15, V17, W1, W3, W5, W7, G94), Prismacolor pencils, black Sakura 3-d glaze pen (over pumpkin eyes), sewing machine, black ribbon scrap. Finished size 5” x 5”.