Monthly Archives: September 2015

Congratulations on Your New Home

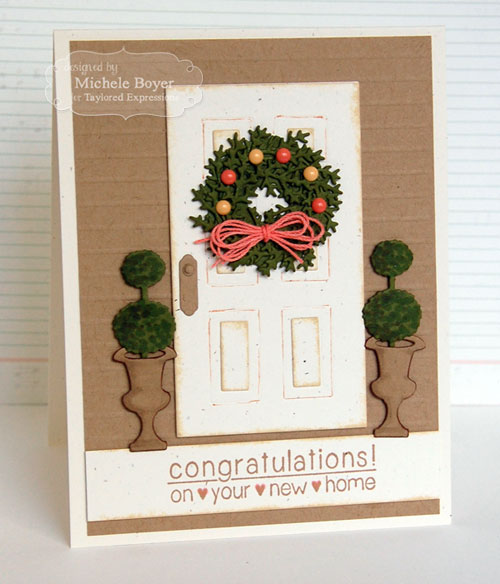
This month Taylored Expressions introduced a new line in their dies, Door to Door. How fun to assemble and decorate!

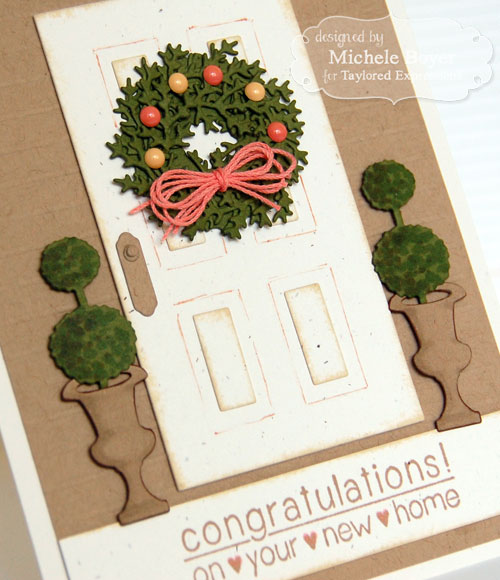
I created a “new home” card by first die-cutting the basic door pieces using Door to Door dies. The wreath and planters were created using Door to Door Decor.

Michele Boyer - Taylored Expressions

Prior to assembly, I added a bit of detail to the door pieces by lightly sponging kraft ink. Copic markers were used on the bushes and planters to add shadow and a bit of dimension. I don’t currently have many embossing folders so to create the “siding,” I evenly scored horizontal lines using a Scor-Pal and bonefolder.

Michele Boyer - Taylored Expressions

Copic – R21 (hearts and string), YG95, YG97 (bushes), W00, W2 (planters)

The sentiment is from Welcome Home, stamped in kraft ink with the hearts colored over with a Copic marker.

So many possibilities!

Thanks for visiting!

1amichele siggy 

heartfelt thanks

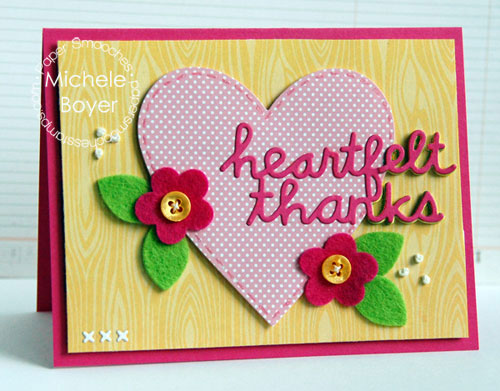
Although my focus is almost always on stamping and coloring, sometimes it’s nice to create a quick and easy card with dies alone. My card today includes Heartfelt Thanks with flowers and leaves from Needle Little Love Icons dies, both from Paper Smooches latest release.

Michele Boyer - Paper Smooches

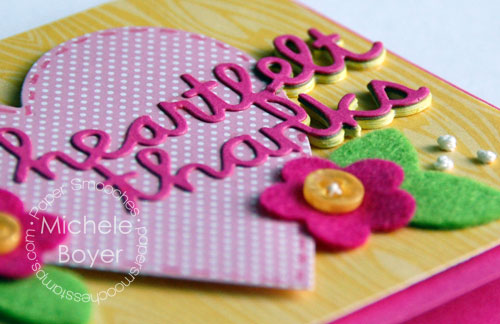
After cutting out the heart, I added “stitches” using a Strawberry Kirarina Wink pen. Since the heart is raised on foam tape, I needed a way to balance the part of the sentiment extending over the edges so I die-cut a few more sentiment strips, nipped off the edges and layered beneath the right side.

Michele Boyer - Paper Smooches

I used felt scraps to die-cut the flowers and leaves, white string to stitch the french knots and Stitched dies to cut the tiny x’s in the lower corner.

Thanks for visiting.  🙂

1amichele siggy 

Hold On Tight!

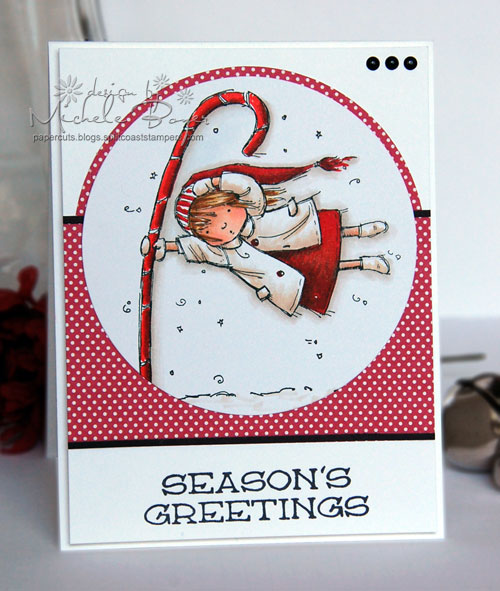
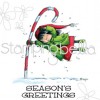
Hi everyone! It’s time for another Bellarific Friday with Stamping Bella. Last week’s challenge was a sketch, which I thought worked great with Mo Manning’s Season’s Greetings.

Michele Boyer - Stamping Bella

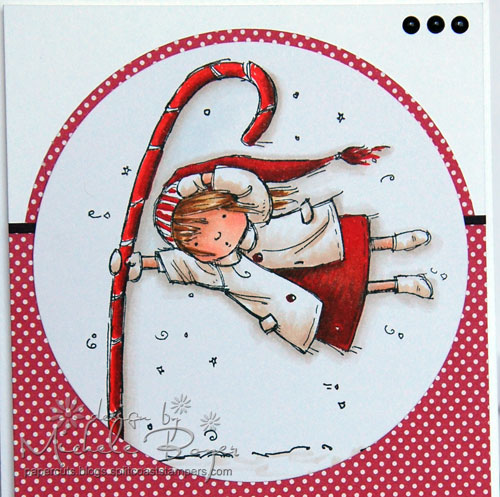
I think she’s so cute, holding on for dear life.  🙂

She was stamped onto X-Press It Blending Card then colored with Copic markers.

Michele Boyer - Stamping Bella

Copic markers: E00, E11, E31, E35, E37, E40, E42, R01, R02, R24, R29, R89, W00, W1, W2, Y21

Next week’s challenge is a vibrant inspiration photo. I love it!

inspiration-challenge-3---sept18 copy (00000002)

Create a card or project inspired by the photo above, using any current Stamping Bella image then email your card to Emily by next Thursday to be entered to win some Bella Bucks!  (All challenge details can be found HERE.)

Thanks for stopping by! Have a great day!

1amichele siggy

Happy Hannukah

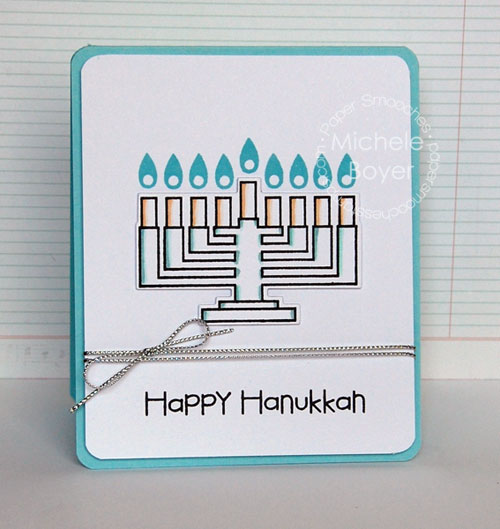
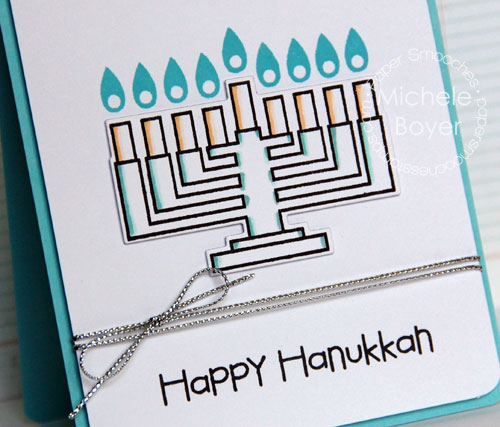
Today I’m sharing a second card using new Kibitzing Two with coordinating dies by Paper Smooches, another set perfect for creating quick and easy, clean and simple cards.

Michele Boyer - Paper Smooches

After stamping, I added a bit of shadow using Copics, then die-cut the Menorah. It was adhered to the larger white panel using Kool Tak clear foam squares. To stamp the flames, I used my stamp press/grid  for perfect alignment.

Michele Boyer - Paper Smooches

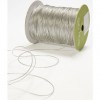
Once all stamping was complete, I tied the silver cord then popped up the main panel on X-Press It 1/2″ foam tape. It’s a little thicker than the clear foam squares, providing a bit of variety in dimension.

Thanks so much for visiting today!

1amichele siggy

It’s Not Happy People Who are Grateful…

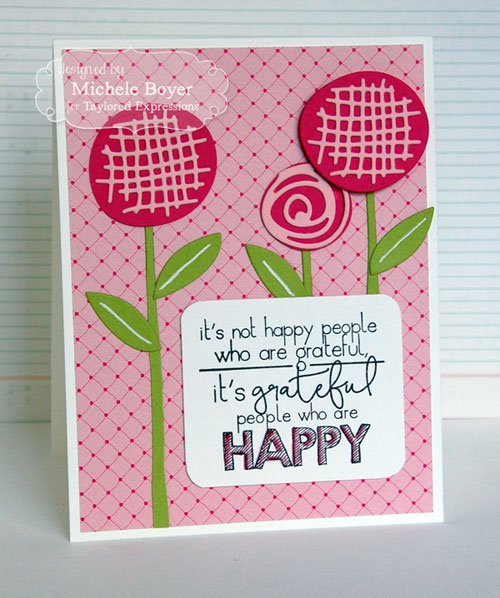
Hi everyone! Today I’m sharing a sample using new Scribble Flowers dies and C’mon Get Happy stamp set from Taylored Expressions, the perfect combo for creating quick and easy cheerful cards. 🙂

Michele Boyer - Taylored Expressions

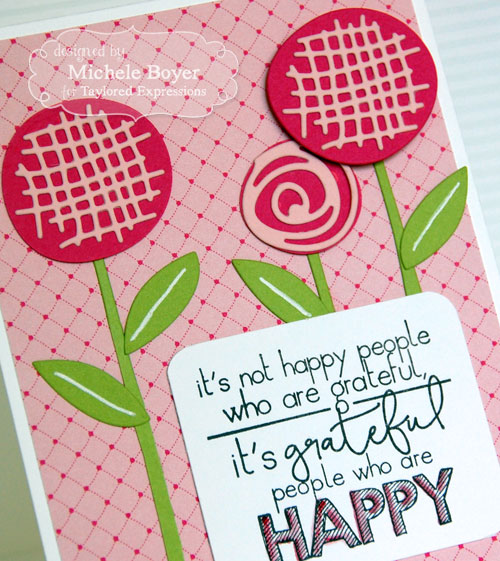
The flowers were die-cut from Lollipop, Cupcake and Granny Smith card stock, layered atop a pretty pattern from new Hello Happiness 6×6 paper pack. The patterns in this collection are my current fave! So pretty!

After assembling the flowers, I added a tiny bit of detail to the leaves using a White Pearl Kirarina Wink pen and a bit of color to the sentiment using Copic markers.

Michele Boyer - Taylored Expressions

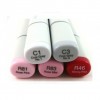
Copic – R81, R85, Kirarina Wink White Pearl

Thanks so much for stopping in!

1amichele siggy 

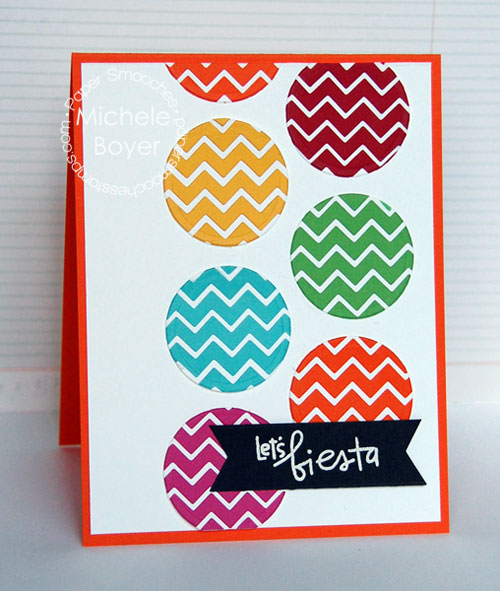
Let’s Fiesta!

Hi everyone! Time for a fun card using Paper Smooches!

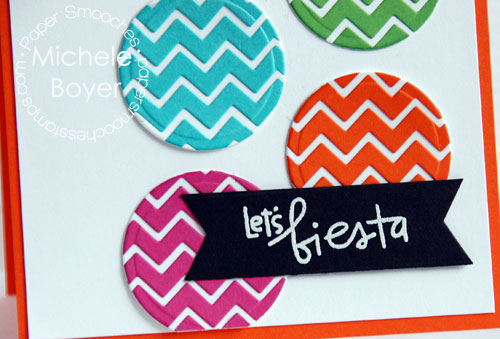
I used the zig-zag die from new Borders 3 to create six blocks of color. Once the strips were glued together, I die-cut each into a circle.  It’s a simple pattern but results in loads of texture.

Lets-Fiesta-Borders-3-500

The sentiment, from Southwest Charm, was white embossed on black.

Lets-Fiesta-Borders-3-CU

Tip:  If any teeny tiny slivers from around the edges become loose after die-cutting, use a matching Copic marker to carefully fill in the bit of color.

Thanks for stopping by today!

1amichele siggy 

Stamp Positioner Comparisons, Tips and Tricks

1a Intro Photo

If you’re new to stamping, stamp positioners can seem somewhat foreign. What do they do? How do they work? In this post, I show step-by-step how I use three different stamping tools for positioning stamps and more. Here’s a quick overview.
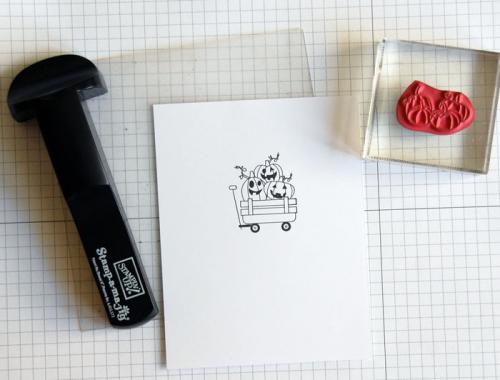
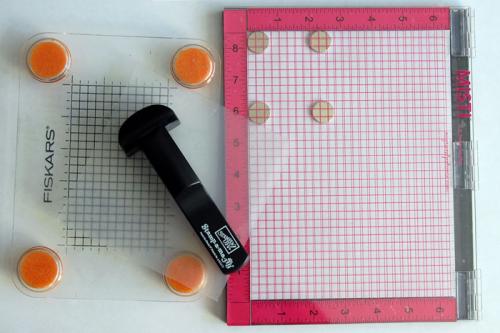
Stamp-a-ma-jig

The Stamp-a-ma-jig, which consists of a black T-shaped handle and clear, reusable imaging sheet, is one of the most basic and least expensive stamp positioners.  An image or sentiment is stamped onto the imaging sheet then positioned over card stock for perfect placement. I also sometimes stamp an image or sentiment onto the imaging sheet to see how it might look in different locations on my project.
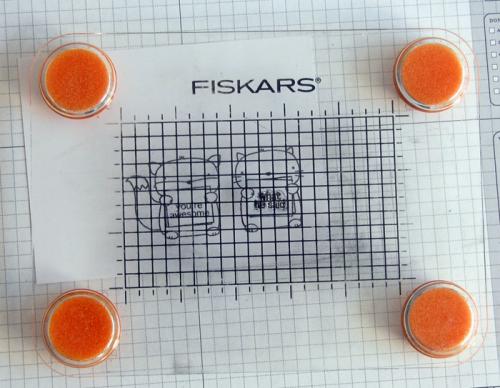
Stamp PressThe Stamp Press is another great tool to have on hand. It’s basically an acrylic platform on foam feet. As pressure is applied, the foam feet allow adjustments in any direction before pressing ink to paper. For me, it’s a “must have.”
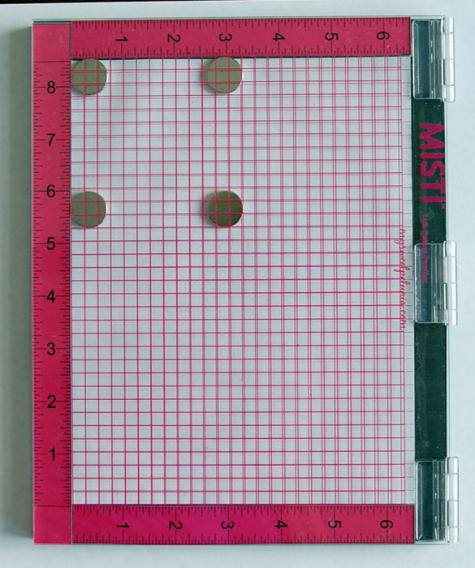
20-MISTI-closed2

And then there’s the MISTI –Most Incredible Stamp Tool Invented, which can be used with both rubber and clear stamps.  The first time I used it, I’m pretty sure I heard angels sing.

I’ve always felt “solid image challenged” but with this tool, I can achieve perfect results every time.

Blog-photo-2

See? I love it.

But back to positioning stamps, I place my card stock inside, positioning the magnets to hold the paper in place. I lay my stamp on the paper in the desired location and when the MISTI is closed, the stamp then sticks to the inside cover. Once the stamp is mounted, it’s easy to tweak a little in any direction. Using the grid, you can be assured the impression will be straight and just where you want it.
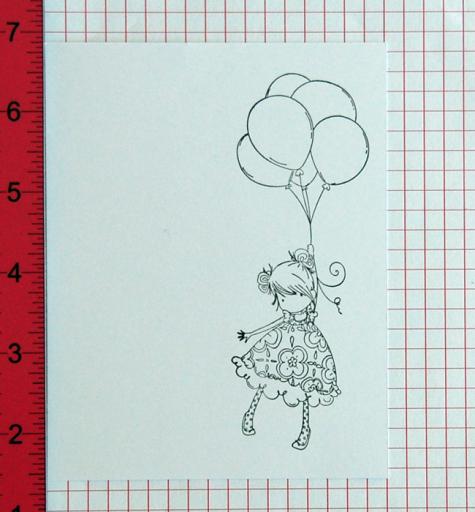
33-Ink-stamp-and-close-to-transfer-ink

I also use the MISTI to stamp larger images. I find it much easier than using a wide or long acrylic block. As with solid images, if the impression is not perfect the first time, simply stamp it again. The image will stamp in the exact same place every time (unless you move the stamp or paper, of course).

I also use the MISTI to stamp portions of a sentiment in multiple colors, like this and the second card on this post. Because the stamp and paper stay in the same place, it’s super easy to just mask off and ink different portions of the stamp.

You can  see, step-by-step, how I use the Stamp-a-ma-jig, Stamp Press and MISTI HERE.

Thanks for visiting!

1amichele siggy

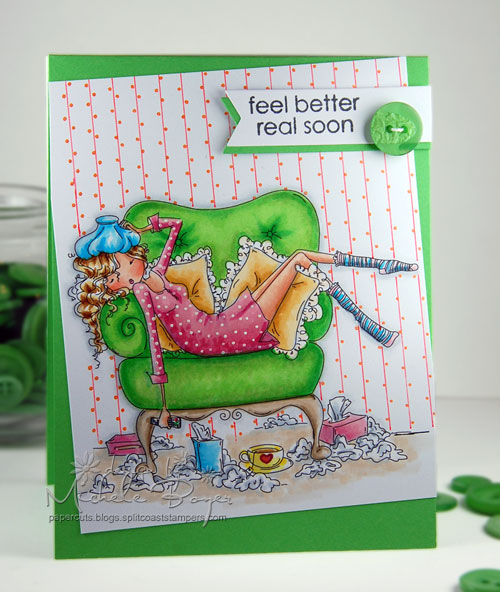
TGI(B)F – feel better real soon

Hi everyone!  TGIF, or TGI(Bellarific)F! It’s been a whirlwind here with the first week of school and scrambling for supplies. Seriously, I do not understand why we (middle and high school) parents can’t get a supply list, even a few days before school starts. By now, many items can’t be found, and if they are available, they’re hard to find and no longer on sale.  *shaking my head*

Anyway, this past week with Stamping Bella the challenge was to create your own background. We (the DT) are also using September’s stamp of the month which is Uptown Girl Sofia the Sicky, 20% off through 9/30.

Michele Boyer - Stamping Bella

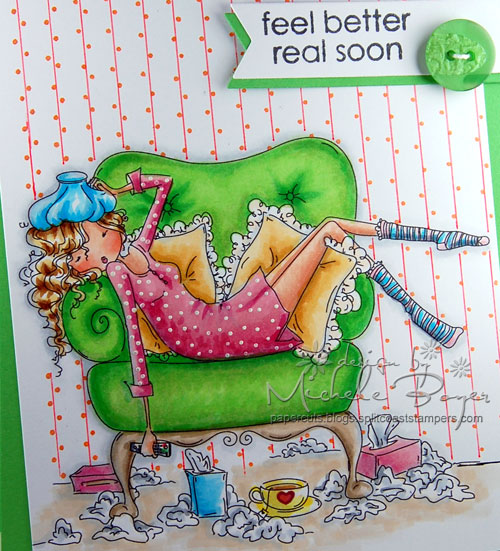
To create my background, I used a T-ruler and an orange Frixion erasable pen to draw the straight lines. I then added the dots with an Orange Kirarina Wink pen. After coloring Sofia with Copic markers, I added white dots to her dress with a White Pearl Kirarina Wink pen.

This is how I look (minus the tissues) after spending two hours trying to find a Moleskin Classic Notebook three days after school begins. (You may be asking “What is a Moleskin Classic Notebook?” I didn’t know either. I had to Google it.)

Michele Boyer - Stamping Bella

You can find more creative backgrounds, as well as more Sofia the Sicky samples, on the Stamping Bella blog  (a little later this morning).

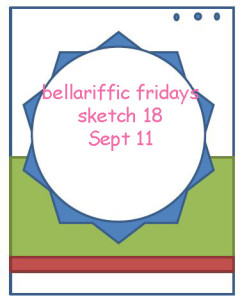
Next week’s challenge is a sketch:

sketch-18-sept-11 copy (00000002)

Create a card or project using any current Stamping Bella image then email your card to Emily by next Thursday to be entered to win some Bella Bucks!  (All challenge details can be found HERE.)

Thanks for stopping by! Have a great day!

1amichele siggy 

Taylored Expressions Release Day – Birthday Buddies

It’s Taylored Expressions September Release day! You can find all of the fun new products now available for sale right HERE!  🙂

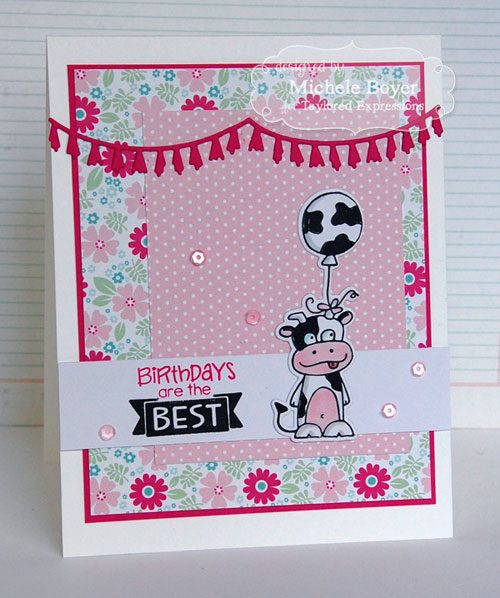
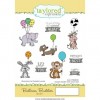
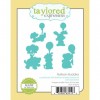
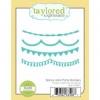
Today I’m sharing a card using new Birthday Buddies with Skinny Mini Party Borders. I’ve also used TE’s new Hello Happiness (6×6) paper pack. I adore this floral pattern! And the dots!  And…all of it, really!

Michele Boyer - Taylored Expressions

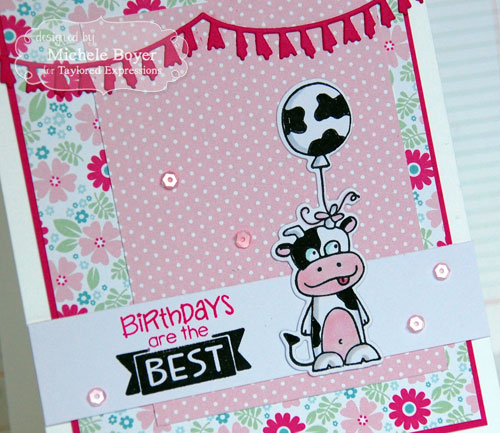
I stamped the cow onto X-Press It Blending Card, colored with Copic markers and then die-cut using the Birthday Buddies coordinating die.  The sentiment was stamped in Tuxedo Black and Rose Bud. I masked off each portion (using X-Press It Mask It film) before inking and used a Stamp-a-ma-jig for positioning.

Michele Boyer - Taylored Expressions

Copics – 110, BG11, E50, R81, R85

Taylored Expressions is celebrating Release Week with some fabulous giveaways! Visit the TE Blog each Sneak Peek Day, as well as today-Release Day, for details on how you can enter to win.

bd

On the TE Blog you will also find a complete list of today’s participating designers, as well as new product information.

Thanks for visiting!  🙂

1amichele siggy 

Taylored Expressions Sept. Release Sneak Peeks

Hi everyone! I’m excited to be sharing some sneak peeks from Taylored Expressions‘ September release…which is tomorrow, 7 a.m. PST!

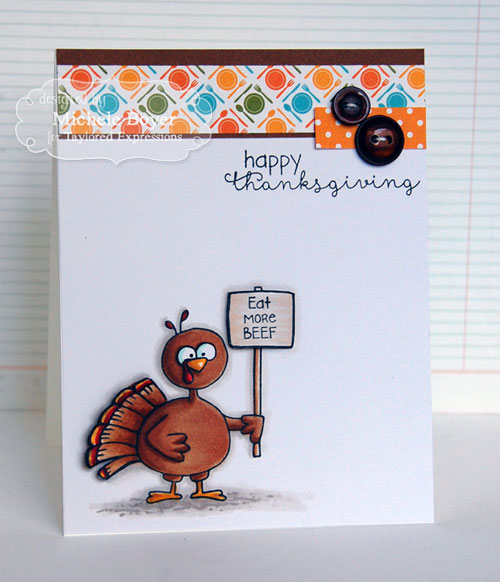
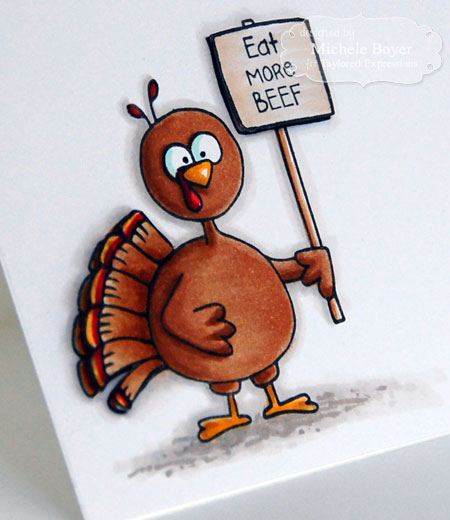
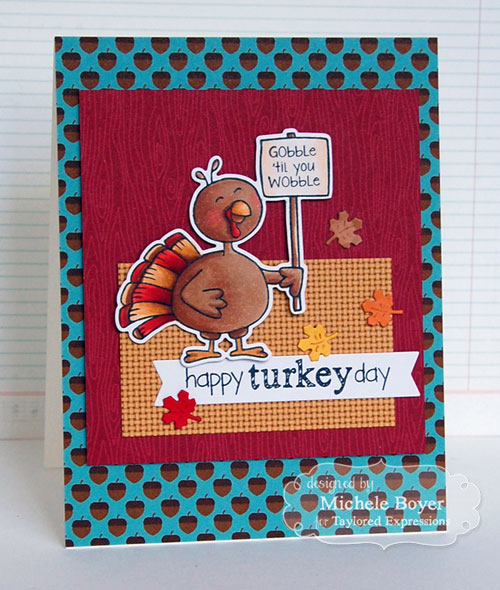
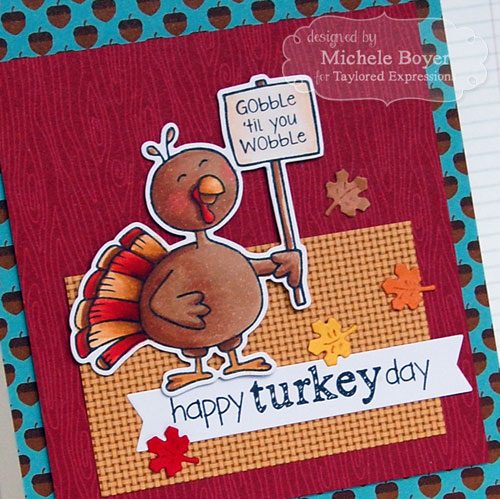
I have two cards to share using If Turkeys Could Talk. This set was so much fun. The turkey’s face is blank, with seven different expressions from which you can choose. There are several messages to stamp inside the sign as well.

Michele Boyer - Taylored Expressions

I paired my turkey with Doodlebug’s Happy Camper plate/flatware patterned paper (haha…poor turkey). He’s stamped onto X-Press It Blending Card and colored with Copic markers. The sign and tail were stamped a second time and raised on clear foam squares.

Michele Boyer - Taylored Expressions

Copic – BG11, E31, E33, E35, E37, E40, E41, R24, R29, R89, Y17, YR23, W00, W1, W2

I used a second face and sign sentiment on my next card.

Michele Boyer - Taylored Expressions

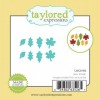
The turkey was die-cut using the accompanying die (included with the stamp set). I die-cut some new Little Bits Leaves from Watermelon, Candy Corn and Lemon Meringue card stock with the fourth leaf cut from Sugar Cube and colored with a marker.

Michele Boyer - Taylored Expressions

Copic – E31, E33, E35, E50, E51, R05, R08, R21, R46, R89, YR21,YR23

Taylored Expressions is celebrating Release Week with some fabulous giveaways! Visit the TE Blog each Sneak Peek Day for details on how you can enter to win.  While you’re there, be sure to wish TE a happy SEVENTH birthday! 🙂

bd

On the TE Blog you will also find a complete list of today’s participating designers, as well as new product information.

Thanks for visiting!  🙂

1amichele siggy

happy thanksgiving card 

happy turkey day card