Hello everyone! Today is the last day of Stamping Bella‘s new release previews, and it’s my favorite day to share! I love today’s images. ♥ The new release will be available for purchase tomorrow, Thursday October 1st. Be sure to check out all of today’s images and samples on the Stamping Bella blog. If you leave a comment there on each preview day’s post, Monday through Wednesday, you will have three chances to win a $25 shopping spree in the SB shop!
All images were stamped onto X-Press It Blending Card and colored with Copic markers. Markers used are noted below each photo.
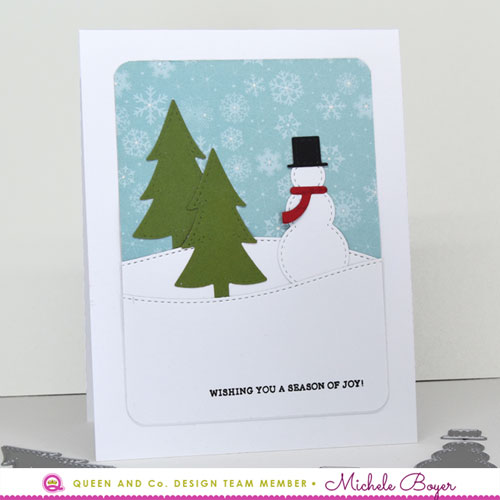
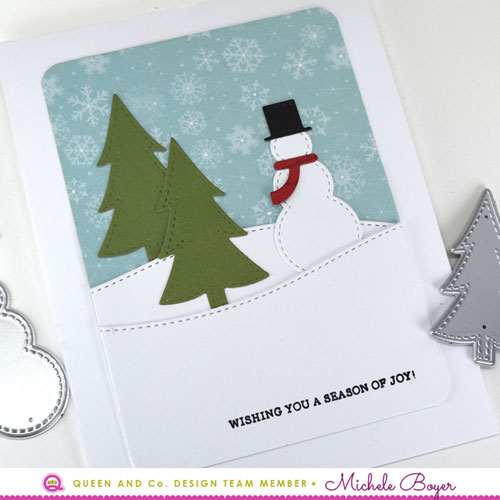
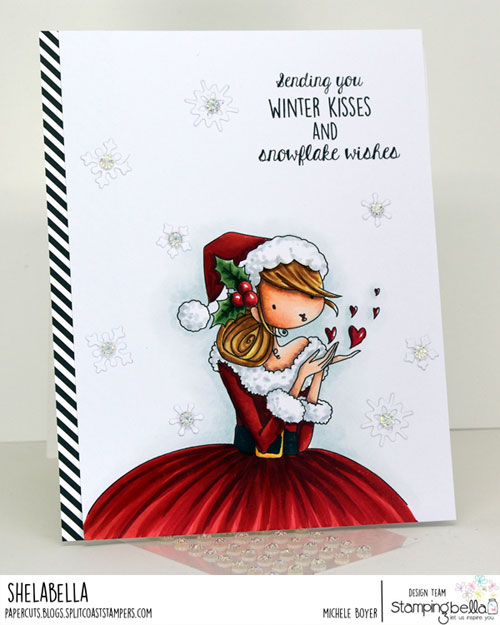
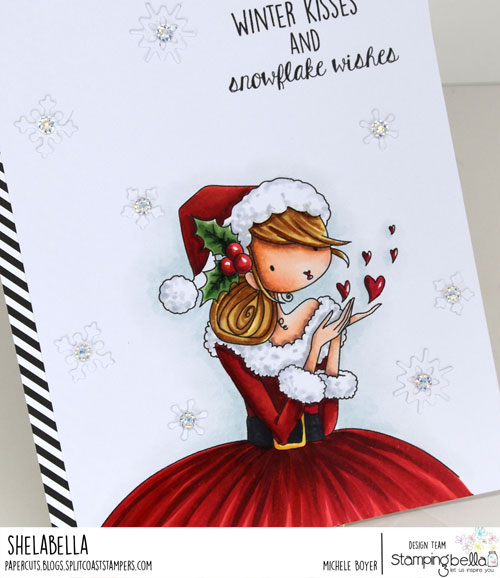
Bundle Girl Winter Friends
Copic markers – BG10, BG70, E000, E00, E04, E11, E21, E40, E41, E42, G28, R29, R39, R59, R89, YG03, YG17; Kirarina Wink White Pearl pen
This is my favorite of my samples^. I absolutely adore all of the Bundle Girls and Winter Friends is no exception. I used Queen & Company‘s Holly Days patterned paper, white Petite Posies and my well used Kirarina Wink White Pearl pen.
Bundle Girl on a Swing
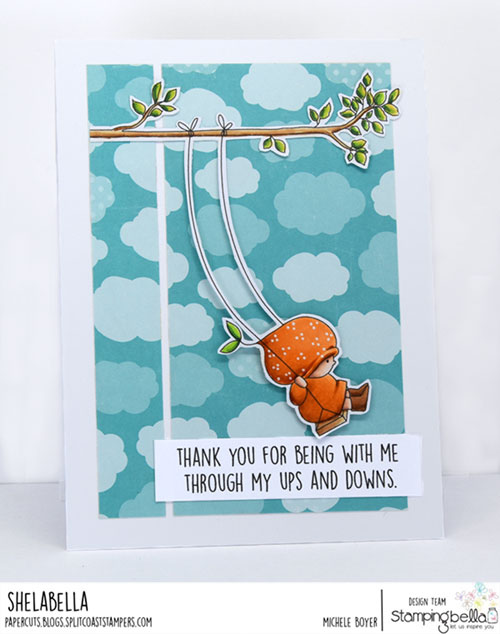
Copic markers – E000, E00, E04, E11, E21, E31, E33, E35, G29, Y21, YG03, YG17, YR12, YR14, YR18; Kirarina Wink White Pearl pen
I think Bundle Girl on a Swing is so very cute too! I just love them all!! After stamping and coloring, I carefully cut out the image, using a craft knife to cut inside the swing. In the background I used Echo Park’s Summer Party patterned paper, and again, I added white dots to her hat. I also popped her up on a bit of foam tape.
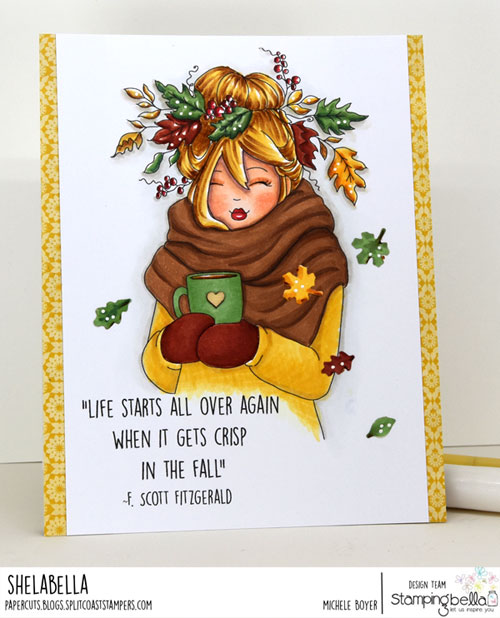
Bundle Girl with a Tree
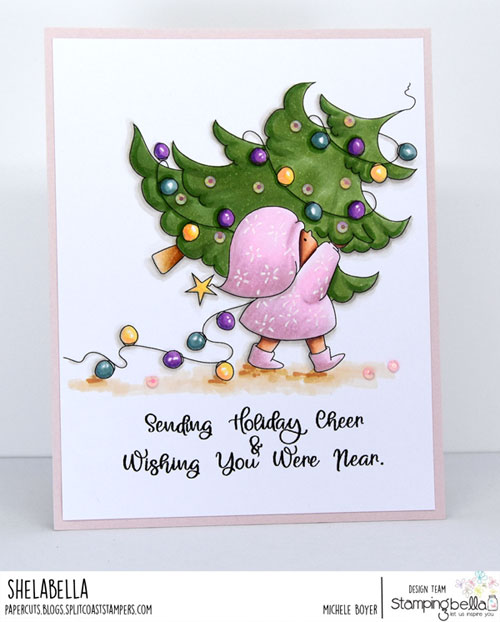
Copic markers – BG72, BG75, E000, E00, E04, E11, E21, E30, E31, E33, E35, RV00, RV91, RV93, V15, V17, W00, W1, W2, YG63, YG67, YR31, YR82; Kirarina Wink White Pearl pen
And here’s yet another sweet Bundle Girl…with a tree. Ack! I love her too. After coloring, I used my white pen to add a little pattern to her outfit. At the bottom I stamped one of the fabulous new Miles Apart Sentiments.
And now, new to Stamping Bella, sloths!
Sloth on a Branch

Copic markers – E23, E25, E27, E30, E31, E34, E35, E37, G28, R01, R24, R29, R39, W00, W1, W2, W7, YG63, YG67; Kirarina Wink White Pearl pen
Here, I stamped the Sloth on a Branch and then stamped another tiny portion of the branch below. I used my white pen again to create a little pattern on his scarf. I also added small snowflakes with Petite Posies in the centers. With the image, I used a new Merry Slothmas sentiment which is full of cute sentiments to go with the various new sloth images.
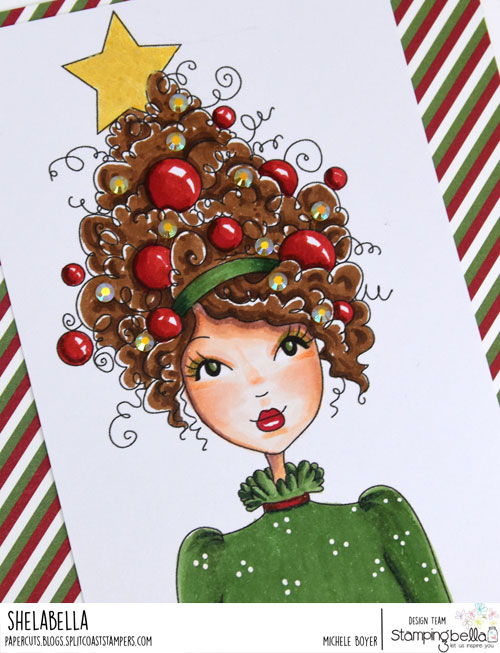
Sloth Ornament
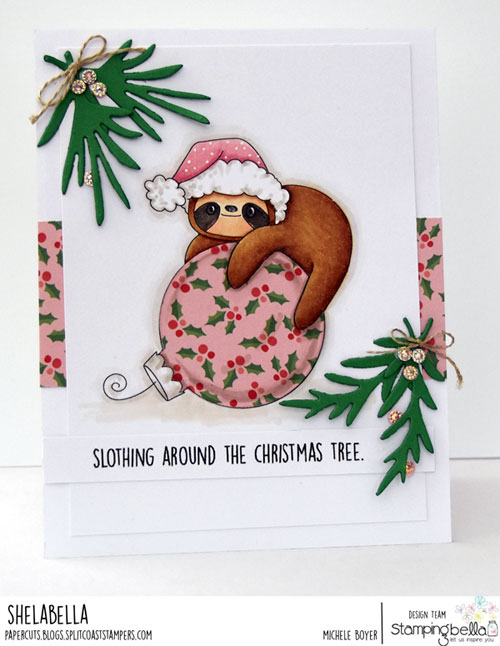
Copic markers – E30, E31, E33, E37, R01, R83, RV11, RV32, W00, W1, W2, W7; Kirarina Wink White Pearl pen
Here’s a cute, awake (haha), Sloth Ornament. I paper-pieced the ornament using Pebbles Merry Little Christmas patterned paper, added a few die-cut branches (Paper Smooches) and pink Petite Posies as berries. Sentiment is from Merry Slothmas.
Sloth Wreath
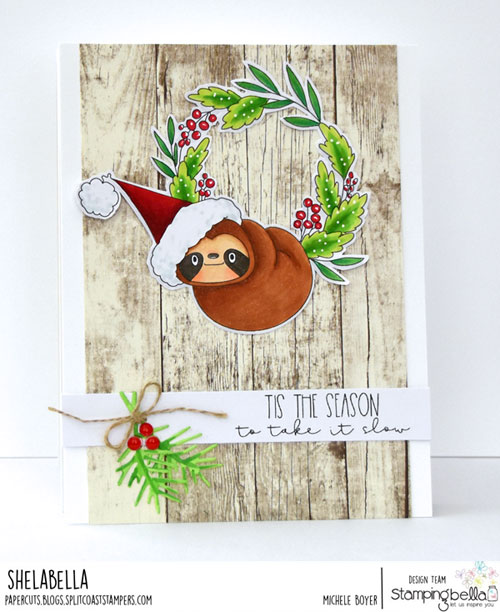
Copic markers – BG10, C00, C1, C7, E30, E31, E33, E35, G07, G19, R01, R02, R29, R39, R89, YG03, YG05, YG17; Kirarina Wink White Pearl pen
And finally, a Sloth Wreath. Once colored, I added white accents then carefully cut around the image. Beneath the wreath, I added another Merry Slothmas sentiment.
Don’t forget to stop by the Stamping Bella blog to leave a comment on each preview post for three chances to win a $25 shopping code to the SB shop! Today’s the last day to do so!
Thanks for stopping by!