Hello everyone! Since it’s basically spring here…in February…I thought it would be a great day to share a quick and easy card I created using Paper Smooches‘ Garden Greetings stamp set.
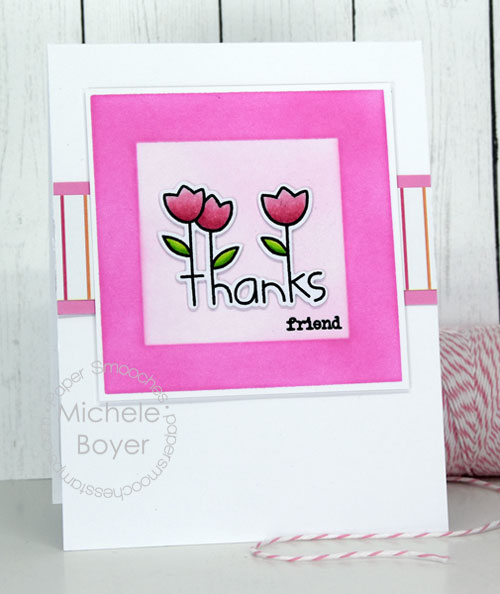
I first created a blended frame/background using Taylored Expressions’ Square Masking Stencil and Strawberry Milkshake/Cupcake inks. I stamped the image onto X-Press It Blending Card, colored with Copic markers and then die-cut using Garden Greetings Icons dies.
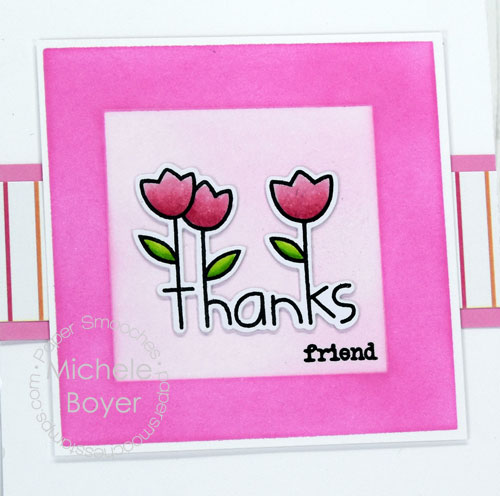
Copic markers – R81, R83, R85, YG03, YG06, YG17
I die-cut three additional image shapes then stacked all to create a thicker image. ‘Friend’ was stamped from Just a Note, then I used Ranger’s Multi Medium Matte to adhere to the center of the square. A strip of Rainbow Sherbet patterned paper was slipped behind the square before adhering to my card front.
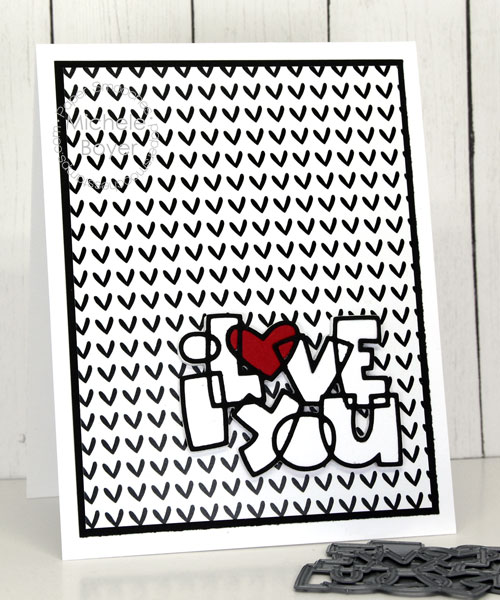
I created the above card last month but forgot to post so I’m slipping it in here. It was SUPER easy to create! First, matt a block of Half Moon patterned paper onto black card stock and adhere to card front.
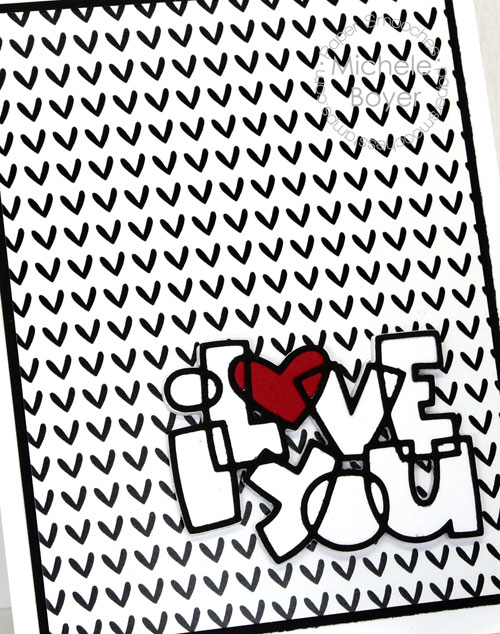
Die-cut I Heart You outline die from black and red card stock. Also die-cut the base shape three times from white. Adhere the base shapes together then use the Multi Medium Matte fine tip to adhere the black frame. I then used We R Memory Keepers’ QuickStik to adhere the small pieces of red heart into each proper space.
The QuickStik is one of my *must have* tools. I’ve tried the tacky pencils and other pick-up tools but for me, none work as well as QuickStik. The tacky material lasts a LONG time and the opposite ends holds a removable pointy tip that helps with unreleasing the tiny pieces and holding each in place.
Once assembled, adhere the shape over the patterned paper. So quick and easy!
Thanks so much for visiting today!

|