Monthly Archives: February 2018

Stamping Bella Previews – There’s a new Rosie in Town

Hi everyone! Thanks for visiting! Today the Stamping Bella team begins sharing previews of our upcoming March 6 release. We are also welcoming two new characters to the shop, Rosie and her friend Bernie. Check out Em’s post on the Stamping Bella blog for their whole story.  🙂

Stamping Bella A Tale of Two Rosies and Big Ben

Today I’ve used A Tale of Two Rosies.  (I only used one of the Rosie images in the set.) I also used Rosie & Bernie’s Big Ben.

Stamping Bella A Tale of Two Rosies and Big Ben (close-up)

Copic markers – B0000, B000, BG11, BG13, BG15, E00, E01, E11, E30, E31, E33, E35, E37, G24, G28, R01, R24, R39, R89, W00, W1, W2, W3; Kirarina Wink White Pearl

After stamping and coloring with markers, I stamped a sentiment from new Adventure Sentiments set. (You will see that Rosie and Bernie are all about adventures!)

Be sure to stop by the Stamping Bella blog today to see more previews of additional sets. And leave a comment there for your chance to win a prize!

I’ll be back tomorrow with more!  🙂

1amichele siggy

Rain, Rain Go Away (seriously)

Hi everyone. We have had days and days of rain, cold, drizzle, more rain and more cold.  YUCK.  I miss the sun!  I no longer even care about the temperature. I just want to see that bright light!  Maybe today. It would be a perfect gift.  🙂

Stamping Bella Uptown Girl Lolly and her Brolly

Today I colored a super-duper cute rainy day image from Stamping Bella, Uptown Girl Lolly and her Brolly.

Stamping Bella Uptown Girl Lolly and her Brolly (close-up)

Copic markers – E00, E01, E11, E31, E34, E35, E37, G40, G43, G46, R01, R24, R29, R32, R39, R81, W00, W1, W2, Y21, YR14, YR23, Kirarina Wink Dandellion and White Pearl pens

She was stamped onto X-Press It Blending Card and colored with Copic markers. After coloring, I added a dotted pattern to the umbrella, coat and boots using a Kirarina Wink Dandelion pen. On the little snail I added dots using a Kirarina Wink White Pearl pen.  I used Red Lollies (swirly embellishments) from Queen & Company (seven more fun colors HERE) and Graphic Grid patterned paper from MFT.

I will be back tomorrow with a preview from Stamping Bella’s upcoming March 6 release!  Thanks for visiting today!

1amichele siggy

Affiliate links are used as applicable at no cost to you. Thank you!

More Fun with Queen & Co.’s Candy Land Kit

Hi everyone! I’ve been having lots of fun creating with Queen & Company’s Candy Land kit. Today I’ve used the toppings and dies to create something other than shaker cards.


Life-Sweet-CottonCandy-500

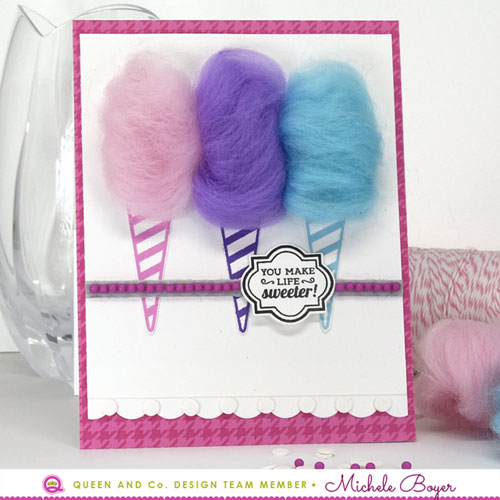
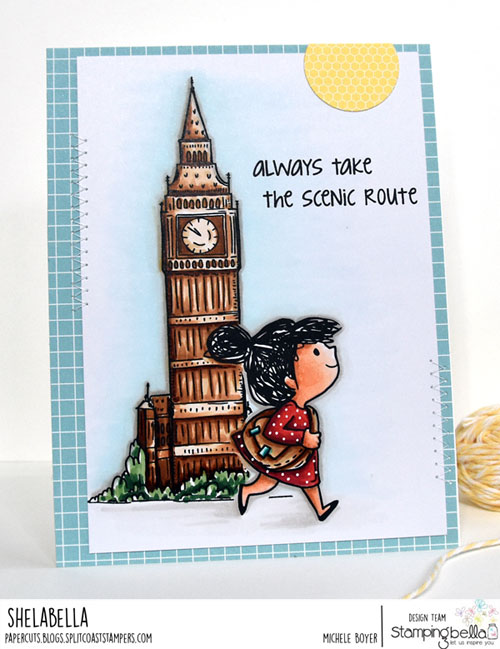
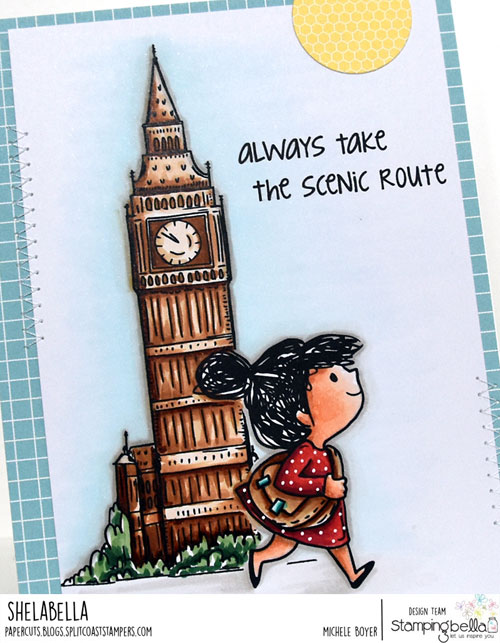
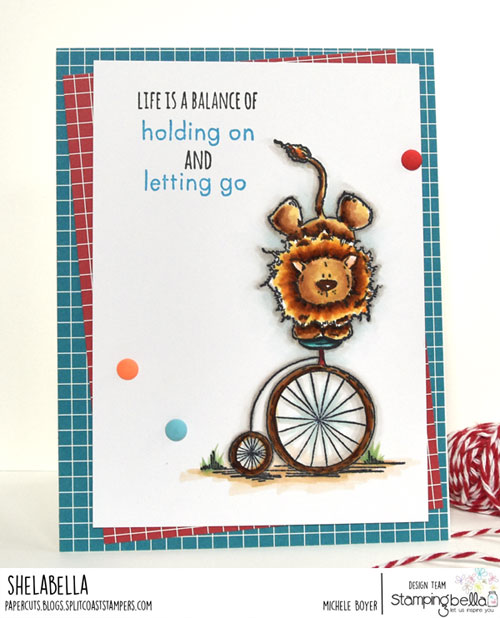
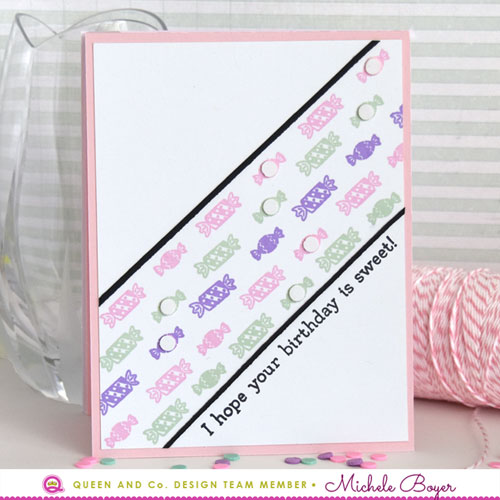
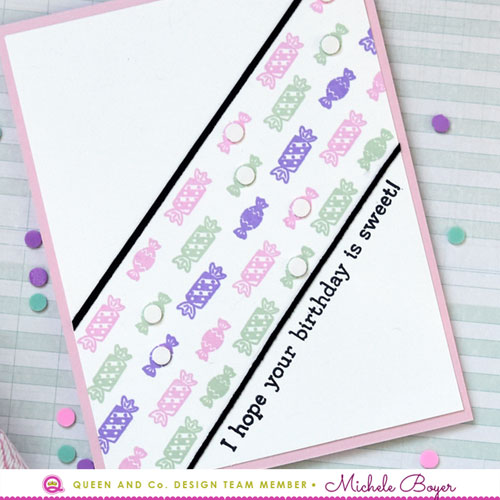
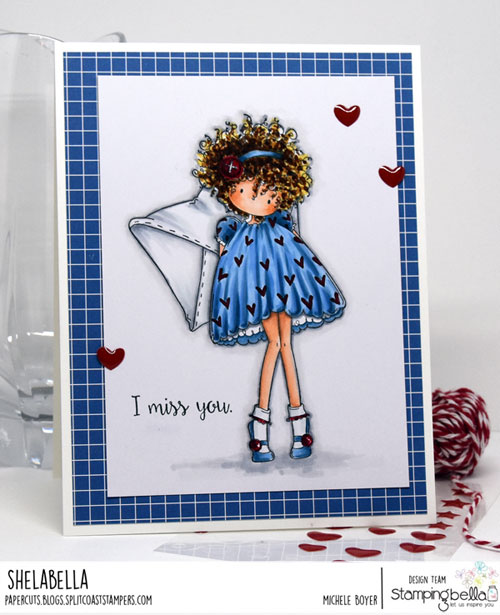
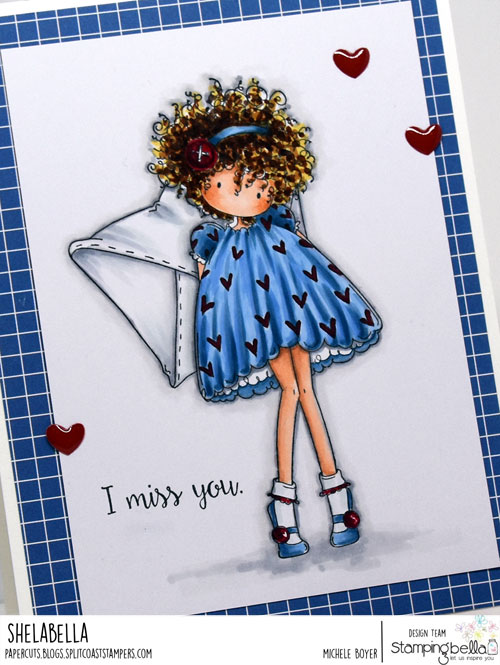
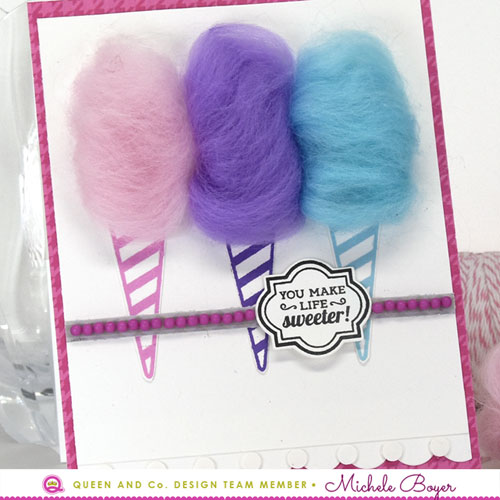
On my first card, I used the round and flat toppings to create border embellishments. I first stamped the candy cane cones in pink, purple and blue. I applied patches of Sheer Glue over each then adhered the three swirls of fibers. (You can find refill fibers in original colors, as well as two additional sets in Sorbet and Pastel HERE. So cool to have additional choices!)

After adhering a thin strip of gray patterned paper (from the Candy Land paper pad), I adhered the sentiment which is popped up on foam squares. Then to each side of the sentiment I adhered a thin strip of super sticky double-sided tape. Using my Kwik-Stick (or any other tacky ended tool will work), I applied each bead, pushing down into the tape to secure.

Life-Sweet-CottonCandy-500-CU

I applied a scalloped strip beneath the main panel then adhered a flat white “candy” between each scoop.

Supplies: Candy Land KitSheer Glue

Sweetie-Candy-Dish-500

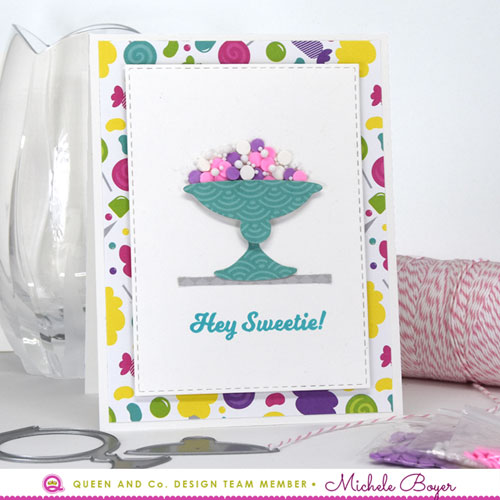
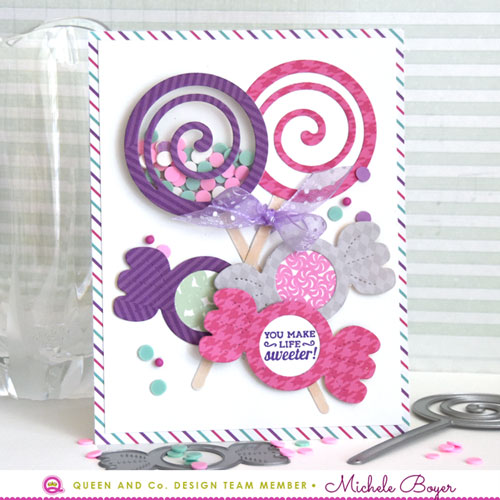
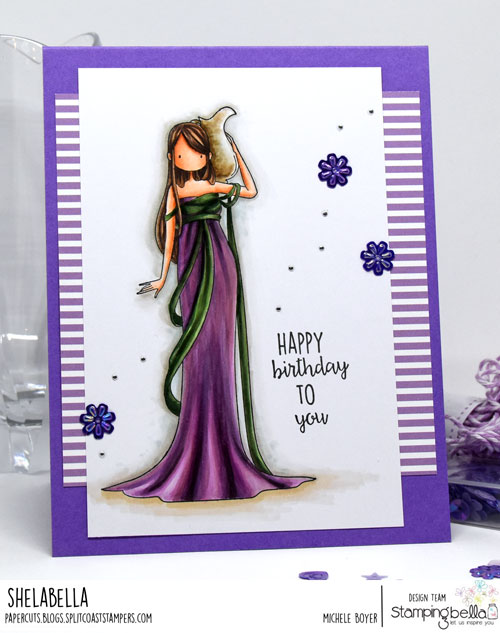
Next, I used two of the candy jar dies to create a candy dish.

Sweetie-Candy-Dish-Dies-500

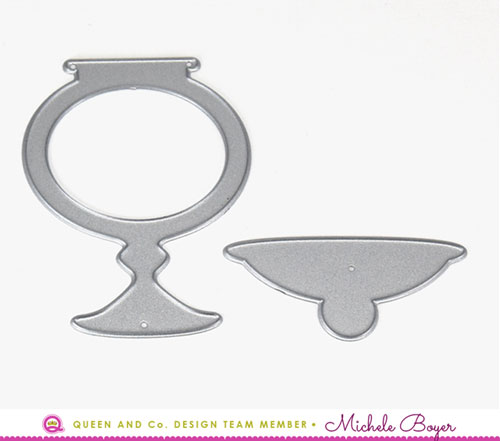
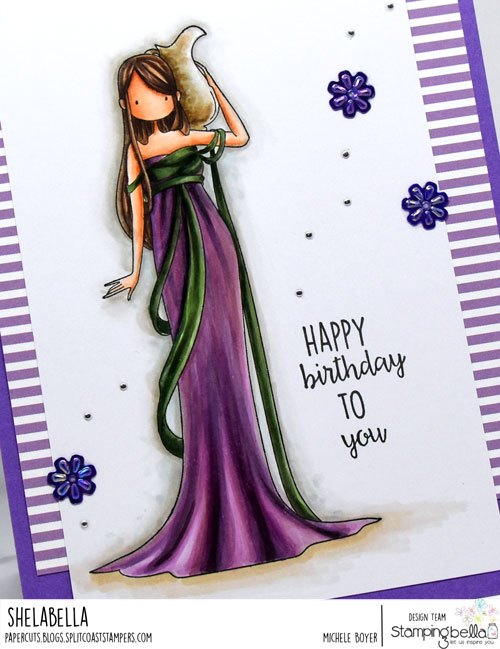
I used the base of the round jar and the lid of the square jar, turned upside down, to create the bowl.

Sweetie-Candy-Dish-500-CU

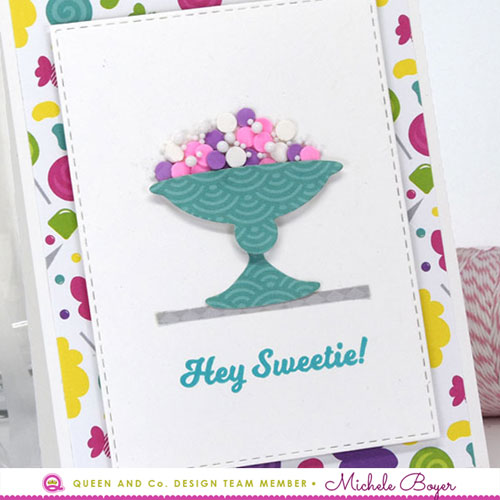
I placed foam squares beneath the bowl which created room for the candies to pile and fit just beneath the edge. I applied Sheer Glue then randomly dropped the flat pink, white and purple toppings, making sure some overlapped, adding glue as needed. Before the glue dried, I then dropped the white bead toppings over the flat candies. Once the glue dried, the “candies” were held firmly in place. (It kind of looks like a bowl of Dippin’ Dots ice cream.)  🙂

Supplies: Candy Land KitSheer Glue

If you have used the toppings or dies in creative ways, please link below. I’d love to see!  Thanks for visiting today!

1amichele siggy

Affiliate links are used as applicable at no cost to you. Thank you!

Lovey Gnomes (stamping bella)

Hello, everyone. TGIF.  🙂  This week with Stamping Bella the team is using images from the latest release. I chose Lovey Gnomes.

Stamping Bella Lovey Gnomes

How cute are their hats, entwined to form a heart at the top! I stamped onto X-Press It Blending Card then colored with Copic markers.

Stamping Bella Lovey Gnomes (close-up)

Copic markers – E000, E00, E01, E07, E08, E09, E11, E33, E35, E37, G03, G05, G07, G09, G28, R01, W00, W1, W2, W3, W4, YR14, YR18, YR21, YR23, Wine Multiliner, Kirarina Wink Dandelion

I used a Wine Copic Multiliner to dot in a few freckles on the girl and added a pattern of dots to her dress using a Kirarina Wink pen. These opaque pens are fabulous for adding detail over colored images. I use the White Pearl most often but here I used Dandelion.

Around the image, I adhered a few Tiny Hearts.

NEXT WEEK’S CHALLENGE

Use any current Stamping Bella image. (No restrictions.) If you’d like, email your card to [email protected] by next Thursday to be featured on the SB blog. By doing so, you’ll also be entered to win some Bella Bucks! (All challenge details can be found HERE.)

Thanks so much for visiting today! 🙂

1amichele siggy

Peas ♥ Love ♥ Happiness (paper smooches)

Hi everyone! Today I have a card to share using Vegtastic, an older set from Paper Smooches.

Paper Smooches Vegtastic stamps and dies

Kim always has such cute plays on words within her stamp sets (not to mention the cute images themselves).  🙂 I stamped onto X-Press It Blending Card and colored with Copic markers.

Paper Smooches Vegtastic stamps and dies (close-up)

Copic markers – YG03, YG06, YG09, YG17, R12

Here, I used  the coordinating Vegtastic Icons die to die-cut the peas. I also scattered around some Tiny Hearts. (Spring Things 6×6 paper by Echo Park.)

Thanks for stopping by today!

1amichele siggy

Life is a Balance (stamping bella)

TGIF everyone. I honestly don’t know how it is Friday again already. Time is flying by. This week the Stamping Bella team is designing with the Stuffies category. I chose Leo the Balancing Stuffie. I love the little lion, and the sentiment is spot on for me right now as my oldest is receiving college acceptances and it’s hitting me like a ton of bricks. (I need the Frozen song stuck in my head for the next six months. Let it go, let it go….)  haha.

Stamping Bella Leo the Balancing Stuffie

After stamping Leo onto X-Press It Blending Card, I colored with Copic markers. The sentiment was stamped in black and blue using my MISTI. (Best stamping tool ever.)

Stamping Bella Leo the Balancing Stuffie (close-up)

Copic markers – BG13, BG18, BG70, BG72 (custom mix), E30, E31, E33, E35, E37, G24, R01, R29, R39, W00, W1, W2, Y21, YR14, YR16, YR18, YR24

To finish my card, I added a few enamel dots then layered atop MFT’s Graphic Grid patterned paper.

NEXT WEEK’S CHALLENGE

Use an image from the latest release.  If you’d like, email your card to [email protected] by next Thursday to be featured on the SB blog. By doing so, you’ll also be entered to win some Bella Bucks! (All challenge details can be found HERE.)

Thanks so much for visiting today! 🙂

1amichele siggy

You Make Life Sweeter (Queen & Company Candy Land shaker kit)

Hi there crafty friends!  Today I’m sharing two cards I created using Queen & Companys latest kit, Candy Land.  It is super sweet and so much fun! I especially like the lollipop die and cute toppings.  🙂

My first card uses both the lollipop and wrapped candy dies (my faves).

Queen & Company Candy Land Kit

I die-cut two lollipops, turning one into a shaker. I die-cut each twice, nipping away the colored sticks and replacing with white. Before adhering the white sticks, I colored each with a light tan marker.

Queen & Company Candy Land kit (close-up)

I added a few wrapped candies, stamping jelly beans and peppermint twists into two of the centers and using the third to frame the sentiment.  I placed a few foam squares under the wrapped candies for a bit of dimension then adhered a sprinkling of toppings as extra embellishment.

Supplies: Candy Land Kit, Sheer Glue

Next, I created a card using the adorable candy stamps included in the kit.

Queen & Company Candy Land kit

I used my MISTI and MISTI creative corners to align and stamp the candies in pink, purple and green inks.

Queen & Company Candy Land kit (close-up)

Once stamped, I adhered white toppings into some of the small candy centers, added thin black card stock strips and stamped the sentiment.

Supplies: Candy Land Kit, Sheer Glue

Thanks so much for visiting today!

1amichele siggy

Warm (zodiac) Wishes

Hi everyone. Today I’m sharing a card I created using Stamping Bella‘s Uptown Zodiac Girl Leo.

Stamping Bella Uptown Zodiac Girl Leo

When coloring fur, I like to use dots to create texture, applying darker hues and closer density in shadow areas. It actually comes together quite quickly since there is basically no blending.  🙂  Markers used are noted beneath the close-up photo below.

Stamping Bella Uptown Zodiac Girl Leo (close-up)

Copic markers – E00, E01, E11, E31, E33, E35, E37, R01, WOO, W1, W2, W3, Y21

I used a sentiment from Holiday Sentiments, stamped in dark brown ink, and added a sprinkling of Snowflake Confetti.

Thanks for stopping in today!  🙂

1amichele siggy

i miss you (stamping bella)

Hi everyone. Thanks for joining me for another challenge with Stamping Bella. This week we’re designing with “vintage” images. In other words, images that are not from the latest release.

Stamping Bella Tiny Townie Lacey has a Letter

I used Tiny Townie Lacey has a Letter with a partial sentiment from Tiny Townie Amanda is Awesome. (Lacey comes with her own sentiment of “happy mail.” I simply chose to use another.)

Stamping Bella Tiny Townie Lacey has a Letter (close-up)

Copic markers – B21, B23, B95, B97, C00, C1, C2, C3, E00, E01, E11, E31, E35, E37, R29, R59, R89, Y21

Once colored with markers, I added a few enamel heart shapes.

NEXT WEEK’S CHALLENGE

Use an image from the same category as the February Stamp of the Month (Bee Mine), which means use an image from the STUFFIES collection.  If you’d like, email your card to [email protected] by next Thursday to be featured on the SB blog. By doing so, you’ll also be entered to win some Bella Bucks! (All challenge details can be found HERE.)

Thanks so much for visiting today! 🙂

1amichele siggy

The Age of Aquarius (birthday)

Hi everyone! Thanks for stopping by today! I have a friend with an upcoming birthday and decided to use Stamping Bella‘s super cute Aquarius Uptown Zodiac Girl.  Quite appropriate.  And different.  🙂  (Sentiment from Tiny Townie Birthday Party.)

Stamping Bella Aquarius Uptown Zodiac Girl

After stamping onto X-Press It Blending Card and coloring with Copic markers, I added a few sequins and tiny dots die-cut using silver foil card stock and a cross stitch die.  I love the tiny embellishments this creates.

Stamping Bella Aquarius Uptown Zodiac Girl (close-up)

Copic markers – BG96, E00, E01, E11, E23, E40, E41, E42, E43, E44, E57, E77, E79, G24, G28, G85, R01, V01, V12, V15, V25, W00, W1, W2

I have a hard time finding purple patterned paper, but today Queen & Company‘s Simple Stripes (6×6) came to my rescue.

I’ll be back tomorrow with Stamping Bella’s challenge for the week. Hope to see you then!

1amichele siggy