Monthly Archives: June 2014

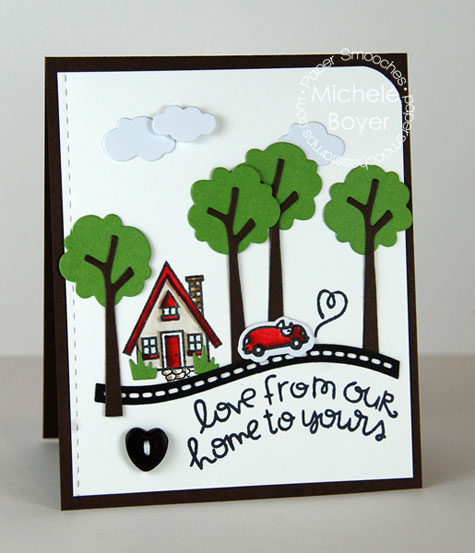
love from our home to yours

Hi everyone!  Having two kids home for the summer (plus an extra living with us for a couple months) is really hacking into my craft time so my posts may become shorter and shorter.  (Not that I include a lot of “blah, blah” anyway.) And I’m not complaining.  Just explaining.  🙂

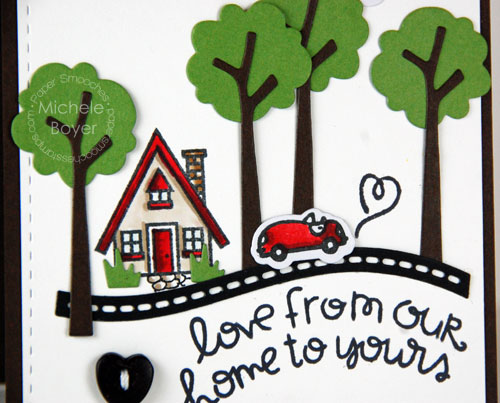
I have another sample today using a new die set available tonight from Paper Smooches.  (Release at midnight!  You will find all the new stamps and dies HERE.)  On my card, I’ve combined new Backdrop Builders and Stitches Dies with Bitty Bungalows.  My favorite piece is the strip of road.  ♥  There are many elements in Backdrop Builders – clouds, trees, road, mountains, snow caps, lots of fun possibilities!


The clouds and car were die-cut from bright white X-Press It Blending Card. One of the tiny clouds is raised on foam tape, all coloring was done with Copic markers and the sentiment was bent to the shape of the road.

Thanks for stopping by today.  I’ll be back soon!

Additional supplies/info:  Copic markers (R27, R89, E40, E43), wood heart button/white string.  Finished size 4 1/4″ x 5 1/2″.

Paper Smooches July/August Release Hop

It’s Pep Rally week and we are here today to share a sampling of the NEW Paper Smooches July/August release with you!  FIVE new stamps and EIGHT new dies are releasing soon.  Our new stamps and dies will release at midnight (eastern time) on June 30.  (12:01am on July 1st EST) You will find our new releases HERE.

To add extra fun to our blog hop…we are offering up a prize a $25 gift code to choose what you like at the PS online store.

Here are the details:

  • FOUR winners will be chosen at RANDOM from any of the design team blogs and the PS Blog to win the $25. prize.
  • Just leave a comment on any of the design team blogs listed below or the PS blog for your chance to win!  (you do not need to comment on all blogs to qualify but it increases your changes)
  • Deadline: You have until midnight MT on Sunday, June 29th to leave a comment.
  • Please check the Paper Smooches blog on Monday, June 30th to see if you are one of the FOUR lucky winners.

To increase your chances of winning:

  • Tell us that you Facebooked about our blog hop
  • Tell us that you Tweeted about our hop
  • Tell us that you posted on your blog about our blog hop

(which means that you have up to three extra chances to win on each blog)

My sample today uses new Blossoming Buds stamp set along with a bit of new Stitches Dies.


The pretty flowers and sentiment were stamped onto X-Press It Blending Card and colored with Copic markers.  I cut out a few of the blossoms for added dimension and added some Glossy Accents to the centers.

The “cross-stitches” were cut from the panels with little green stitches inserted. So cute.  I love them.  🙂

Thanks so much for visiting!   🙂

Additional supplies/info:  Copic markers (R81, R83, R85, R89, Y21, Y19, YR15, YR23, YR27, YR14, YG03, YG06, YG17, G09, E40, E42, E43).  Finished size 4 1/4″ x 5 1/2″.

MFT June Creative Challenge

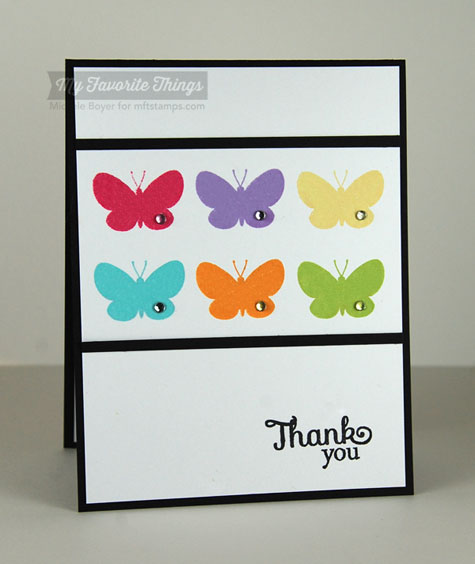
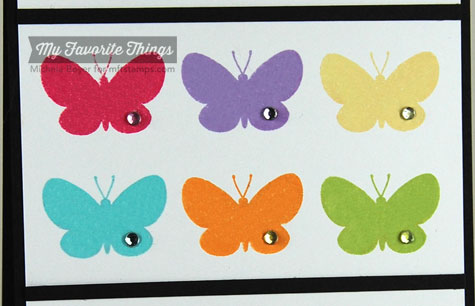
Hi everyone!  It’s time for a Creative Challenge with My Favorite Things. This month we’re showcasing our new line of hybrid inks.  Hybrid ink is fast-drying, permanent and waterproof and can be used on many surfaces that might not work well with dye inks.  They also produce a softer, almost chalk-like appearance, and that is the effect I wanted on my two samples.  On my second card, I have a comparison  of the hybrid vs. dye inks so you can see the difference in appearance.

On my first card I used Blissful Butterflies with Razzle Berry, Grape Jelly, Banana SplitBlu Raspberry, Orange Fizz, Sour Apple and Black Licorice hybrids on X-Press It Blending Card.

After stamping, I added a small rhinestone to each butterfly.

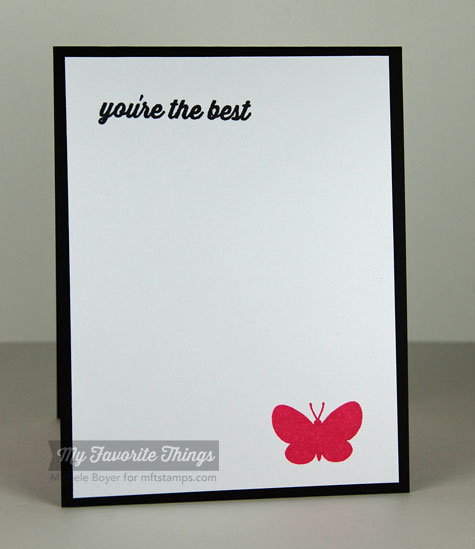
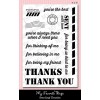
Inside, I stamped a sentiment from Sending Thanks as well as a second Razzle Berry butterfly.

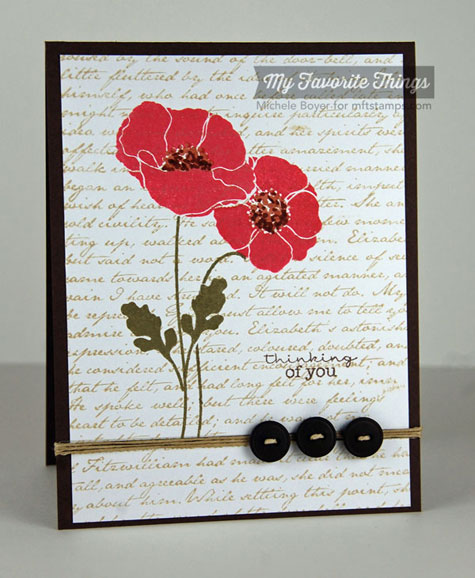
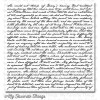
On my second card, I layered the inks to see how they would perform.   I used Kraft hybrid to stamp the Romantic Script Background onto X-Press It Blending Card.   Over the script, I stamped Pretty Poppies flowers and stems using Wild Cherry and Olive hybrid inks.  The sentiment was stamped in Chocolate Brown. I used brown Copic markers to add color to the centers of the flowers.

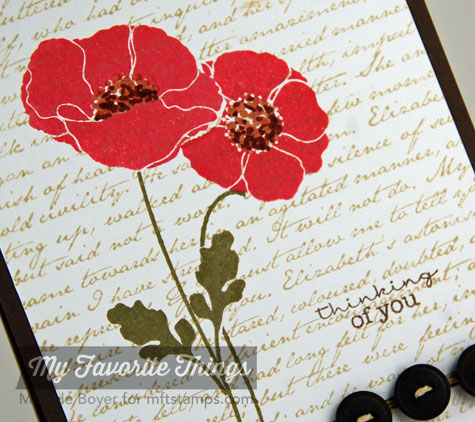
Here’s a close-up of the hybrid inks:

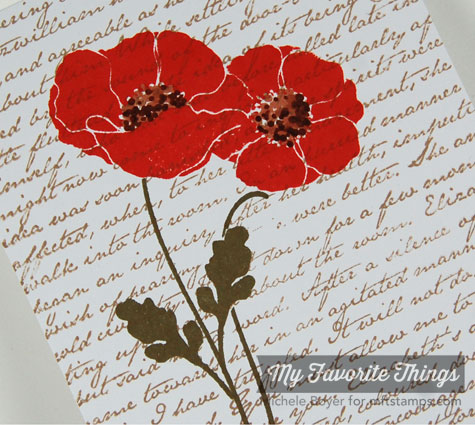
And here are the same ink colors stamped using the dye inks:

The hybrids dried to a softer, more opaque appearance.

On the inside, I adhered a leftover strip of script and added a sentiment from
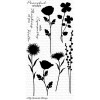
Grand Peaceful Wildflowers.

Be sure to check out the MFT Blog for direct links to more hybrid ink samples!

Thanks for stopping by!

Thank You (butterflies) card

Thinking of You (poppies) card

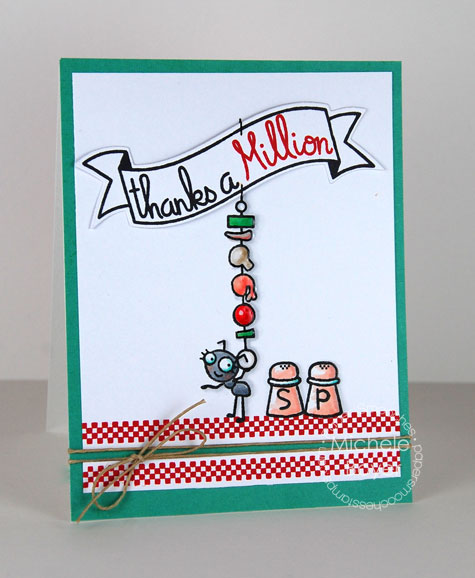
thanks a million

Hi everyone!  Today I have a card to share using Blissful Banners, this month’s TAM set from Paper Smooches.  The TAM set is available for free with any retail purchase over $60.

Here, I’ve combined Blissful Banners with Alfresco (super-cute set)!


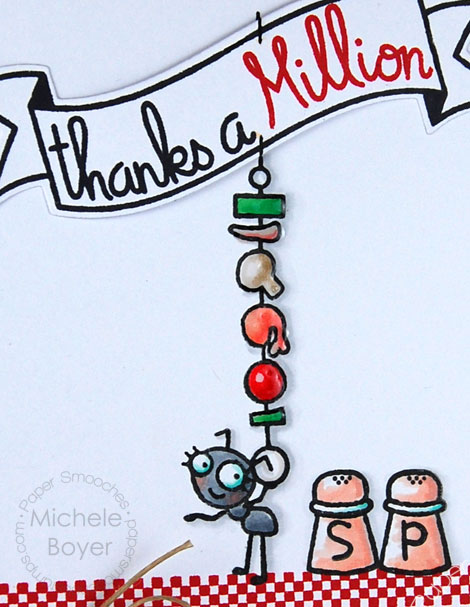
The banner was die-cut using Streamers Dies then stamped in black and red and raised on foam tape.  The ant, shishkabob and salt/pepper were colored with Copic markers.  After coloring, I added Glossy Accents to the meats and veggies.

Along the bottom I added two border strips using Borderlicious.

I ♥ that little ant.  🙂

Thanks so much for stopping by! Have a great day!

Additional info:  Copic markers (C00, C1, C3, C5, R01, R02, R22, R24, R37, G05, G09, E40, E43).  Finishes size 4 1/4″ x 5 1/2″.

Thinking of You

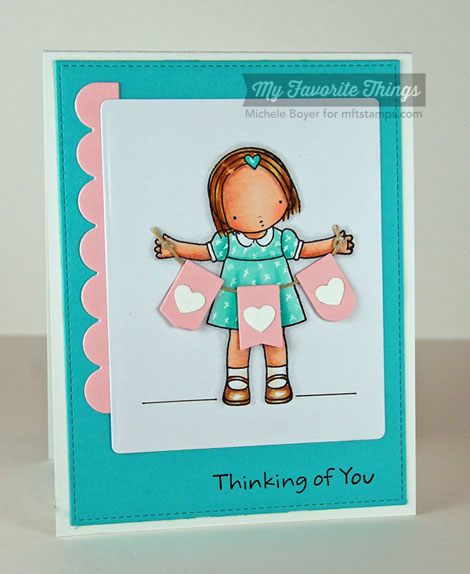
Hi everyone! I couldn’t resist creating an extra card using MFTs latest Pure Innocence release, Sending Big Hugs. I think she’s adorable.  ♥

I decided to give her a little banner to hold. The banner flags were cut using new Blueprints 16 with hearts and the scalloped strip from Blueprints 8. The Blu Raspberry panel was cut using Blueprints 13 with the white X-Press It Blending Card panel cut using Office Supplies Die-namics. (I ran the die-cut through a second time to achieve the smaller size.  The sentiment, stamped in Black Licorice ink, is from PI Because You’re Special.


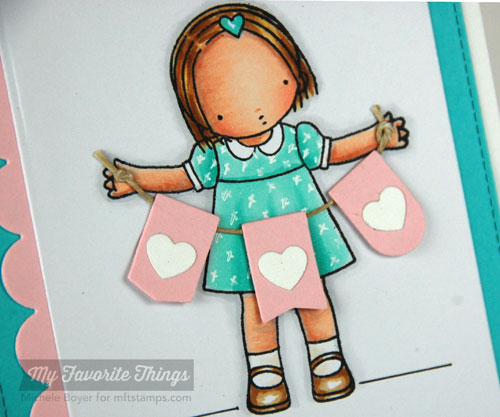
I colored with Copic markers, adding the little x’s using a Signo White Pigment Pen.  The little flags are raised on foam tape, “hanging” from hemp cord.

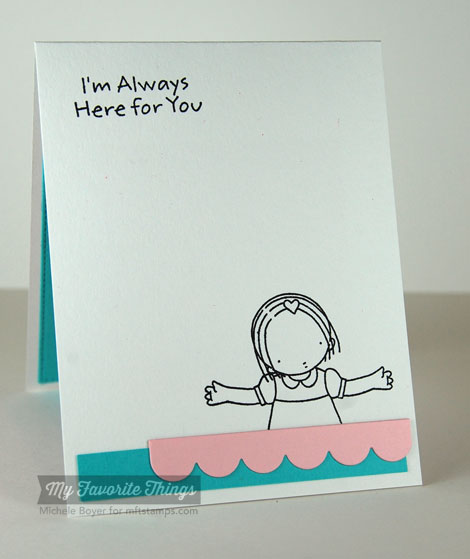
Inside, I added a second sentiment and stamped a partial image.

Thanks for stopping by today!  I’ll be back soon.  🙂

Additional supplies/info:  Copic markers (E00, E11, BV000, Y21, E31, E35, E37, R01, R02, BG11, BG13, C00, C1).  Finished size 4 1/4″ x 5 1/2″.

a pocketful of sMOOches

Hi everyone!  I’m trying to recover here from a lightning strike that took out both of our computers as well as our router.  It’s been…interesting.  Everything is new.  And different.  And taking WAY longer than usual, but I’m getting there. So thankful it wasn’t worse, but getting back up to speed has not been fun.

I have a Paper Smooches card to share today using Denim & Daises with Chubby Chums.  (I love this cow.)  🙂


After stamping the cow onto X-Press It Blending Card, I added a few eyelashes and colored with Copic markers.  She was cut out, using a craft knife to cut around the legs, then slipped over the stamped/cut out pocket.  The flowers were die-cut using Pocket Dies, with tiny hearts (from Denim & Daisies) stamped in the centers and covered with Glossy Accents.

Isn’t she cute?

Thanks so much for stopping by today!  I’ll be back soon.  🙂

Additional info:  Copic markers (E40, E42, E43, R01, R02, BG10).  Finished size 4 1/4″ x 5 1/2″.

MFT June New Product Launch, Every Day is a Picnic

Welcome to MFT‘s June New Product Launch!  All new products you’ve seen previewed over the last week are now available to you right HERE!

Be sure to visit each of the MFT Designers’ June Product Launch posts linked on the MFT Blog and leave a comment by the end of the day on Thursday, June 12 for your chance to win one of two $100 Gift Vouchers. (WOW!) The winners will be chosen at random and the prizes will be sent out on June 13.

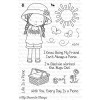
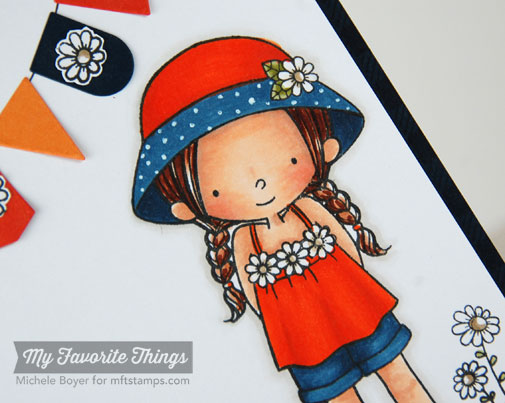
I have three cards to share tonight, all using varying degress of new Birdie Brown Designs Every Day is a Picnic.  🙂

First, I used the cute girl with flowers and banners die-cut using Blueprints 16.  It doesn’t show in the photo, but I also used new Gingham Background with Nightshift Blue ink on a Nightshift Blue base.
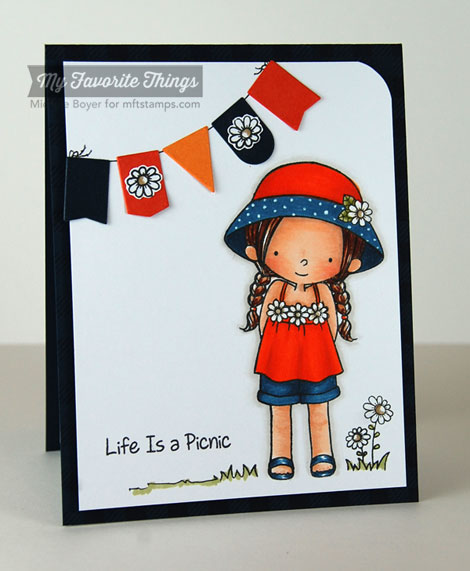
She was stamped onto X-Press It Blending Card and colored with Copic markers. The banner string was traced using one of the rounded dies from Blueprints 16 and a 0.25 Black Copic Multi-liner.
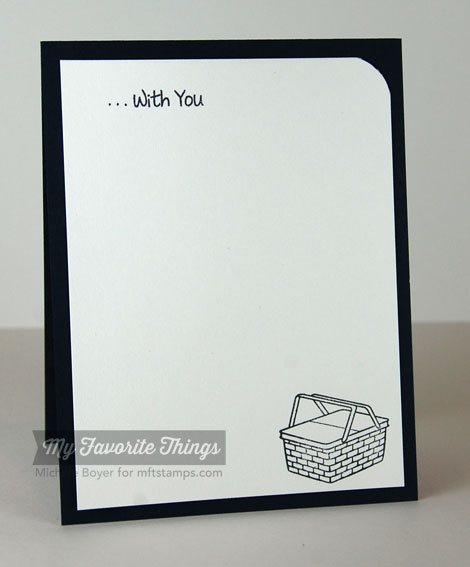
Inside, I continued the sentiment and added a little basket.
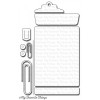
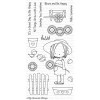
Next I used the accessory images included in the Picnic set along with Every Day is a Picnic Die-namics. The sentiment strip was cut using Blueprints 16 and the paperclip was die-cut from Cotton Candy card stock using Office Supplies Die-namics.
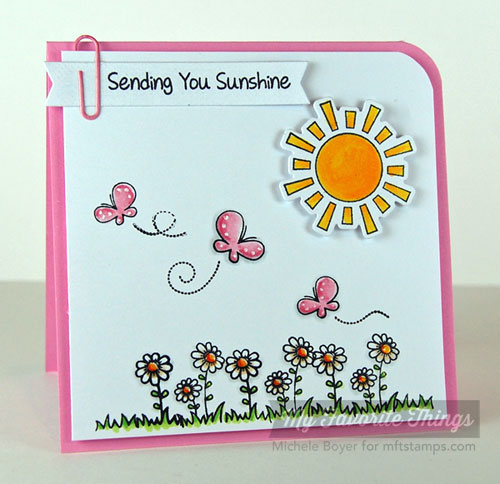
The sun is raised on foam tape and I added Glossy Accents to the center of each flower.
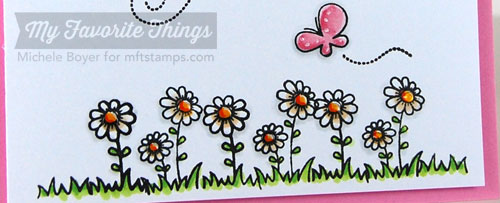
Inside, I added a row of flowers stamped in Black Licorice dye ink.
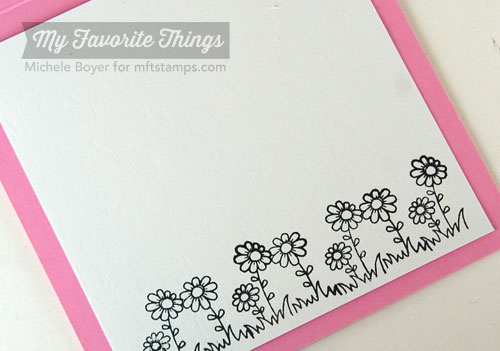
On my last card, I used only the flower images from Every Day is a Picnic, combing them with Pure Innocence Sending Big Hugs.
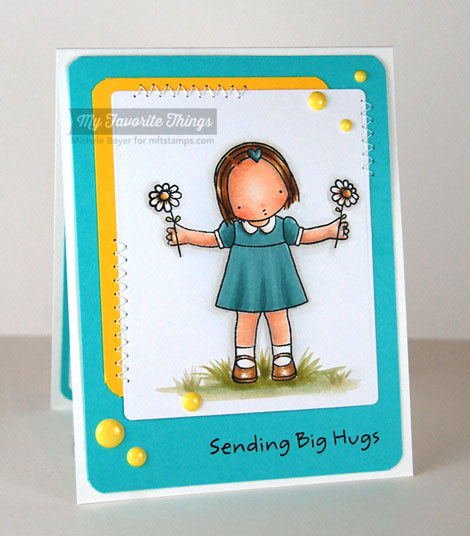
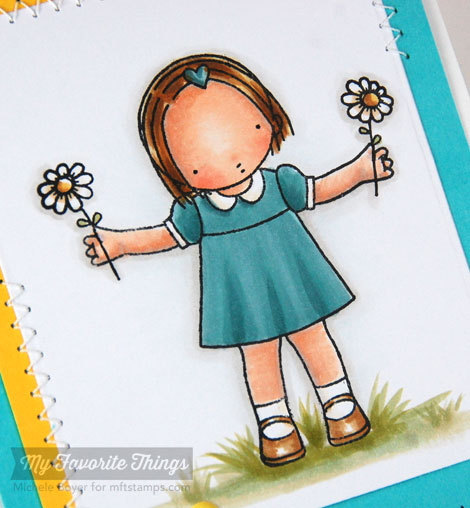
I stamped the girl first, then using a stamp positioner, I stamped the flowers.  (I used tape to mask off the parts of the flower stamp I didn’t want.  Tape, ink, remove tape, stamp.) Then I lengthened the stem with a multi-liner.
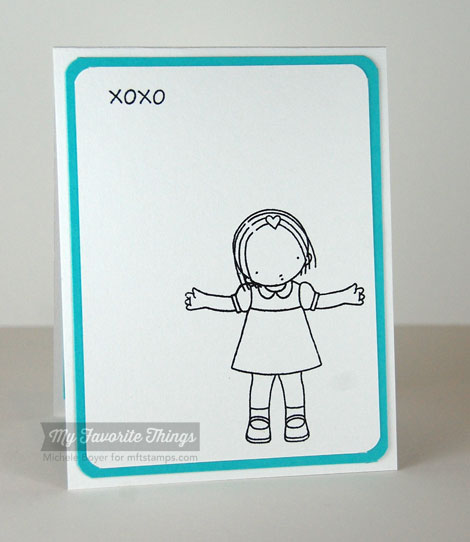
Inside, I added a second sentiment from the set (one I like to use often) and added a silhouette of the image.

Don’t forget to check out the MFT Blog for direct links to samples using all of the new products!   And as you look, don’t forget to comment for your chance to win one of TWO $100 Gift Vouchers!!! :)

Thanks SO much for stopping by!

Life is a Picnic card

Additional supplies/info:  Copic markers (E00, E11, BV000, R01, R02, YR04, YR07, YR09, E13, E15, E18, E50, E43, YG93, YG95, B97, B99, W00, W1), 0.25 black Copic Multi-liner, Signo White Pigment Pen, X-Press It 1/2″ foam tape. Finished size 4 1/4″ x 5 1/2″.
.
Sending You Sunshine card

Additional supplies/info:  Copic markers (Y17, Y38, YR04, YG03, YG17, E50, E53, R81, R83, R85, C00, C1), X-Press It 1/2″ foam tape, Signo White Pigment Pen.  Finished size 4 1/2″ x 4 1/2″.
.
Sending Big Hugs card

Additional info/supplies:  Copic markers (E00, E11, BV000, R01, R02, Y21, E31, E35, E37, E47, E50, BG72, BG75, BG70, W00, W1, YG91, YG93, YG95, Colorless Blender), enamel dots.  Finished size 4 1/4″ x 5 1/2″.

MFT June Preview, At the Office-Gift Card Tutorial

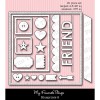
Hi everyone!  I have two more previews to share before MFT‘s June New Product Launch tonight at 10 p.m. EST.  On both,  I used new At the Office stamp set with Office Supplies Die-namics.

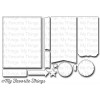
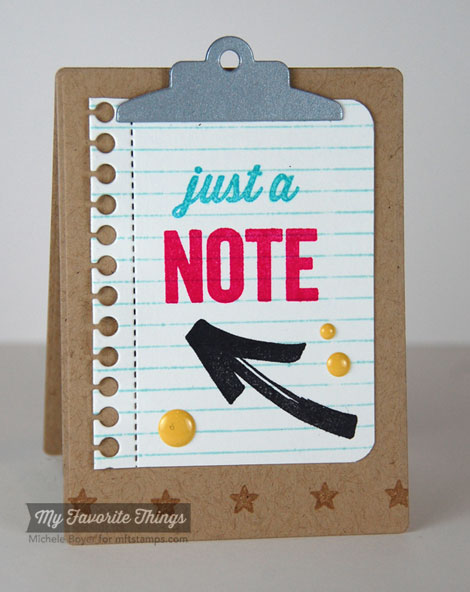
First, I used Office Supplies Die-namics to create a clipboard shaped card from Kraft card stock.  Notebook Paper Background was stamped onto Whip Cream card stock with Sno Cone ink then the left side was cut using Notebook Edge. The sentiment was stamped in Blu Raspberry and Razzle Berry inks.

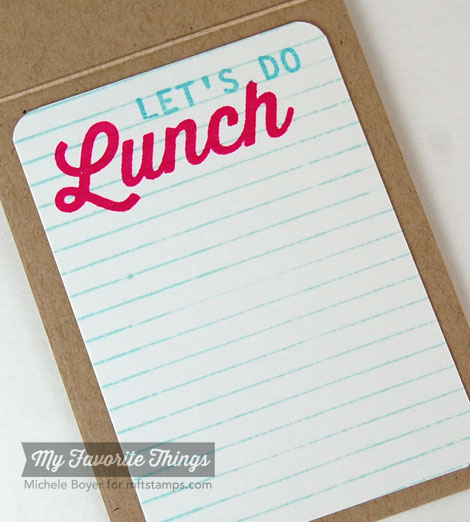
Inside, I stamped a second sentiment from At the Office onto another piece of Notebook Paper Background.

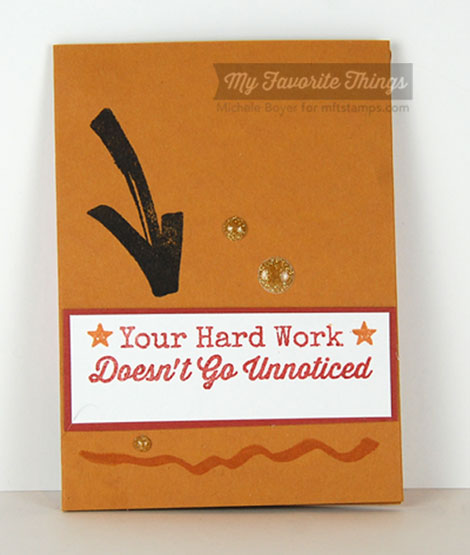
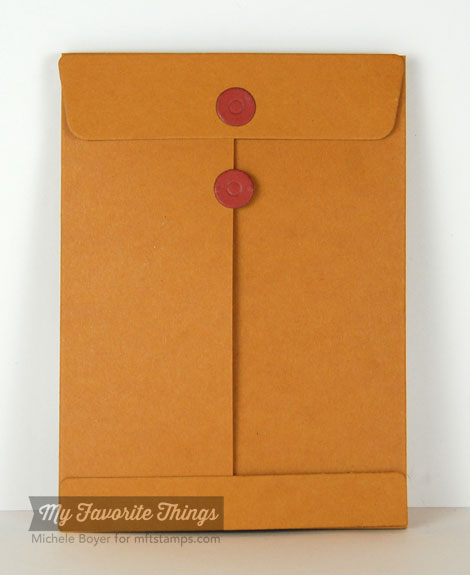
Next, I created a card with gift card holder using Office Supplies Die-namics.  Here’s the front.

Here’s what I did:

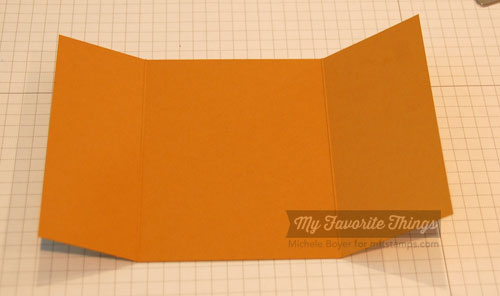
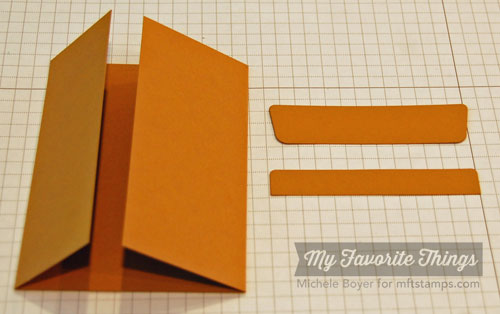
Cut a 6 7/8″ x 4 1/8″ block of Safety Orange card stock.  Score and fold at 1 5/8″ and 4 7/8″.
Cut envelope “flaps.”

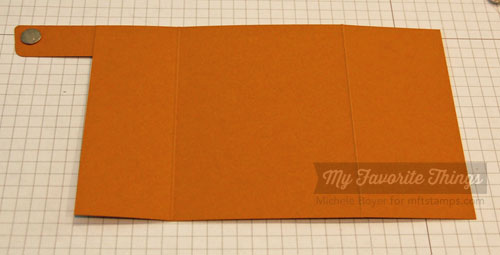
Adhere top flap, applying glue to left side only.  Adhere magnetic disc (+side) to inside flap as shown.
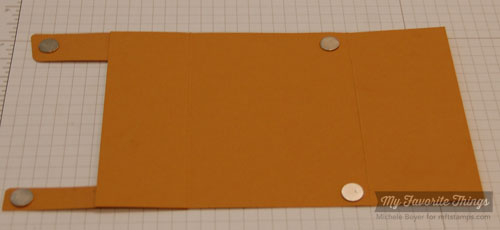
Adhere – side disc to + side disc.  Remove paper from adhesive side of magnet and close flap to center.  The + side magnetic should now adhere in proper position to inside of card.  Repeat with bottom envelope flap.

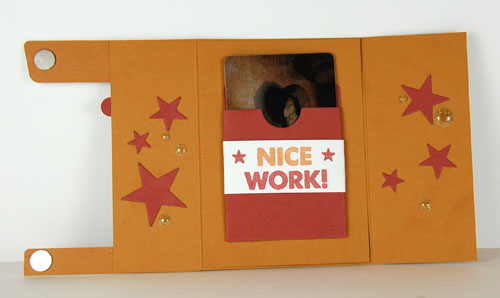
Cut card stock to fit inside (center) panel and adhere to cover magnets.  Die-cut Vertical Gift Card pocket.  Fold along score lines and adhere to inside of card.  (I used d0uble-sided tape.)   I used stamps from At The Office, stars from Sun, Moon & Stars Die-namics as well as gold enamel dots to decorate the inside.

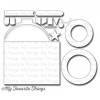
Close card, and adhere two die-cut Brick Red circles to back of envelope, applying adhesive to left side only of lower circle.

Thanks so much for stopping by!  I’ll be back tonight at 10 p.m. EST for the New Product Launch!

Please note that links to new products will not be in effect until time of release, Tuesday, June 10, 10 p.m. EST.

Let’s Fiesta

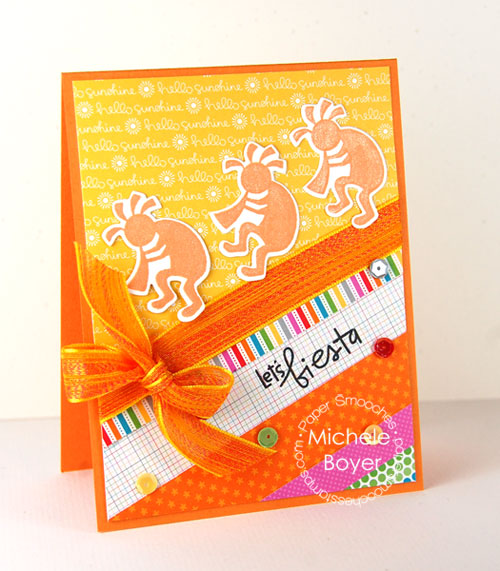
Hi everyone!  Today I have a card using one of Paper Smooches‘ latest releases, Southwest Charm, along with Southwest Icons dies.

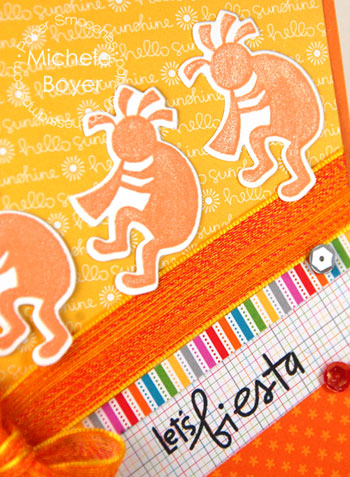
The Kokopelli were die-cut from Smooth White card stock then stamped using Orange Fizz ink.  Once stamped, I colored over each with a clear Wink of Stella brush to create a subtle sheen.  I used fun papers from Doodlebug Take Note, adding bright orange ribbon and an assortment of sequins.

Thanks so much for stopping by!

MFT June Previews, I’m Always Here for You

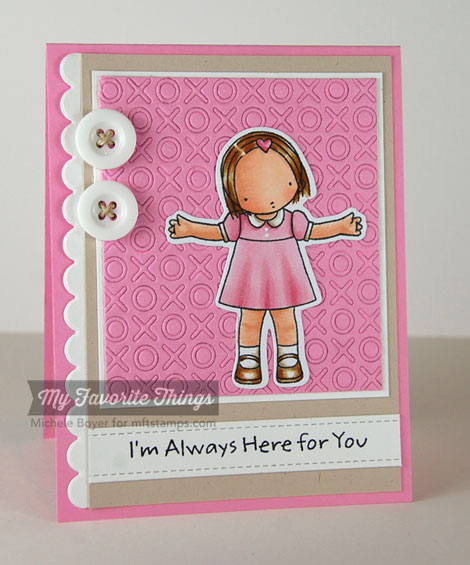
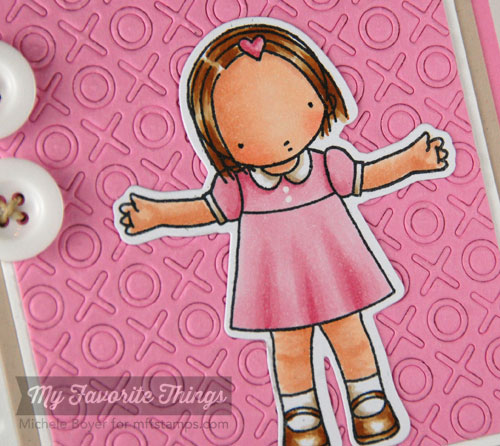
Hi everyone!    I’m back today with another sample of MFT‘s June release. Today I used an adorable new Pure Innocence set, Sending Big Hugs, which also has a coordinating Die-namics die (sold separately).

After die-cutting X-Press It Blending Card with Sending Big Hugs Die-namics, I stamped the girl using Black Licorice hybrid ink and colored with Copic markers.  Hugs & Kisses Cover-Up was used to emboss Cotton Candy card stock then I added a Sweet Tooth strip cut using Blueprints 1 (for the sentiment) and Blueprints 9 (for the scalloped edge).

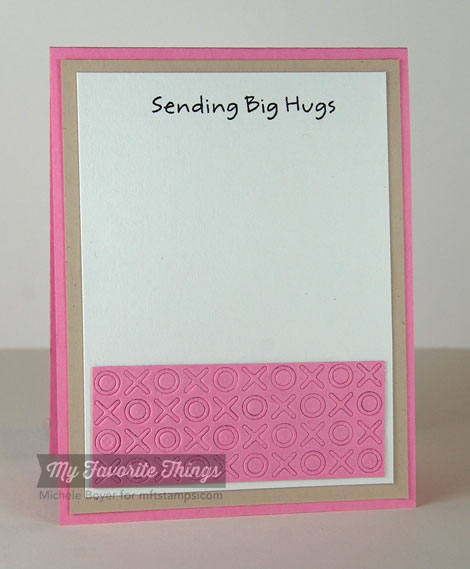
Inside, I added an extra strip of the embossed X’s and O’s and stamped a second sentiment from the set.

Be sure to check out the MFT Blog for direct links to more Countdown samples, info on prizes and all you need to know about our June 10 release!

Thanks so much for stopping by!  I’ll be back tomorrow!

Please note that links to new products will not be in effect until time of release, Tuesday, June 10, 10 p.m. EST.

Additional supplies/info:  Copic markers (E00, E11, R01, R02, E31, E33, E35, E37, E40, E42, E43, R81, R83, R85), Copic Opaque White.  Finished size 4 1/4″ x 5 1/2″.