Monthly Archives: May 2014

Paper Smooches Mid-Release Peek

Hi everyone!  On June 1st Paper Smooches will be releasing a new TAM set as well as dies that coordinate with Healthy Vibes and Smarty Pants stamp sets.

I have two samples today using Healthy Vibes Icons and Band Aids.  (Gotta love this cute germ.)

After die-cutting the germ from X-Press It Blending Card, I stamped the germs, colored with Copic markers then added Glossy Accents over the eyes.  To add a little more interest, the turquoise bug is popped up on foam tape.

While I had the stamp set out, I decided to quickly stamp inside the card.

My next sample uses Healthy Vibes with new Band Aid dies.

I added just a bit of foam tape beneath the center of each band aid to make them look more realistic/padded.

Be sure to stop by the Paper Smooches blog today to see more samples!

Thanks for stopping by!

caught a bug? card

Additional info/supplies:  Copic markers (BG10, BG11, BG13, BG18, R83, R85, R89, Y19, YR15, YR14, E09, YG03, YG06, YG17, YG67, YR12).  Finished size 4 3/4″ x 4 3/4″
.
feel better soon card

Additional info:  Finished size 4 1/4″ x  5 1/2″

May Creative Challenge – Crafting for Men

Hi everyone!  It’s time for a Creative Challenge with My Favorite Things. This month we’re crafting for the men in our lives.   Perfect timing for Father’s Day plus I needed an anniversary card for my husband.  🙂

My first card uses new Tool Time Die-namics with Pegboard Cover Up.  I used Natural ink with new Linen Background to add texture to the pegboard.

To spell DAD, I used High Rise Alphabet Uppercase.  The height and width of the letters worked perfectly with the peg board, covering holes with just the right amount of spacing in between the letters.    I used the # sign from Negative Dot Numbers and the 1 from Little Numbers, both layered on Mix & Match Banners cut from Safety Orange and Chocolate Brown card stock.

After die-cutting the tool pieces, I sponged the edges with Chocolate Brown ink, assembled and adhered (some) using foam squares.

Inside, I stamped a second block of Kraft card stock with Natural ink and Linen Background, adding a sentiment from Clearly Sentimental about Fathers along with a strip of stamped nuts from Let’s Tool Around along the bottom.

On my second card, I used Centerpieces You Mean the World to Me.  As above, I stamped the Kraft card stock with Linen Background, then die-cut the world and sentiment.  (I LOVE that this is done in one step.)  I cut the world again from Jellybean Green and the sentiment from Chocolate Brown.

Once assembled, I used a needle to punch a hole on each side of the world, threaded hemp cord and adhered a wood button.

Inside, I stamped the Linen Background and a sentiment from Lovey Dovey Sentiments.

Be sure to check out the MFT Blog for direct links to more “Crafting for Men” samples!

Thanks for stopping by!

#1 DAD card

Additional supplies/info:  Silver card stock (source unknown), Kool tak 1/4″ foam squares, brown marker, sponge.  Finished size 5 1/2″ x 4 1/4″
.
You Mean the World to Me card

Additional supplies/info:  Wood heart button, X-Press It 1/2″ foam tape.  Finished size 4 1/4″ x 5 1/2″.

hola, chica

Hi everyone!  Today I have another sample using Southwest Charm by Paper Smooches.  I just love this little lizard.  🙂

I stamped “him” onto X-Press It Blending Card then colored with Copic markers. After coloring, I decided to turn  him into a girl so I added little eyelashes using a multi-liner.

The flowers were die-cut from Blending Card using the Flower dies as well as new Pocket Dies, then colored with markers.  (Of all my shades of pink card stock, I didn’t have “the” one I wanted so I used my markers to create the perfect shade.)  I ♥ the dainty flower outline die-cuts (from Pocket Dies).

How cute is that lizard?  hee, hee.

Thanks for stopping by!

Additional supplies/info:  Copic markers (YG05, YG91, YG93, YG95, YG97, R22, R24, BG10, E40, E42, E43, E31, E35, W00, W, W3, Colorless Blender), 0.3 black Copic multi-liner.  Finished size 5 1/2″ x 3 3/4″.

Happy Birthday to You and Give-away Winner

Hi everyone!  I have a winner for the give-away, but business first.  (I know…)

It’s time for another fun sketch with My Favorite Things!   I needed a birthday card for a party this weekend and this sketch worked out great for that.  I used Birthday Greetings with Fishtail Flags Layers, Circle STAX 1, Stacking Stars and Star STAX.

I cut random stars from Banana Split, Tangy Orange, Sno Cone and Blu Raspberry card stock then fiddled around with them until I decided on their placement.

After stamping the sentiment in Tangy Orange and Blu Raspberry, I stamped over using Versamark and clear embossed.

I used leftover stars to finish the inside of the card as well as an envelope.

Here’s the sketch if you’d like to play along.  You can find details HERE on the MFT Blog.

And now for the winner of my give-away…  Using Random.org for random number selection, the winner is:

Congrats, Jennifer!  I will send an email shortly!  Thank you SO much to everyone who commented.  You were all so sweet.  I wish I had more than one prize to give.

Additional supplies/info:  Clear embossing powder, enamel dots.  Finished size 4 1/4″ x 5 1/2″.

You are cool

Hi everyone!  Time for some fun with Paper Smooches!

This week I’ve taken a bit of a different spin using Kitschy Kitchen stamp set with Kitchen Icons.  Owls can swing on rolling pins, right?

After die-cutting the owl and rolling pin icons from X-Press It Blending Card, I stamped the images and colored with vibrant Copic markers.  After wrapping the string around the rolling pin ends, I adhered it and the owl to a Blending Card panel using foam tape. I added a couple of Clouds and created an awning of patterned paper, adhering a scalloped border (from Borders 2) along the bottom.

Love, love, love those curly cloud outlines.  🙂

Thanks so much for stopping by today!  ♥

Additional info:  Copic markers – YG06, YG17, G28, BG13, BG18, BG78, RV55, RV29, YR07, Y21, YR23, BG10.  Finished size 4 1/4″ x 5 1/2″.

A Quick MFT Giveaway

Hi everyone!  🙂  It’s been quite a while since I’ve had a giveaway so why not right now?  Do you remember these cards from MFT‘s April release (seen in more detail here)?

I have a collection of supplies used to create them – Raindrops Stencil, Blueprints 14, Cloud Cover-Up Die-namics, Blue Skies Ahead stamp set and Pure Innocence Sunny Thoughts stamp set.

And since I have about 400 cards on hand, I will include the three cards shown above as well.

All you have to do is leave a comment on this post by Tuesday, May 20th and I’ll choose one random winner on Wednesday.  Be sure to leave an email address so I can contact you. If I don’t hear back within a couple days, I’ll choose another random winner.

Thank you so much for visiting my blog.  I appreciate every single peek.  ♥


MFT May Release Rewind

Hi everyone!  I have a couple cards to share today using more of the brand new stamps and dies from My Favorite Things.

First I used Lightbulb Die-namics with Blueprints 15 and Bright Lights Alphabet and Numbers & Symbols.  The word “say” was stamped from the “say watt?” sentiment in Watt’s Up? stamp set, stamped in Lemon Drop dye ink.


I raised the lightbulb on foam tape, using stacked glue dots beneath the “bead” at the end of the pull-cord.

Tip:  Nip off one of the loops from a filament die-cut to create a spot to attach a pull-cord.

On my second card, I used Centerpieces You Mean the World to Me Die-namics, which is free this month with a $60 purchase.  (Details here.)

I adhered tiny heart-shaped rhinestones to create an equator.

Tip:  Cut a piece of copy paper slightly smaller than your die-cut card stock panel.  Adhere glue over pretty much the whole thing.  (I used my ATG gun to apply adhesive.)  Attach the copy paper to the back of the die-cut panel so the sticky side shows through the die-cut openings.  Now your inserted pieces will adhere easily without applying glue to the back of each individual piece.

Be sure to check out the MFT Blog for direct links to more Release Rewind posts.

Thanks for stopping by today!  🙂

Say Watt? card

You Mean the World to Me card

MFT May New Product Launch, Can’t Wait to See You (x3)

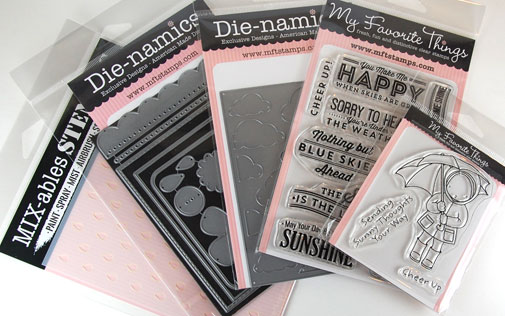
Welcome to MFT‘s May New Product Launch!  All new products you’ve seen previewed over the last week are now available to you right HERE!

Be sure to visit each of the MFT Designers’ May Product Launch posts linked on the MFT Blog and leave a comment by the end of the day on Thursday, May 15 for your chance to win one of two $100 Gift Vouchers. (WOW!) The winners will be chosen at random and the prizes will be sent out on May 16.

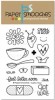
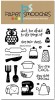
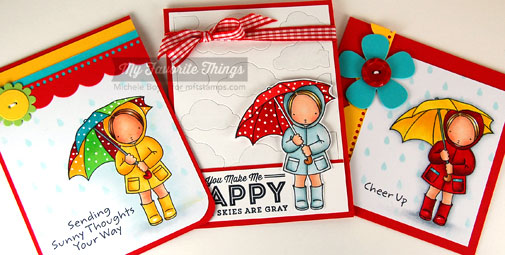
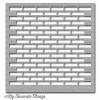
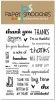
I have three cards to share tonight, all using new Pure Innocence Can’t Wait to See You.  Two of my cards also use new Small Brick Wall Stencil.

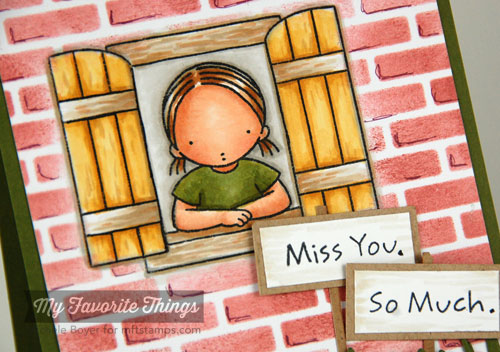
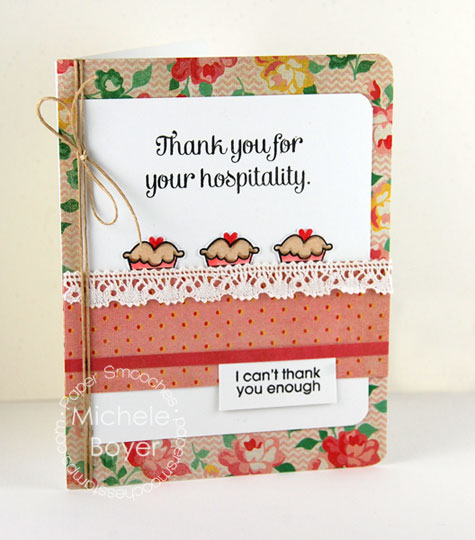
On my first card, I stamped the image onto X-Press It Blending Card.  Then, holding the stencil in place, I sponged first Bubblegum ink, then Brick Red, carefully avoiding the stamped area. I used a Copic 0.1 Wine Multi-liner to add a bit of definition to each brick then colored the image with Copic markers.  Along the bottom I placed two strips of Grassy Edges then tied with hemp cord.

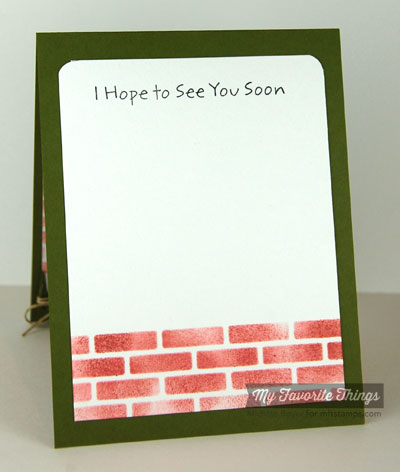
Inside, I added a second sentiment and sponged a few more rows of bricks.

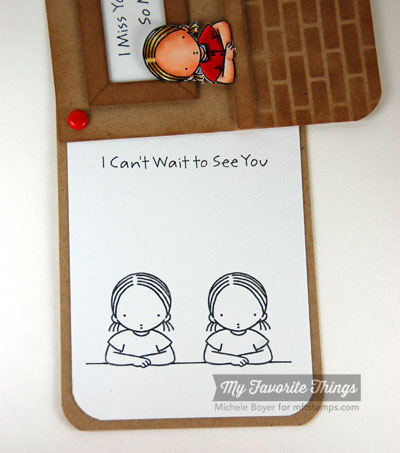
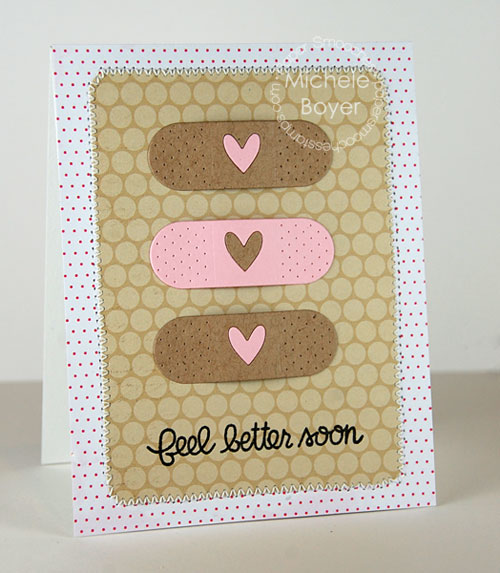
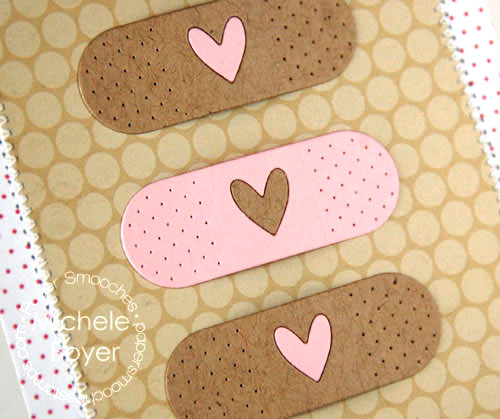
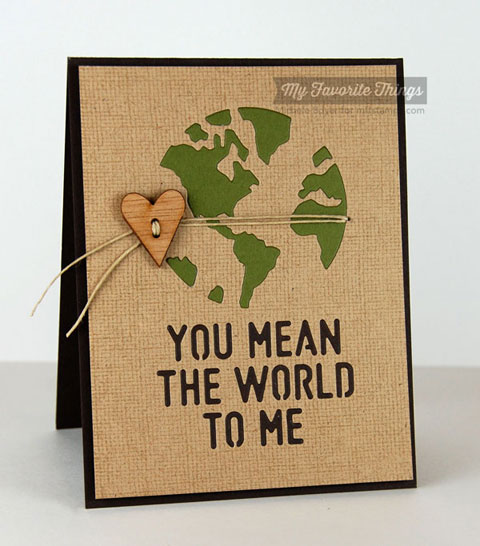
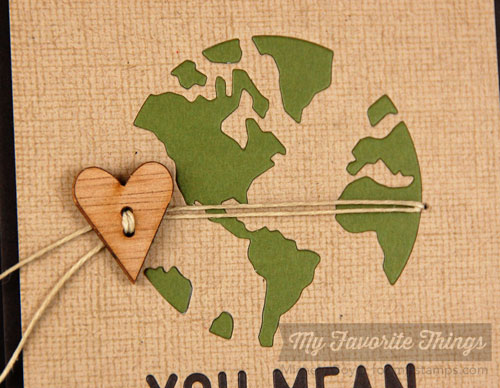
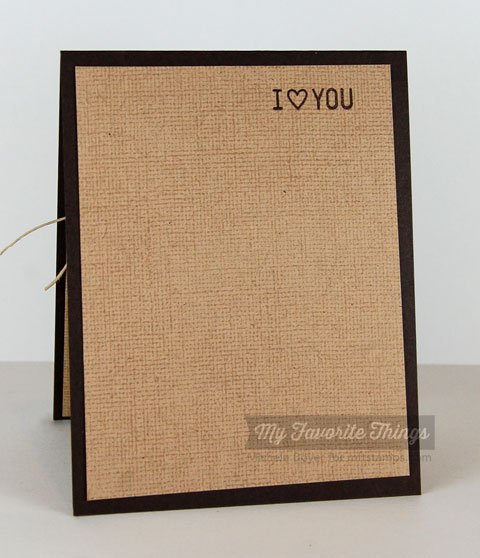
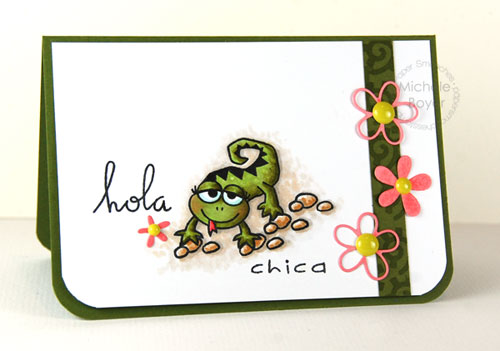
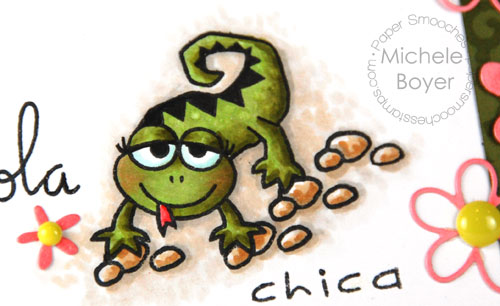
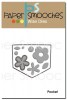
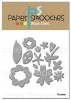
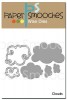
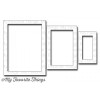
Next, I created a swivel card.  The sentiment is framed using new Rectangle Frames Die-namics.  The bricks were sponged using Kraft ink and the tiny flowers and leaves were die-cut using Trellis & Vine.

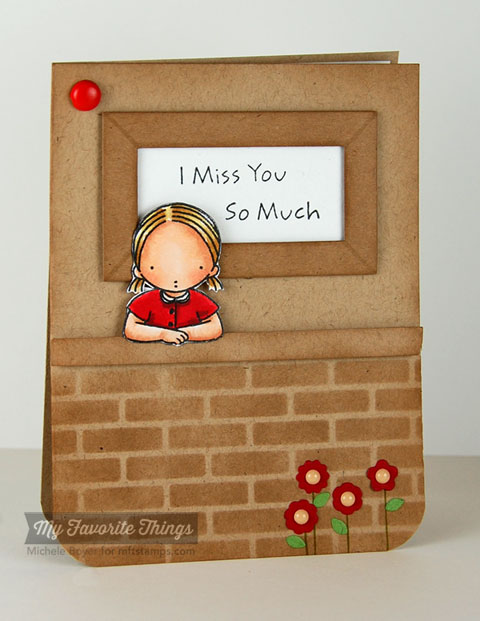
After stamping the girl onto X-Press It Blending Card, I cut her out and placed her “behind” the Kraft ledge, raised on foam tape.  Below, you can see how the card “swivels” open.

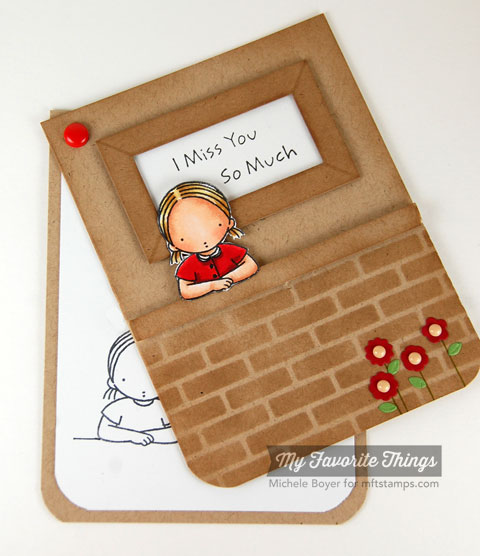
When stamping the girls inside, I used Post It tape to mask off the window.

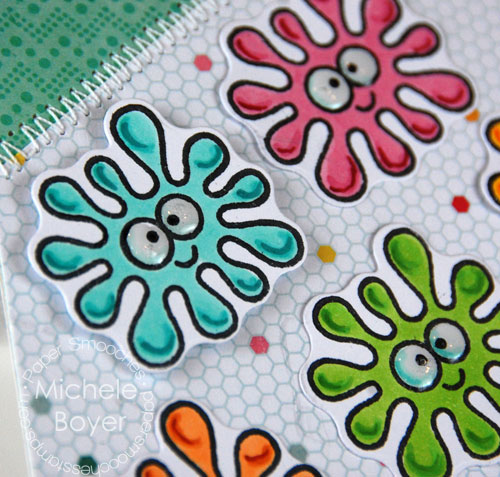
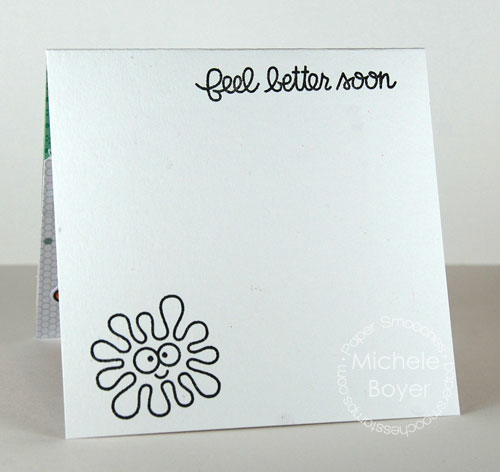
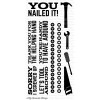
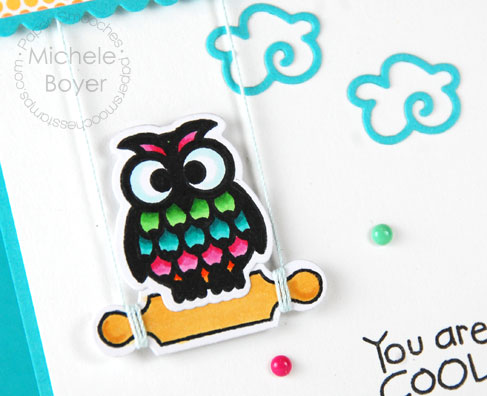
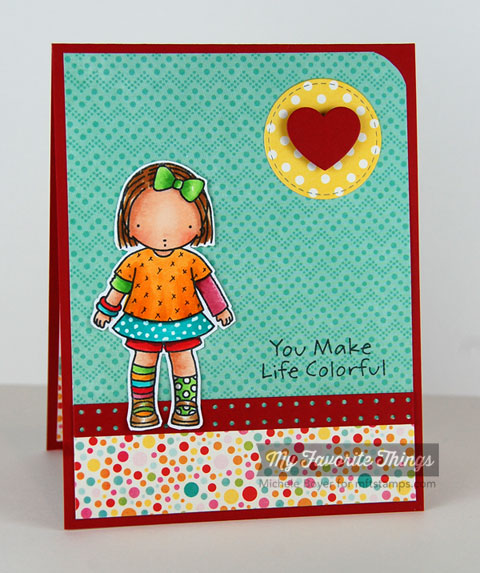
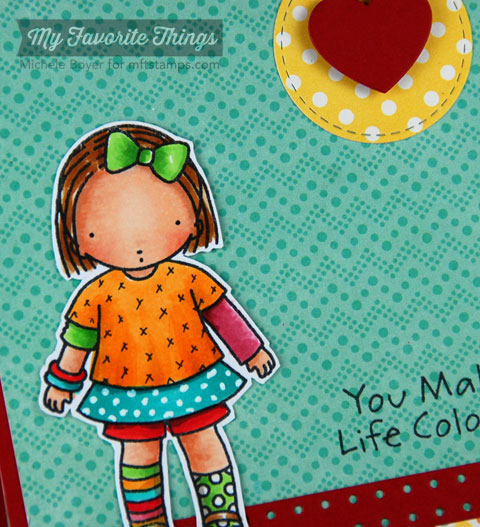
For my next card, I again masked off the window, stamping the girl five times onto X-Press It Blending Card and coloring with Copic markers.  Both sentiments (inside and out)  are from new Pure Innocence Just the Way You Are.

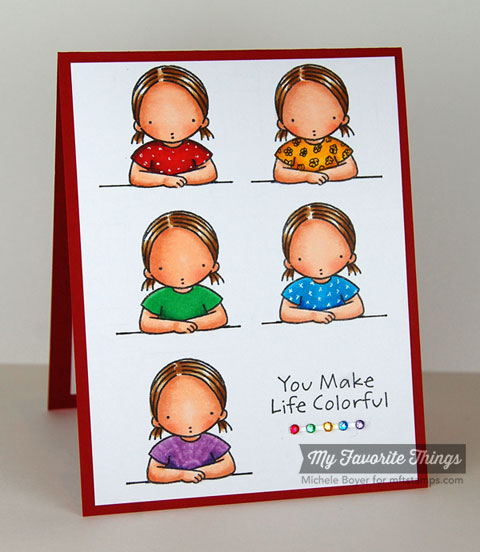
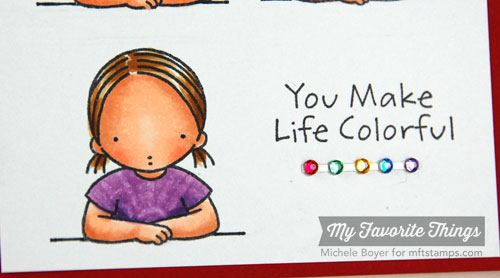
I used a white pigment pen, a 0.3 black Copic Multi-liner and a Colorless Blender to create patterns the shirts.  My favorite is the purple tie-dye (created using the Colorless Blender).  The clear rhinestones were colored with Copics as well.

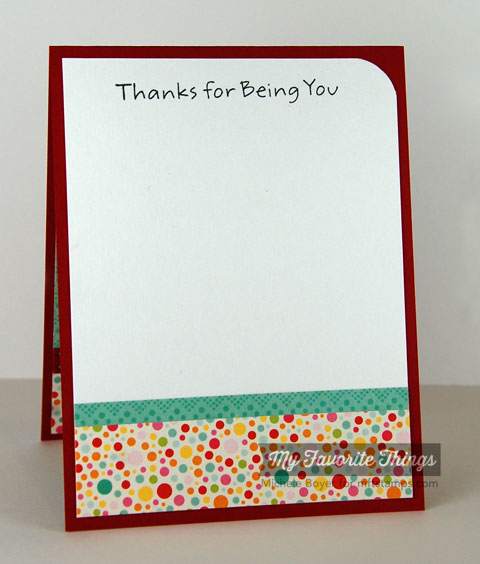
Inside, I stamped a second sentiment and added an Electric Red heart but using Blueprints 15.

Don’t forget to check out the MFT Blog for direct links to samples using all of the new products!   And as you look, don’t forget to comment for your chance to win one of TWO $100 Gift Vouchers!!! :)

Thanks SO much for stopping by!

Miss You.  So Much. card

Additional supplies/info:  Copic markers (E00, E11, R01, R02, Y21, E31, E33, E335, E37, E40, E42, E43, YR23, YG93, YG95, YG97, W00, W1), Copic 0.1 Wine Multi-liner, X-Press It 1/2″ foam tape, sponge.  Finished size 4 1/4″ x 5 1/2″.
.
I Miss You So Much card (Kraft)

Additional supplies/info:  Copic markers (E00, E11, R01, R02, Y21, E31, E35, E40), 0.3 Black Copic Multi-liner, Teresa Collins enamel dots, brad, olive marker (flower stems), X-Press It 1/4″ foam tape, sponge.
.
You Make Life Colorful card

Additional supplies/info:  Copic markers (E00, E11, R01, R02, E31, E35, E37, R24, R29, R89, Y19, YR23, YR14, G05, G09, G28, B04, B05, B28, V15, V17, BV08), Copic Colorless Blender, 0.3 Black Copic Multi-liner, KaiserCraft clear rhinestones, Signo white pigment pen.  Finished size 4 1/4″ x 5 1/2″.

MFT May Previews, You Make Life Colorful

Hi everyone!  I have one last preview to share before MFT‘s May New Product Launch tonight at 10 p.m. EST.  Today I’ve used Pure Innocence Just the Way You Are.

This image reminds me so much of my daughter a couple years ago.  She was always putting together the funkiest combinations of socks, tops and pants.  (It was a little challenging at times, but I miss it now.)


After stamping onto X-Press It Blending Card, I colored with Copic markers then added some dots with a white pigment pen and little x’s with a Copic multiliner.

The heart, circle and horizontal punched strip are all from new Blueprints 15.

Inside, I stamped a second sentiment from the set and added some leftover strips of patterned paper along the bottom.

Don’t forget to check out the MFT Blog for direct links to more Countdown samples, info on prizes and all you need to know about our tonight’s release!

Thanks so much for stopping by!  I’ll be back tonight at 10 p.m. EST for the New Product Launch!

Additional supplies/info:  Echo Park Summer Bliss (6×6), Copic markers (E00, E11, R01, R02, E31, E33, E35, E37, Y38, BG13, BG15, BG18, R24, R29, R83, R85, R89, YG05, YG17, W3), Copic 0.3 Multi-liner, X-Press It 1/2″ foam tape. Finished size 4 1/4″ x 5 1/2″.

Thank You for Your Hospitality

Hi everyone.  Happy Monday!  I guess it’s still debatable as to whether it’s a happy Monday, but I’m deciding now that it will be.  🙂

Today I have a card to share using Recipe for Success from Paper Smooches.   The smaller sentiment at the bottom is from Many Thanks.

I really like the tiny pies in the stamp set so I decided to create my card around them.  After stamping onto X-Press It Blending Card and coloring with Copic markers I added into the centers the tiny hearts, topping off each with Inkssentials Glossy Accents.

Now I have a nice little card to send in thanks after being invited for dinner by a friend or relative.   🙂

Thanks for stopping by today!

Finished size 4 1/4″ x 5 1/2″