Monthly Archives: April 2014

Super Mom

Hi everyone!  I’m back today with a sample using this week’s sketch challenge and new Birdie Brown You’re Super stamp set with coordinating Die-namics by My Favorite Things.


After die-cutting the girl shape from X-Press It Blending Card, I stamped her using MFT’s new Black Licorice Hybrid ink then colored with Copic markers.

The Gumdrop Green panel was embossed using Starry Night stencil, and the Fishtail Flags were cut from Safety Orange and Black Licorice card stock.

The inside was finished simply by stamping a second sentiment and silhouette.

Here’s the sketch if you’d like to play along.  You can find all details on the MFT Blog.

Thanks for stopping by!  🙂

Additional supplies/info:  Copic markers (EOO, E11, BV000, R01, R02, YR14, YR18, E09, E31, E33, E35, E37, G21, G24, G28, Y15, Y17, YR23, YR27), Michaels brad.  Finished size 4 1/4″ x 5 1/2″.

You Rock…and a new team!

Hi everyone!  I’ve been sitting on a little secret for a while and can finally share today that I have been asked to join the Paper Smooches design team (insert small squeal)! I have absolutely adored Kim’s images since we ‘worked’ together at Cornish Heritage Farms (so long ago).  Her designs are actually what drew me to CHF in the first place.  I was SO excited to receive her invitation!  So, SO excited. Thank you, Kim, for having me; I am honored.  I look forward to getting to know the rest of the team, including another newbie.  (You can check it out on the Paper Smooches blog today).    🙂  🙂  🙂

And just so you don’t only have my rambling and squealing to read about, I’ve created a card using one of my favorite Paper Smooches sets, Knick Knacks.


The rocking horse was stamped onto X-Press It Blending Card, colored with Copics and accented by Crate Paper Oh Darling patterned papers.

After stitching the floral paper to the top and bottom, I tied a bit of hemp cord and popped up the panel on foam tape.

Thanks so much for stopping by!  I look forward to sharing more Paper Smooches!  🙂


Additional info —  Copic markers:  E31, E33, E35, E40, E41, R12, R81, R83, RV34, YG41, YG45.  Finished size 4″ x 6″.

Copic “Earth Day” Blog Hop & Give-away

Welcome to the 2014 Copic “Earth Day” Blog Hop!  Earth Day, April 22, marks the anniversary of what many consider the birth of the modern environmental movement in 1970.  Over 40 years later, Earth Day has become a global event with over 200 million people in over 141 countries getting involved in the fight for a clean environment.

Did you know that Copic markers and inks are environmentally friendly?

  • Copic Various Inks are non-toxic, so there’s no worry about harmful chemicals getting into the environment.
  • Because you can refill your Copic markers when needed, you never have to throw them away!
  • The Copic Various Ink bottles are recyclable.

All that refilling and recycling means less garbage in landfills and less negative impact on the environment.

In celebration of Earth Day 2014, the Copic Education and Design Teams have gotten together for a hop.  Visit each person’s blog to learn personal tips and tricks for refilling and caring for your markers… and possibly some pretty eye candy along the way.

I have a bright/cheery card to share using Copics and Sunshiny Day from Taylored Expressions.


Here are my tips and tricks for refill and care of Copics:   🙂

  • To refill Sketch markers, I remove both end caps, then gently remove the nib tip using my fingers or a paper towel.  Holding the refill over the nibless end, I count approximately 30-40 drops then replace the nib.
  • If the nib is a bit difficult to remove, I will gently remove the tip using a Nib Tweezer.
  • If I’m in a hurry and need a quick re-inking, I will remove both caps then touch one drop at a time to the nib tip.  I usually repeat this step 10-20 times.
  • To refill my Colorless Blender, I remove both caps, then remove the nib tip (as above).  I insert a Refill Booster into the nib end then drip in the Colorless Blender Refill.    I use the Booster with the Blender Refill because Blender Refill is thinner than the ink and I have a hard time getting the Blender Refill into the barrel without it.
  • To keep the barrels and caps of my markers clean, I periodically wipe each with hand sanitizer.  I keep a bottle on my stamp table for quick clean-ups (marker barrels, caps, fingers, table, etc.).

Check out tips and tricks from other Copic team members following the links below:

Lori Craig

Sharon Harnist

Cindy Lawrence

Debbie Olson

Colleen Schaan

Sherrie Siemens

Marianne Walker

Copic Blog

When you’re done hopping, head on over to the Copic Blog and sign up to be entered in the Earth Week Giveaway!  Five lucky winners will each receive a 3-piece Blending Trio or Color Fusion set, one Various Ink refill and a 5×7 sketchbook.

Thanks so much for stopping by!  🙂

Additional supplies/info:  Copic markers (RV63, RV55, RV29, Y15, YR58, YG17, G09, E31, E33, E35, C00, C1, C3), May Arts ribbon, Recollections brads.  Finished size 4 1/4″ x 5 1/2″.

MFT April Creative Challenge-Jazzy Blooms

Hi everyone!  It’s time for a Creative Challenge with My Favorite Things. This month we’re jazzing up our Die-namics flowers with patterns or texture.  I have two samples to share.  🙂

On my first card, I used Western Backgrounds on Plentiful Petals to give my flower a woodgrain appearance.  The background was created by taping the Funky Florals stencil to Kraft card stock, then tracing all the openings with an opaque white pen.

The sentiment was die-cut from Sweet Tooth card stock using Lots of Love Die-namics, and the Black Licorice scallop was cut using Simply Scallops Medium.

Inside, I added an extra strip of the Funky Florals background and stamped a sentiment from Get Well Wishes in Black Licorice ink.

On my second card, I used Typewriter Text Background on Berrylicious flowers cut from Blueprints 14.  The sentiment, from Chalkboard Greetings, was clear embossed to add some extra interest and balance to the right side of the card.

To the center of each flower, I stitched a Red Hot button.

Inside, I used the inlaid die-cut technique (as done here) to keep the inside nice and flat.

Be sure to check out the MFT Blog for direct links to more stencil technique samples!

Thanks for stopping by!

XOXO card

It’s a Good Day card

deepest sympathy

Hi everyone.  🙂   I never seem to have a sympathy card on hand when needed so the last time I did need one, I made an extra.

Here I’ve used Botanicals 2, Salutations and Kissables 2 from Paper Smooches.


After stamping the images in Kraft onto Smooth White card stock, I fussy-cut, using an X-ACTO knife to remove the inside areas.

I distressed the edges using a distress tool, then stamped a second image and sentiment on the inside.

Thanks for stopping by!  Have a great day!

Remember, I am Here for You

It’s time for a sketch with My Favorite Things!  This week I’ve used new Pure Innocence I Pick You.

I used a base of Sweet Tooth card stock, accented with Blu Raspberry, Kraft and Lemon Drop.


The image was stamped onto X-Press It Blending Card using new Black Licorice Hybrid ink, which works beautifully with Copic markers.  After coloring, I die-cut using Pierced Oval STAX.

I stamped the image inside using Kraft ink and the sentiment, from Pure Innocence All Occasion Sentiments was stamped in Black Licorice Hybrid.

Here’s the sketch if you’d like to play along.  You can find all details for the challenge on the MFT Blog.

Thanks for stopping by!

Additional supplies:  Copic markers (E00, E11, BV000, Y21, E31, E33, E35, BG13, BG15, BG18, R01, R02, YR24, G24, BG70, C00, C1, C3).
Finished size 4 1/4″ x 5 1/2″

If Friends were Flowers…

Hi everyone!  Just popping in to share a Stamping Bella Uptown Girl card.  You know how I love the Uptown Girls.  🙂

Since the weather has finally made a turn for the better, I’m all about spring and flowers, which made me think of this image – Pippa Loves to Plant.  She was stamped onto X-Press It Blending Card and colored with Copic markers.


I used MFT’s Blueprints 14 to die-cut the image panel as well as the flower and horizontal punched strip.  The sentiment is originally on two lines but the words are separated differently than I used here.  I wanted to balance out that extra space so I used my Stamp-a-jig (or “stamp positioner”) to realign the words.

Thanks for stopping by!  I’ll be back in a few days.  🙂

Additional info:  Copic markers – E00, E11, Y21, E31, E35, E37, E04, E07, E40, E42, YR24, B12, B14, R83, R85 R39, G21, G24, G28, C00, C1, C3, C5.
Finished size 4 3/4″ x 6 1/4″

MFT April Release Rewind

Welcome to Day 2 of MFT Release Rewind where we revisit products from the last release, specifically those we haven’t yet had a chance to use.

I’ve been anxious to try a technique demonstrated in the latest Online Card Class — Clean & Simple: One Layer Cards 3. If you haven’t tried one of the classes, I highly recommend you do!  I always learn something.  Anyway, in this last class, I discovered inlaying die-cuts. ♥ ♥ ♥  I am hooked.  Perfect for my post today!

On my first card, I used dies from new Baby Bib Die-namics with Oh Baby and Beautiful Baby Die-namics.

After die-cutting the bib from Sweet Tooth card stock, I cut the word baby from both the bib and Blu Raspberry. I removed the white word, replacing it with the blue to leave a perfectly flat surface.  I stamped “sweet” from Birthday Sentiments and the tiny dotted line from Beautiful Baby.

The Blu Raspberry panel was embossed using Swiss Dots Stencil.  While holding the stencil  in place, I then sponged over the dots with Sweet Tooth pigment ink. The tiny heart was cut from Beautiful Baby Die-namics, stitched in place to create a ‘button’ on the bib.

I stamped a sentiment from Beautiful Baby inside and added a second small heart in the corner.

Next, I used new Transformables Say Hello, using the same inlaid technique.

After die-cutting and assembling the speech bubble, I die-cut two flowers (using Blueprints 12), cutting them from the assembled Blu Raspberry panel and from a scrap of gingham leftover from this card.   I removed the blue/white flowers and inserted the gingham ones.  Sparkly silver enamel dots added some interest to the flower centers.

Inside, I added a ‘smile’ die-cut from Blueprints 11 with ‘dear friend’ stamped from Blissful Butterflies.

Be sure to check out the MFT Blog for direct links to more Release Rewind posts.

Thanks for stopping by today!  🙂

Sweet Baby card

hello card

MFT April New Product Launch, Sunny Thoughts (x3)

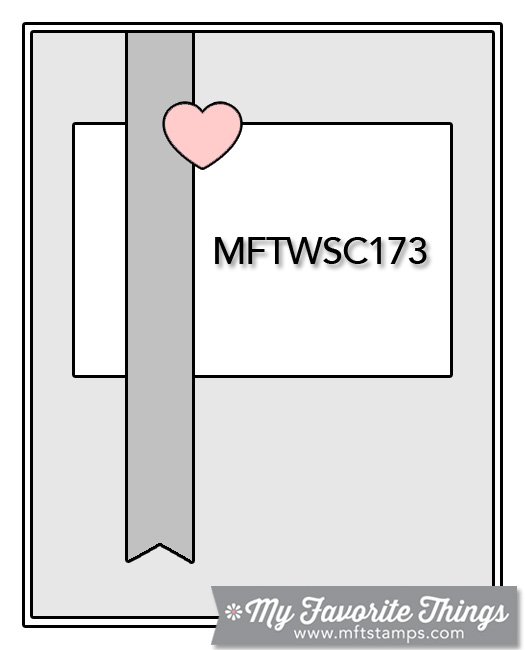
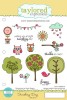
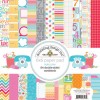
Welcome to MFT‘s April New Product Launch!  All new products you’ve seen previewed over the last week are now available to you right HERE!

Be sure to visit each of the MFT Designers’ April Product Launch posts linked on the MFT Blog and leave a comment by the end of the day on Thursday, April 10 for your chance to win one of two $100 Gift Vouchers. (WOW!) The winners will be chosen at random and the prizes will be sent out on April 11.

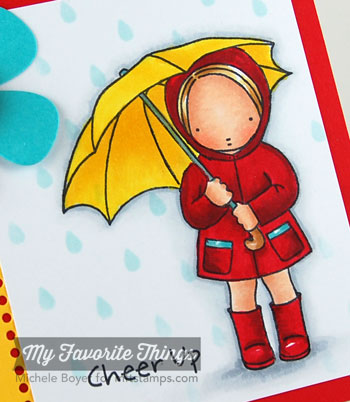
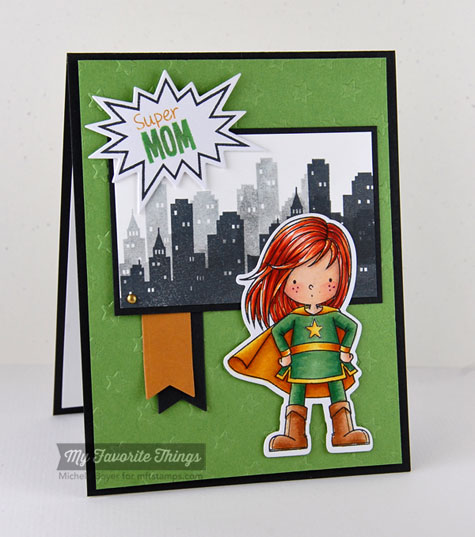
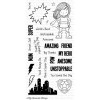
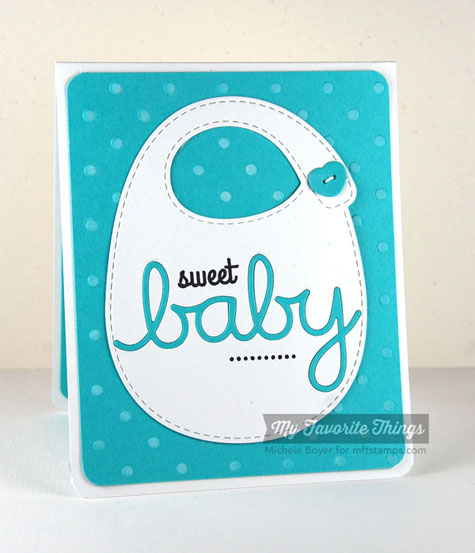
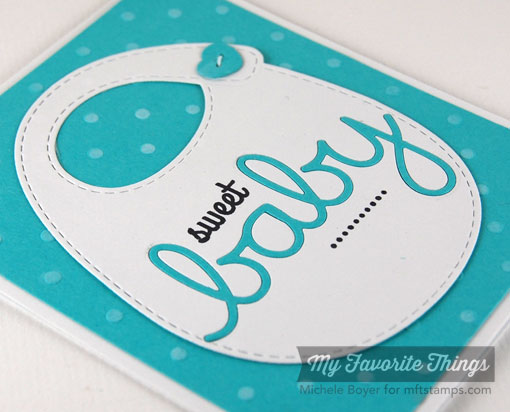
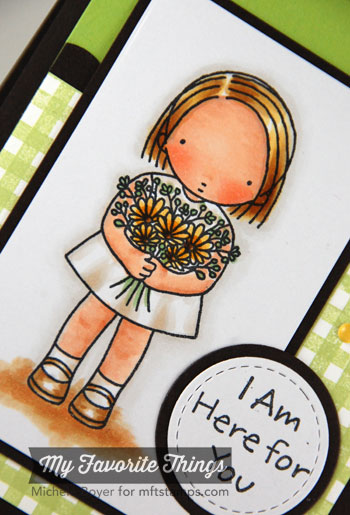
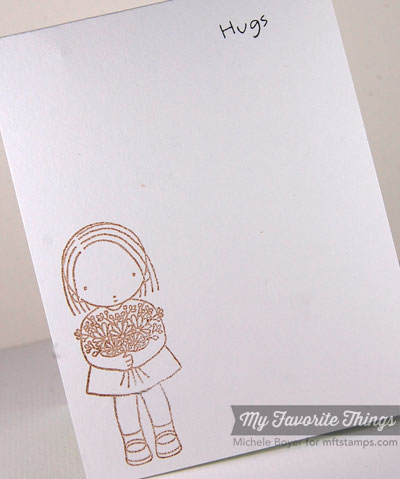
I have three cards to share tonight, all using new Pure Innocence Sunny Thoughts.

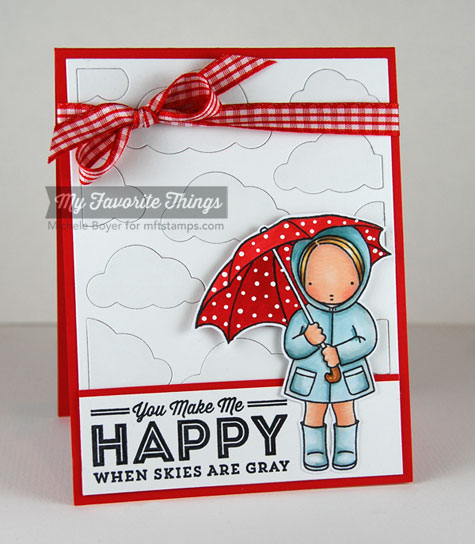
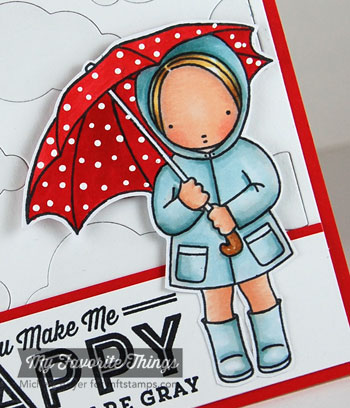
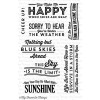
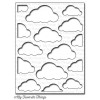
I die-cut Cloud Cover-Up from Sweet Tooth card stock, then used a light gray Copic (C00) to color over the clouds. The girl was stamped onto X-Press It Blending Card and colored with Copic markers.  I used Copic Opaque White to add dots to the umbrella and the sentiment is from new Blue Skies Ahead.

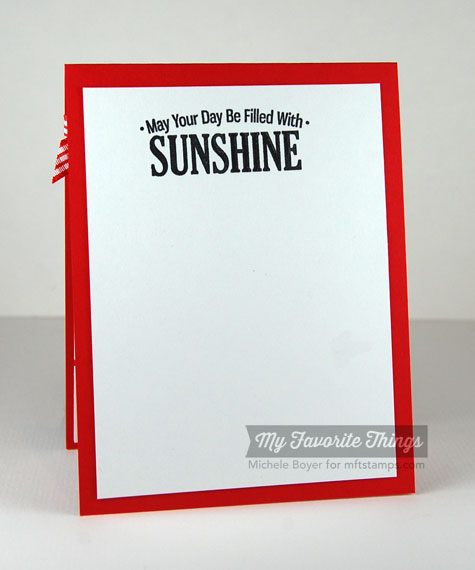
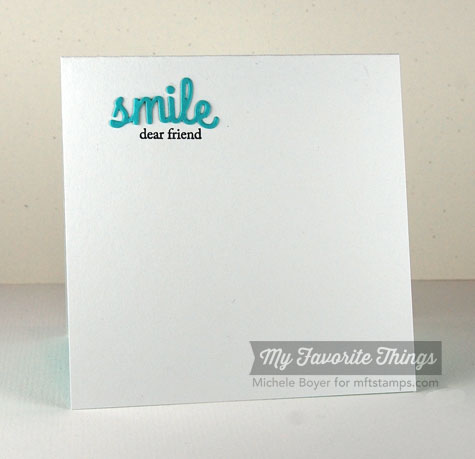
Inside, I stamped a second sentiment from Blue Skies Ahead.

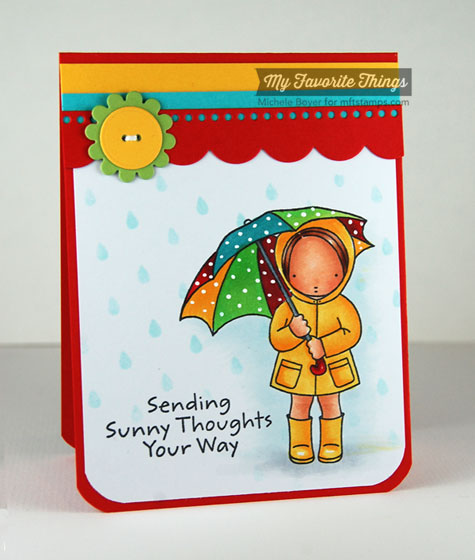
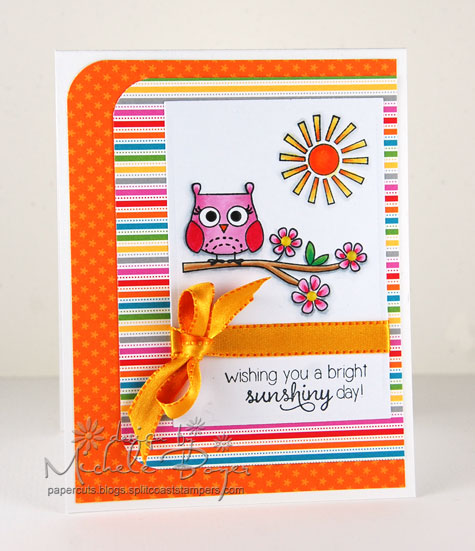
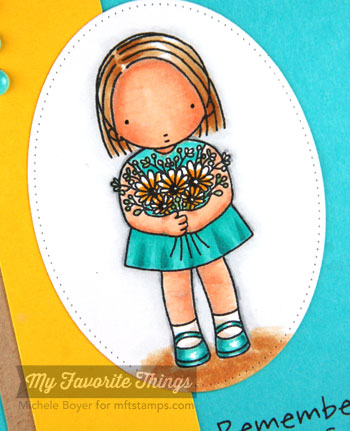
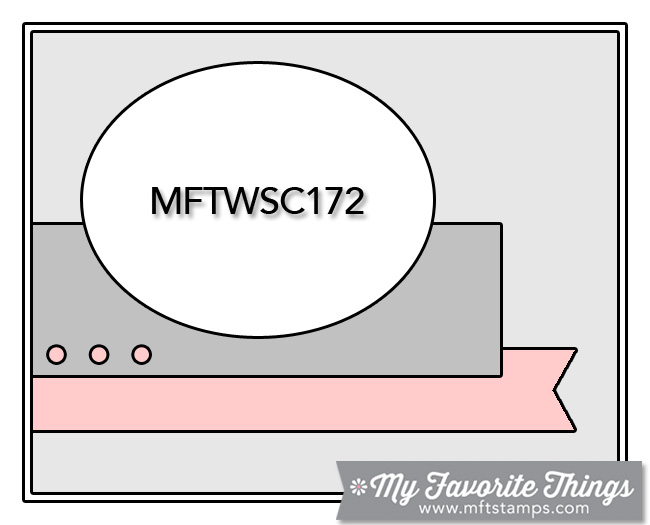
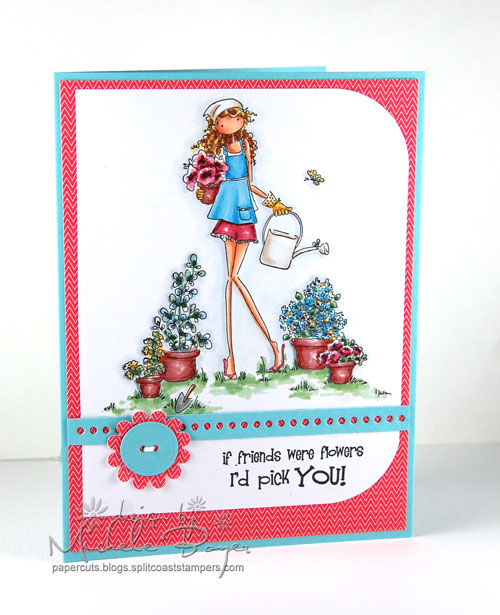
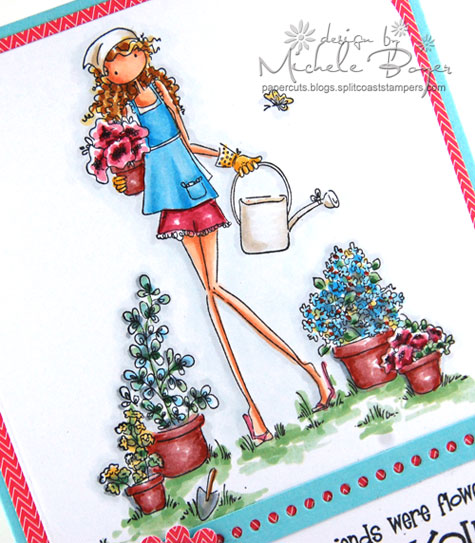
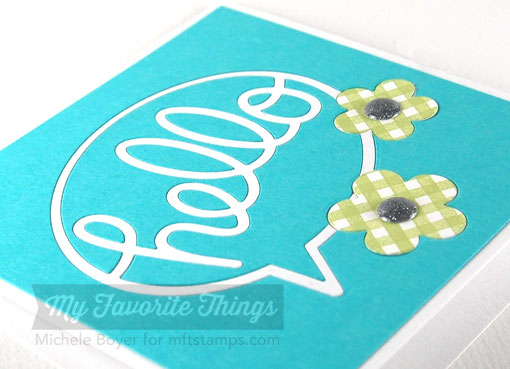
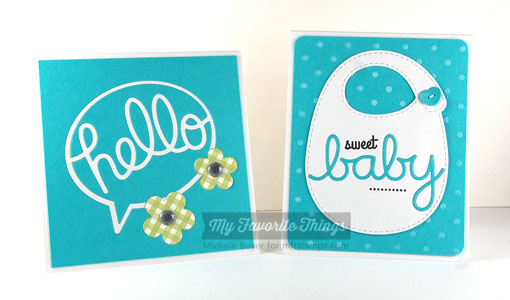
Next I used PI I Pick You along with Blueprints 14.

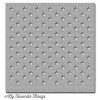
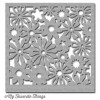
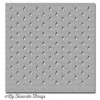
On the main image panel, I sponged over new Raindrops Stencil with Sno Cone ink.

Base card stock is Red Hot with accents of Lemon Drop and Blu Raspberry.

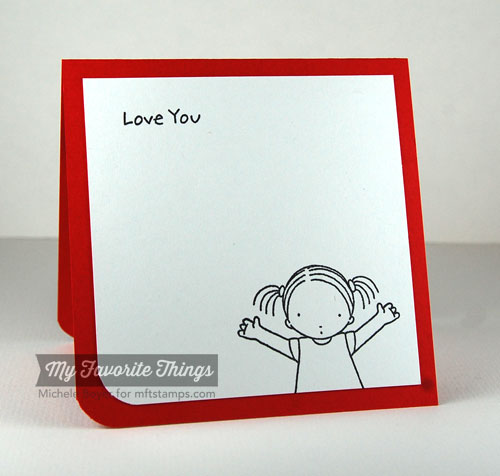
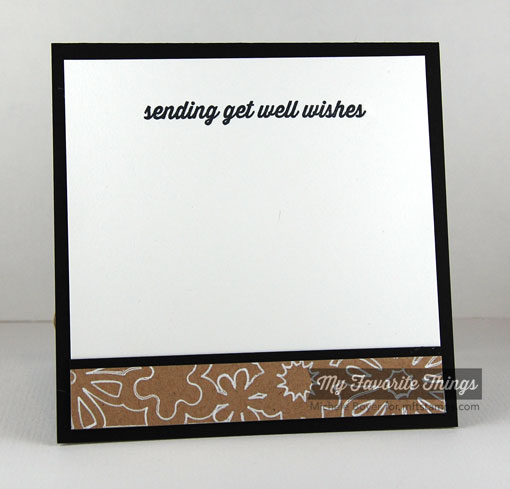
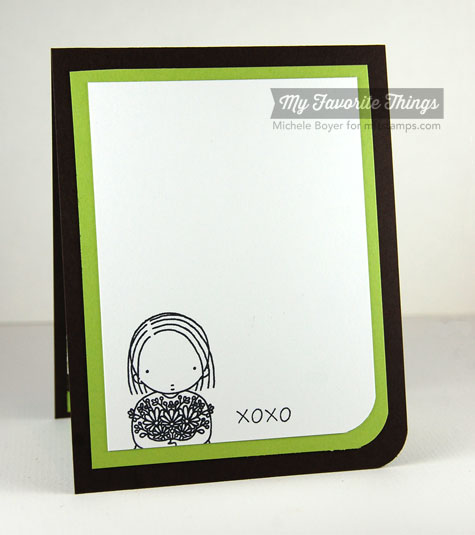
Inside, I stamped a partial image and sentiment from Pure Innocence Love is In the Air.

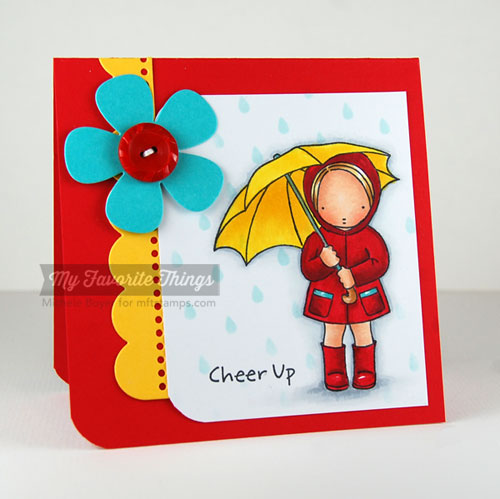
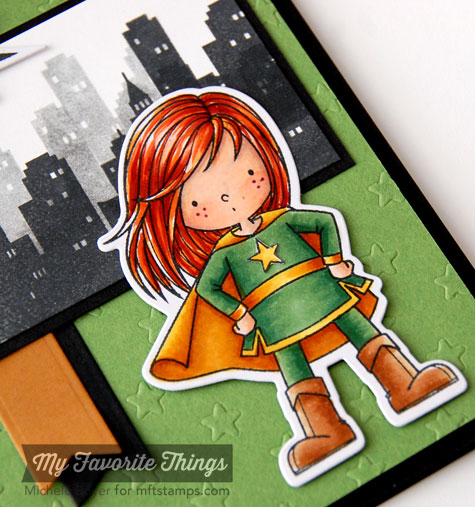
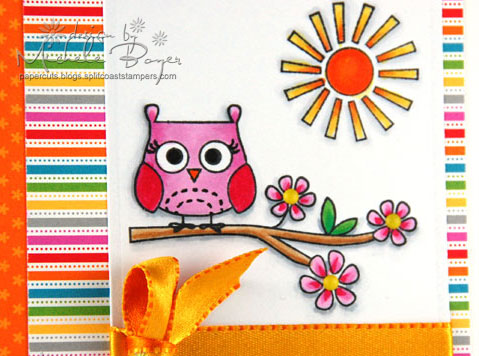
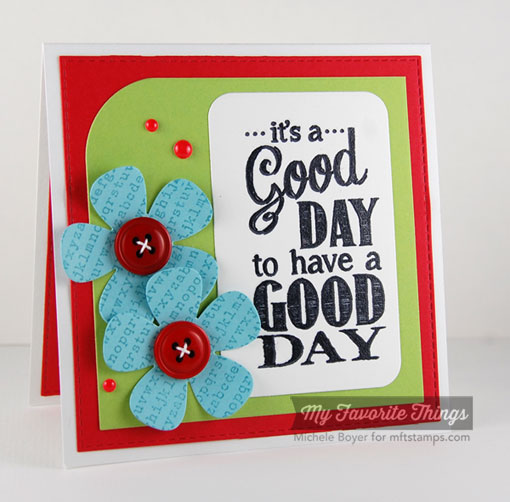
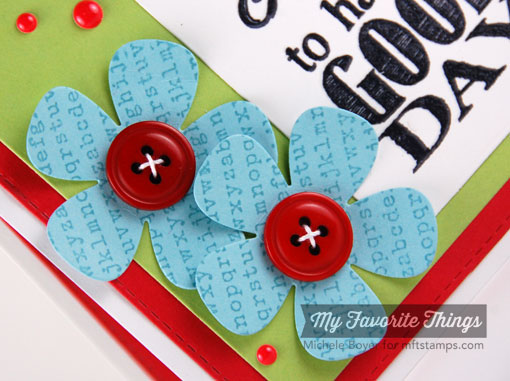
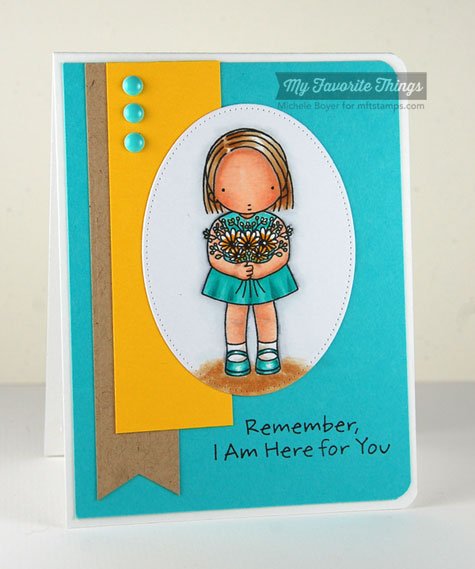
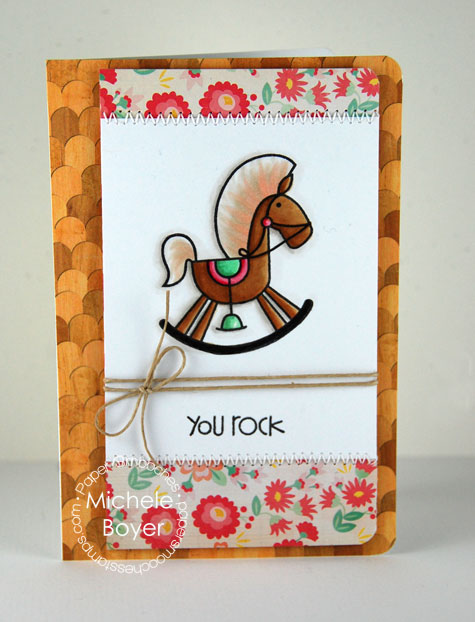
On my last card, I again used PI I Pick You with Blueprints 14.


I used bright colors of Red Hot, Lemon Drop and Blu Raspberry, with the image stamped onto X-Press It Blending Card and colored with Copics.  I used the Raindrops Stencil with Sno Cone ink and Copic Opaque White for the dots on the umbrella.

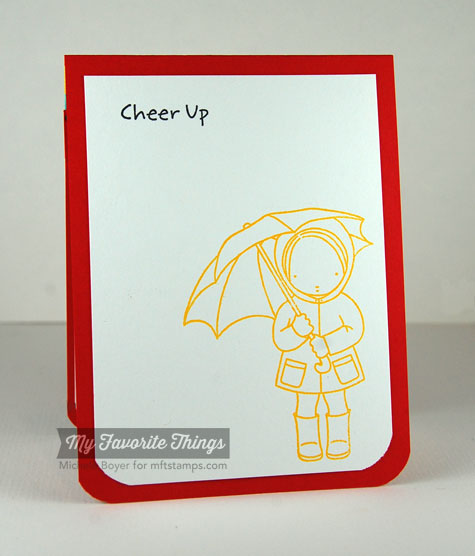
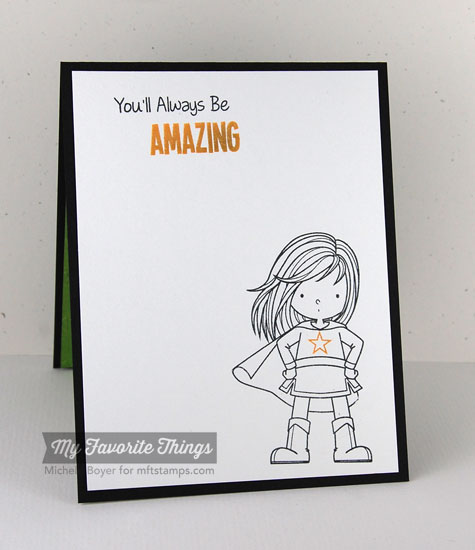
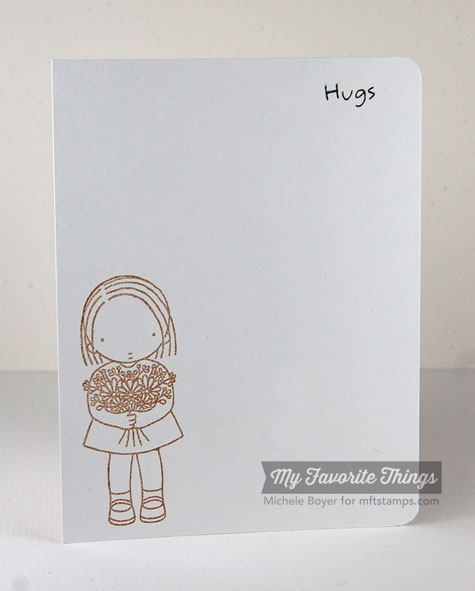
Inside, I stamped the image in Lemon Drop ink with the sentiment in Black Licorice.

Don’t forget to check out the MFT Blog for direct links to samples using all of the new products!   And as you look, don’t forget to comment for your chance to win one of TWO $100 Gift Vouchers!!! :)

Thanks SO much for stopping by!

You Make Me Happy card

Additional supplies:  Memento Tuxedo Black ink, Copic markers (E00, E11, BV000, R01, R02, BG70, BG72, R27, R29, C00), Copic Opaque White, Kool Tak foam squares, gingham.  Finished size 4 1/4″ x 5 1/2″.
Cheer Up card

Additional supplies:  Memento Tuxedo Black ink, Copic markers (E00, E11, Y21, E31, E35, Y08, Y15, R29, R39, BG57, C00, C1, C3), Corner Chomper.  Finished size 4 3/4″ x 4 3/4″.
Sending Sunny Thoughts card

Additional supplies:  Memento Tuxedo Black ink, Copic markers (E00, E11, R01, R02, E13, E15, E18, Y15, Y17, R29, R39, YG03, YG06, BG57, BG70, C00, C1, C5), X-Press It 1/2″ double-sided tape, Copic Opaque White, Corner Chomper.  Finished size 4 1/4″ x 5 1/2″.

MFT April Previews, I Pick You

Hi everyone!  I have one last preview to share before MFT‘s April New Product Launch tonight at 10 p.m. EST.  Today I’ve used new Pure Innocence I Pick You.

Elements were cut from Sour Apple and Hot Fudge card stock using Blueprints 1 and Circle STAX 1.


The image was stamped onto X-Press It Blending Card with Memento Tuxedo Black ink and colored with Copic markers.

To create the Sour Apple “plaid,” I stamped rows of Striped Backgrounds onto X-Press It Blending Card.

On the inside, I stamped a partial image along with a sentiment from Pure Innocence All Occasion Sentiments.

Don’t forget to check out the MFT Blog for direct links to more Countdown samples, info on prizes and all you need to know about our tonight’s release!

Thanks so much for stopping by!  I’ll be back tonight at 10 p.m. EST for the New Product Launch!

Please note that links to new products will not be in effect until time of release, 10 p.m. EST, April 8.

Additional supplies used:  Memento Tuxedo Black ink, Copic markers (E00, E11, BV000, R01, R02, Y21, E31, E33, E35, E59, G24, E40, E42, W00, W1, YR24), MME Enamel Dots, Corner Chomper.  Finished size 4 1/4″ x 5 1/2″.