
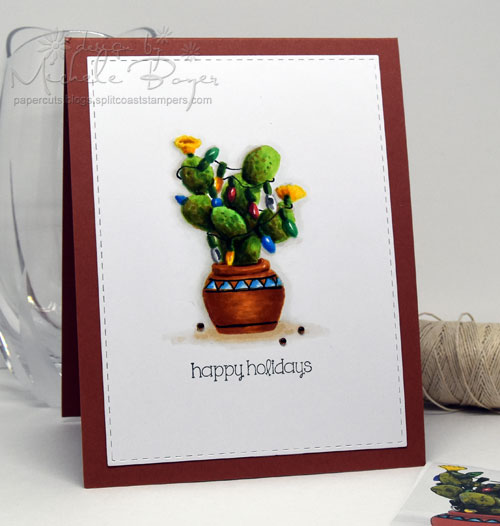
Hi everyone! Today I tried a new (to me) technique/product to create a Christmas card for my in-laws. It was so easy!

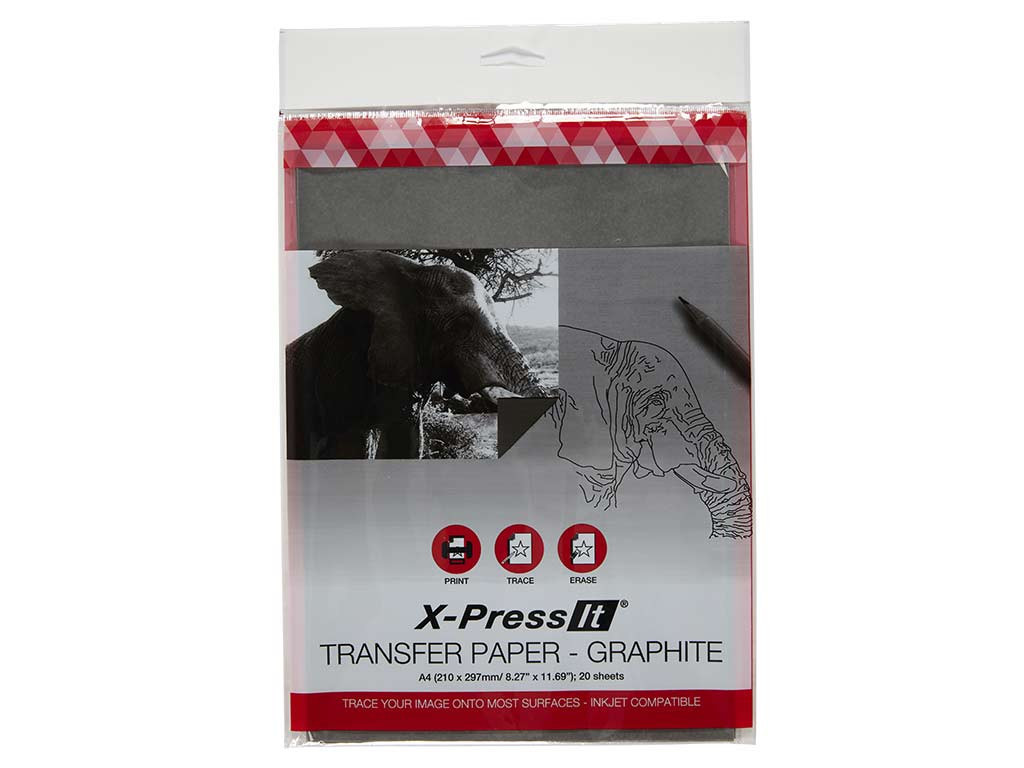
Using X-Press It Graphite Transfer Paper, I transferred a photo of the ornament shown above (left) onto the card (right). I actually impressed myself. Haha.
Here’s how to do it:

First, take a photo of your chosen item. I used an ornament that I bought a few years ago for both my in-laws and myself. (We’ll see if they notice!)
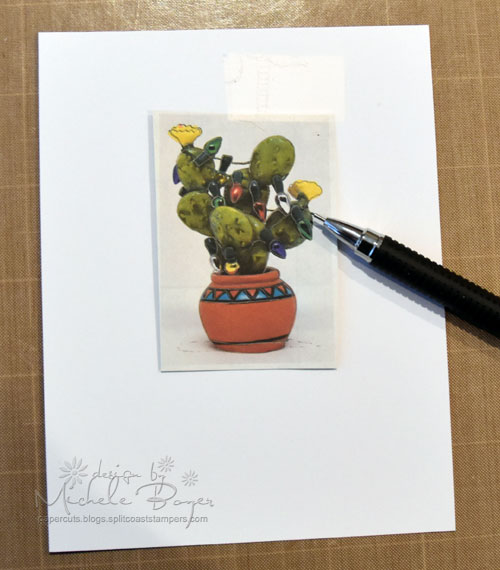
Size the photo using your program of choice. I used Photoshop. Using an inkjet printer, print the photo onto the white side of the tranfer paper, then trim the image. Use a piece or two of removable tape to hold the printed transfer paper in place onto your Copic compatible paper. As always, I used X-Press It Blending Card. Trace the image using a stylus, pen or pencil.
If you do not have an inkjet printer, simply place the photo over the transfer paper and then trace your image.
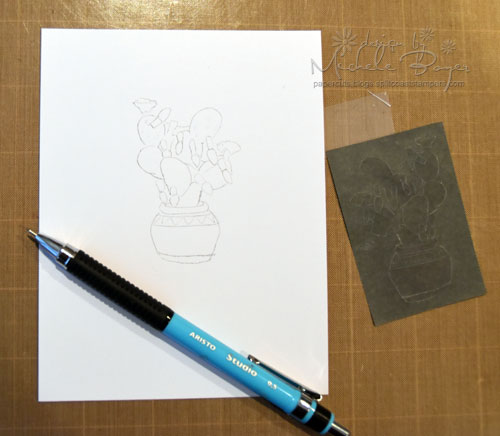
If you’d like, you can add small hash marks to indicate shading or to mark any other areas of importance. Likewise, you can eliminate any areas you don’t want to use. I eliminated the ornament hanger and string.
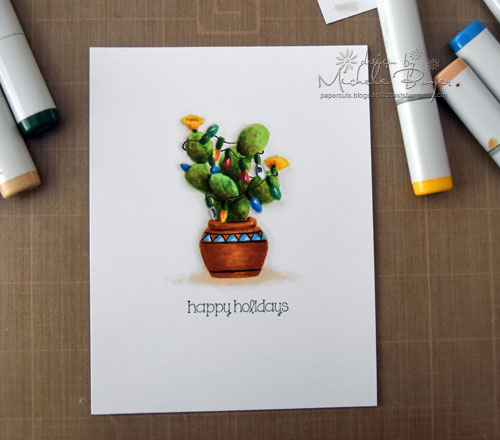
Lastly, color with your Copics. I used a 0.5 black Multiliner to add in the pot detail and strings for the lights.
If you can still see the graphite lines once coloring is complete, simply use an eraser to remove the lines. I like to use a WHITE eraser because sometimes colored erasers will leave marks behind (and noone wants that).
X-Press It Transfer Paper is available in graphite or white, can be used on a variety of surfaces (i.e. paper, wood, metal, glass, fabric, canvas etc.), is acid free, wax free, erasable and washes out of fabric.
This was fun! I may try again while I have the supplies handy. 🙂
Thanks so much for stopping by!


2 responses to “How to Transfer a Photo Image onto Card Stock for Coloring (Yes, you can do it!)”