Category Archives: Simon Says Stamp

Let’s Get Our Merry On

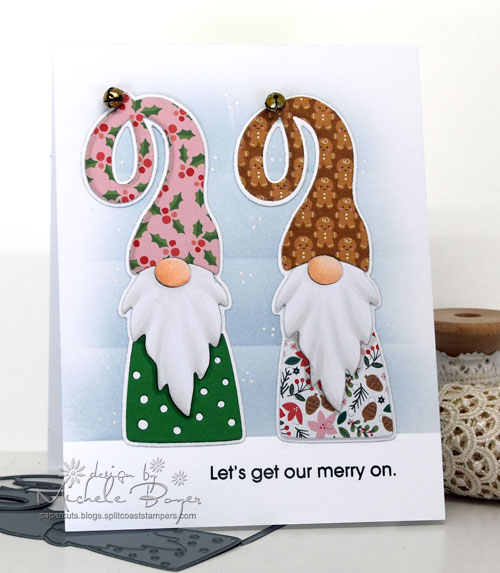
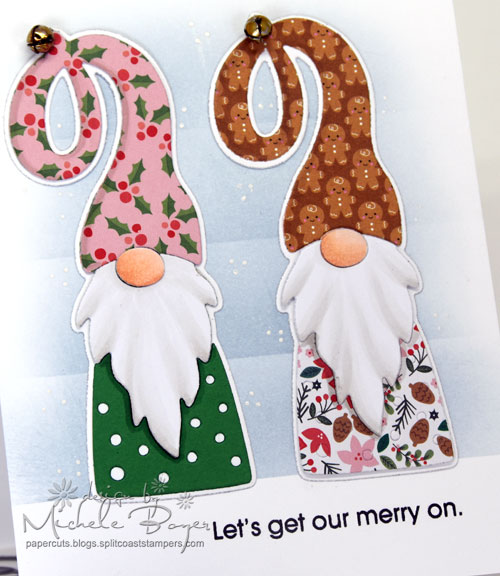
Hi everyone.  Happy weekend.  🙂  Today I’m sharing a card using a new Gnome die from Simon Says Stamp‘s latest release. It is a-DOR-able.  And so very easy to assemble.

I die-cut pieces from Pebbles Merry Little Christmas paper pad and a bit (gingerbread) from Doodlebug Design’s Milk & Cookies. I’ve had Milk & Cookies for quite a while, still using up the last bits of it.

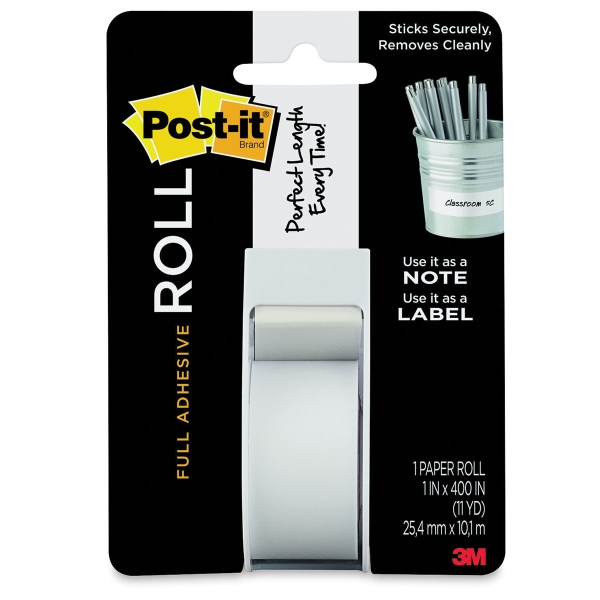
To create the background, I adhered a strip of Post It Tape across the bottom then lightly brushed ink over the top. I moved the tape up an inch or so then ink again. I repeated that process once more then added dots with my white pen.

Before adhering the gnomes over the blended background, I stitched a tiny 6mm bell to each hat.  (Bells from Michaels.) The sentiment is from Paper SmoochesHoliday Cheer.

I seriously love this little die set. I’ll definitely be using it again (soon).

Thanks for stopping by!

1amichele siggy

Affiliate links are provided where applicable at no cost to you. Thanks for supporting Paper Cuts! 

RESERVE Simon Says Stamp GNOME Wafer…
[ SSS ]
Holiday Cheer
[ PPR ]
Amazon.com: Pebbles Paper Pad – Merry…
[ AMZUS | SSS ]
Paper Basics – Stamper’s Select White…
[ PPR ]
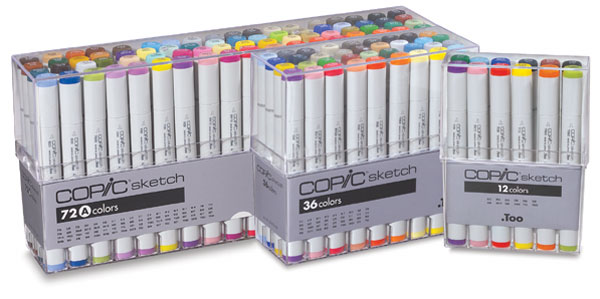
Copic Sketch Markers – BLICK art…
[ BLIC ]
Amazon.com: Copic Marker KWINKWPRL…
[ AMZUS ]
Brand New Memento Full Size Dye Ink…
[ AMZUS ]
27280-1020 – 3M Post-it Full Adhesive…
[ BLIC ]
TE Premium Ink – Full Ink Pads
[ TE ]
TE Blender Brushes
[ TE ]
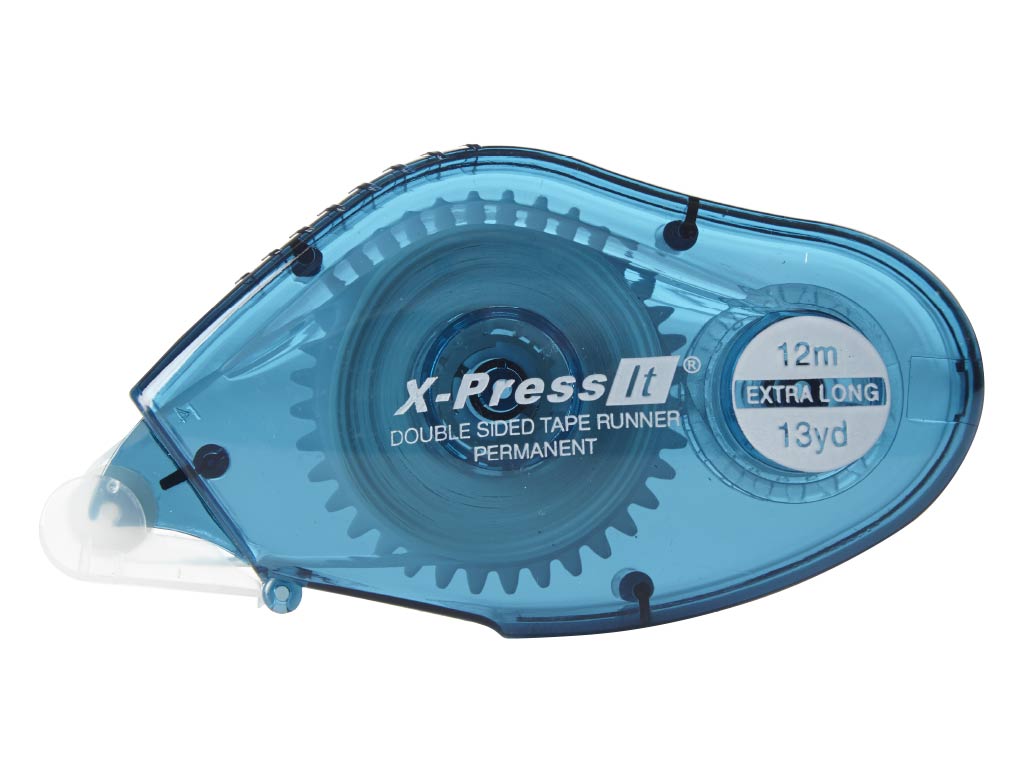
Double-Sided Tape Runner, 1/3″ x…
[ XPR ]
Tonic Studios Guillotine Paper…
[ AMZUS ]
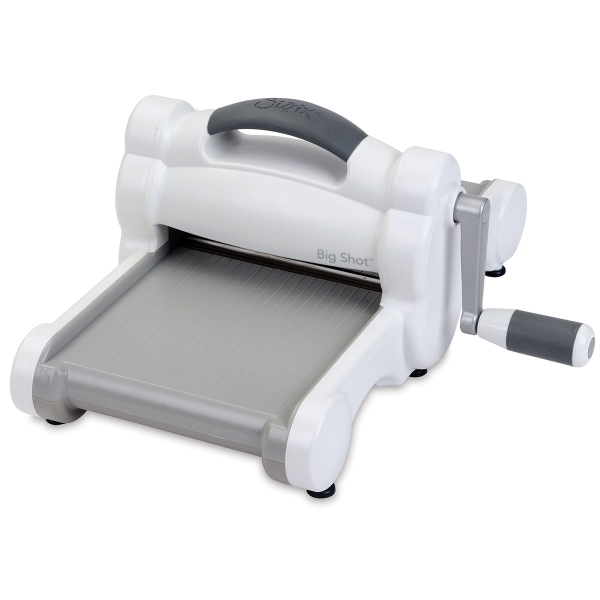
14987-1001 – Sizzix Big Shot Die…
[ BLIC ]

Paper Smooches/Simon Says Stamp STAMPtember Exclusive

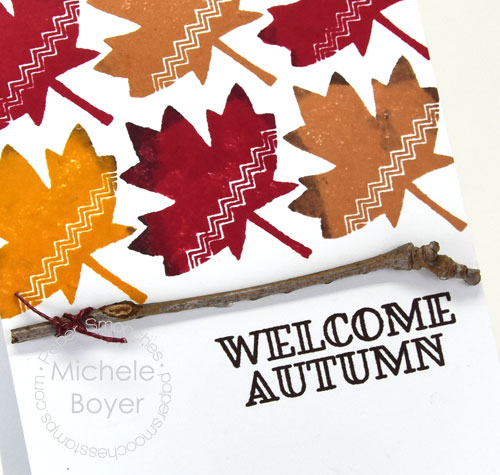
Hello everyone!  Today I’m excited to share a new stamp set created by Paper Smooches for Simon Says Stamp’s STAMPtember celebration.  Deco Fall is available only from Simon Says Stamp while supplies last. Once it’s sold out, it will be gone forever.

Deco Fall is a set of solid and patterned fall images and three sentiments (not just for fall)! It’s a lovely set.

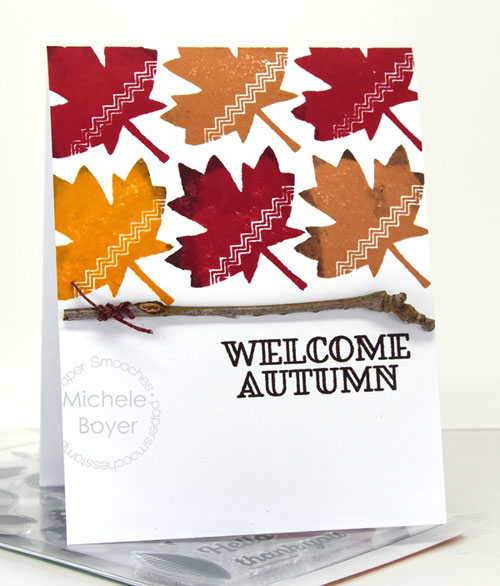
I stamped the leaf in fall colors, adding a bit of darker ink around some of the edges. I trimmed a small stick from my yard, wrapped and tied a bit of Copic marker stained string around one side and glued it to the card front. Super easy.

Be sure to stop by Simon Says Stamp to check out Deco Fall as well as other SSS exclusive STAMPtember sets. Many are already sold out.

Thanks so much for stopping by!

1amichele siggy

Affiliate links used at no cost to you. Thanks for supporting Paper Cuts! 

Paper Smooches DECO FALL Clear Stamps…
[ SSS ]
Paper Basics – Stamper’s Select White…
[ PPR ]
TE Premium Ink – Full Ink Pads
[ TE ]
Sheer Glue – Queen & Co
[ QNN ]
Misti Stamp Tool Original Size Misti…
[ AMZUS ]

Oh, baby (simon says stamp)

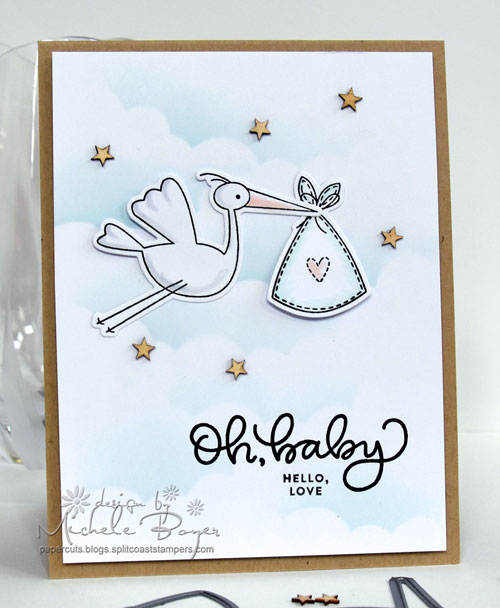
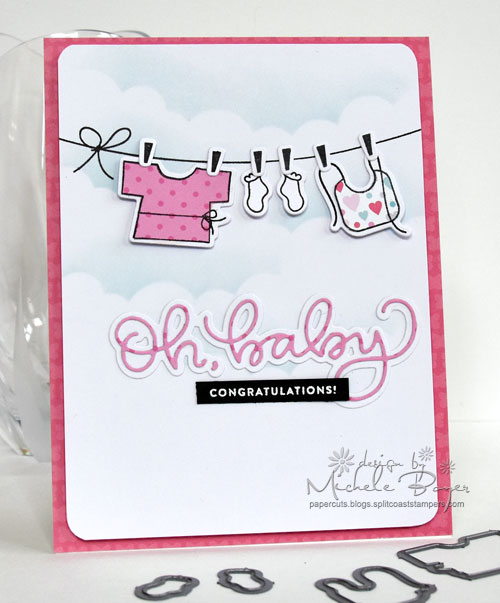
Hi everyone! Today I did a bit of playing around with Oh, Baby, one of Simon Says Stamp‘s latest releases. I wanted to use the cute stork and sack…and I wanted to use the line with the tiny clothes…so I made two cards.  🙂

Simon Says Stamp "Oh, Baby"

I first created a sky by using a Cloud Border die-cut, moving the strip down and tipping left then right as I sponged. I used a slightly darker blue ink at the top and a lighter one at the bottom.

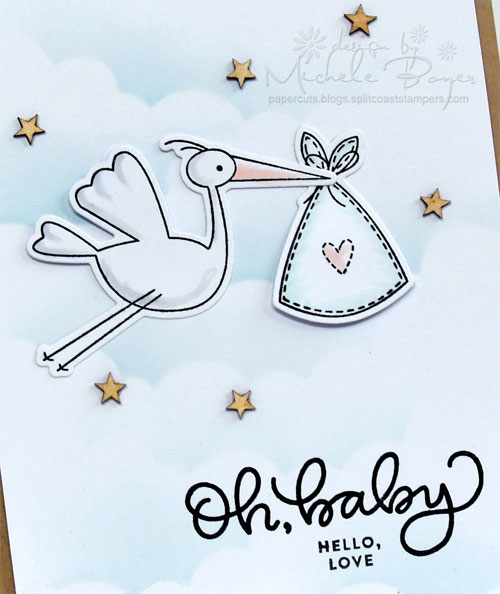
Simon Says Stamp "Oh, Baby" (close-up)

Copic markers – BG10, C1, R00

The cute tiny stars are one of the new toppings from Queen & Company‘s latest (and greatest, IMO) kits, Love Jar.  (The kit also includes tiny wood hearts and circles among other toppings.) To create a bit of dimension, I placed clear foam squares beneath the stork’s wings and the bottom of the sack with the other areas glued down to the clouds.  (That stork…)

Simon Says Stamp "Oh, Baby"

On my second card, I created another sky background then stamped the line. The tiny clothes were stamped on white card stock with the shirt and bib stamped again onto Queen & Company’s Flirty Florals patterned paper (which is also included in the Love Jar kit).

Simon Says Stamp "Oh, Baby" (close-up)

I die-cut all the tiny clothes using coordinating Oh, Baby wafer dies, then also die-cut the Oh, Baby Words sentiment. Congratulations was stamped in white ink then white embossed.

Thanks so much for visiting today! (I hope it’s warm where you are. It certainly is NOT here!!)

1amichele siggy

Foodie Friends are the Best (simon says stamp)

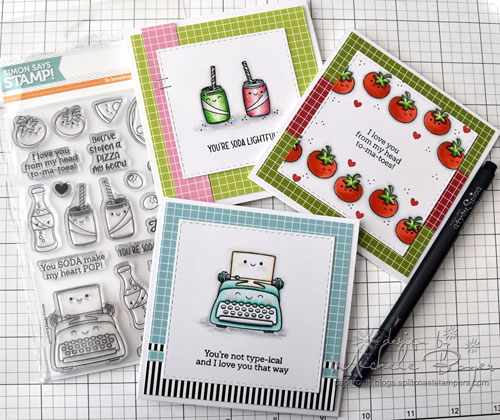
Hi everyone.  I had a bit of spare time last night and decided to play with Simon Says Stamp‘s SUPER cute Foodie Friends stamp set.

Simon Says Stamp Foodie Friends

It’s such a cute set. I love the little smiles. 🙂

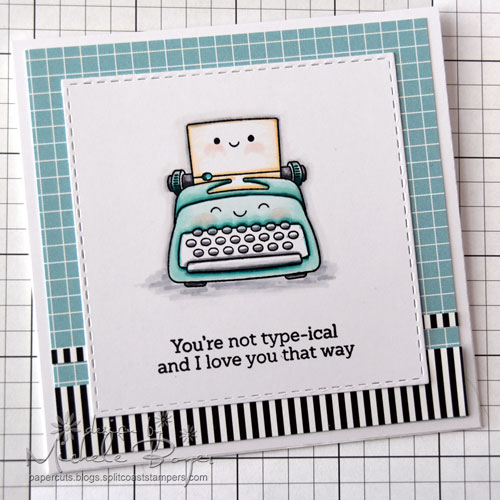
Simon Says Stamp Foodie Friends

Copic markers – BG10, BG11, BG13, BG15, BG18, C00, C1, C2, C3, C4, C5, C7, E50, E53, R000

My fave image is the typewriter.

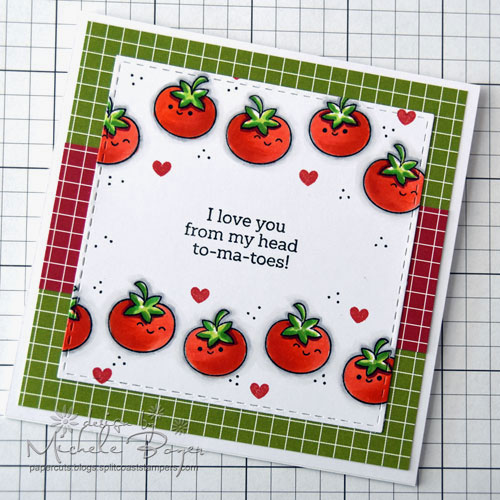
Simon Says Stamp Foodie Friends

Copic markers – C00, C1, C2, R02, R05, R08, R14, R39, YG03, YG06, YG09, YG17

But the tomatoes are cute too.

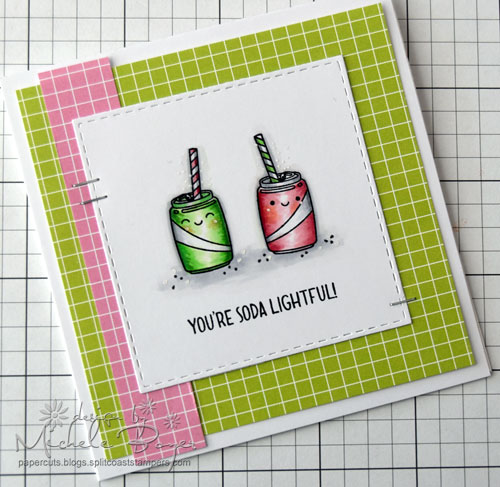
Simon Says Stamp Foodie Friends

Copic markers – C00, C1, C2, C3, R01, R83, R85, RV11, RV32, YG06, YG09, YG11, YG17

And I like the cans.  I couldn’t pick a favorite. How about you?

Thanks for visiting today!

1amichele siggy


I Like You a Lot (simon says stamp)

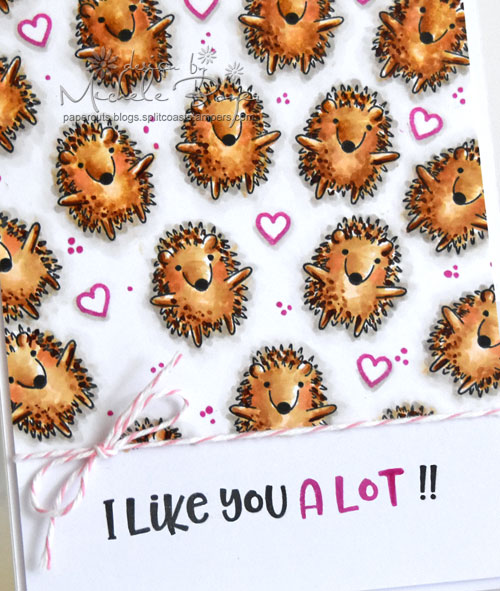
Hi everyone! I’m still playing with Simon Says Stamp’s new Best Friends stamp set. It’s just so cute, and I love this little hedgie.

Simon Says Stamp Best Friends

I stamped this little guy ramdonly onto X-Press It Blending Card and colored with Copic markers (listed below the close-up photo).

Simon Says Stamp Best Friends (close-up)

Copic markers – E30, E31, E33, E35, E37, R02, RV17, W00, W1, W2, W3

I used my MISTI to stamp the sentiment in two different inks. After stamping the pink hearts (from Kind Flowers), I decided to fill some of the blank white space with small dots created using an RV17 Copic.

I encourage everyone to participate in The Daily Marker 30-day Color Challenge. There is no obligation to turn your work into a card or to post online. It’s more of an incentive to simply take time each day to color.

Happy Saturday, friends!

1amichele siggy

You Have a Kind Heart (simon says stamp)

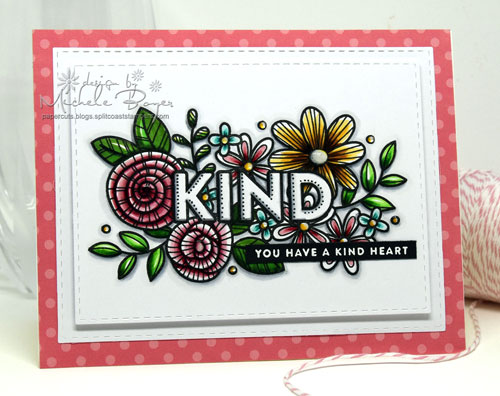
Hi everyone.  I recently purchased a couple stamp sets from Simon Says Stamp‘s latest release. The other day I colored Best Friends (super-super-cute set) and posted on Instagram.  Today I colored the larger image from Kind Flowers. It’s a lovely set filled with flowers and quite a many kind sentiments.

Simon Says Stamp Kind Flowers

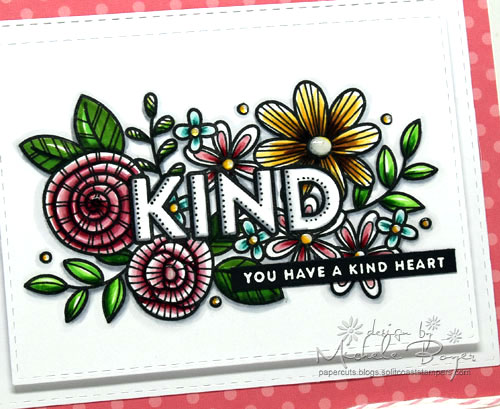
After stamping onto X-Press It Blending Card, I colored with Copic markers then stamped the smaller sentiment using white ink on black card stock then white embossed.

Simon Says Stamp Kind Flowers (close-up)

Copic markers – BG10, BG13, BG15, BG18, C00, C1, C2, C3, E35, G28, R39, R83, R85, RV11, RV32, Y21, YG03, YG06, YG09, YG17, YR23

I also added a little plop of Glossy Accents into the flower centers and surrounding dots.

Thanks for visiting today. I’ll be back soon.  🙂

1amichele siggy

Creating a Layered Background with Stencil Sheets

Hello everyone. I’ve had the flu this week and although I am still coughing (a lot), I feel much better and decided to get back into my stamp room for some inky fun.
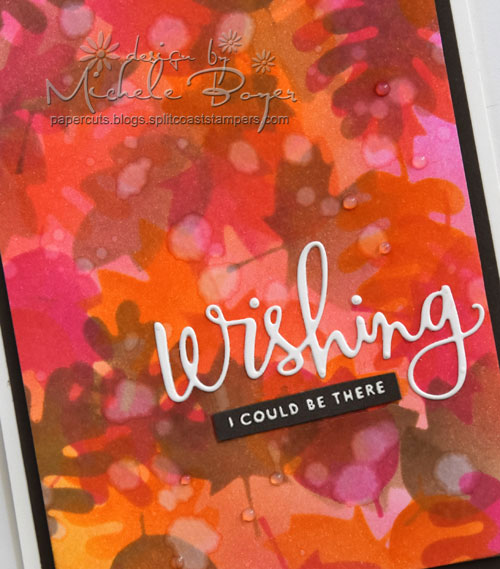
DIY Background with dies and stencil sheets

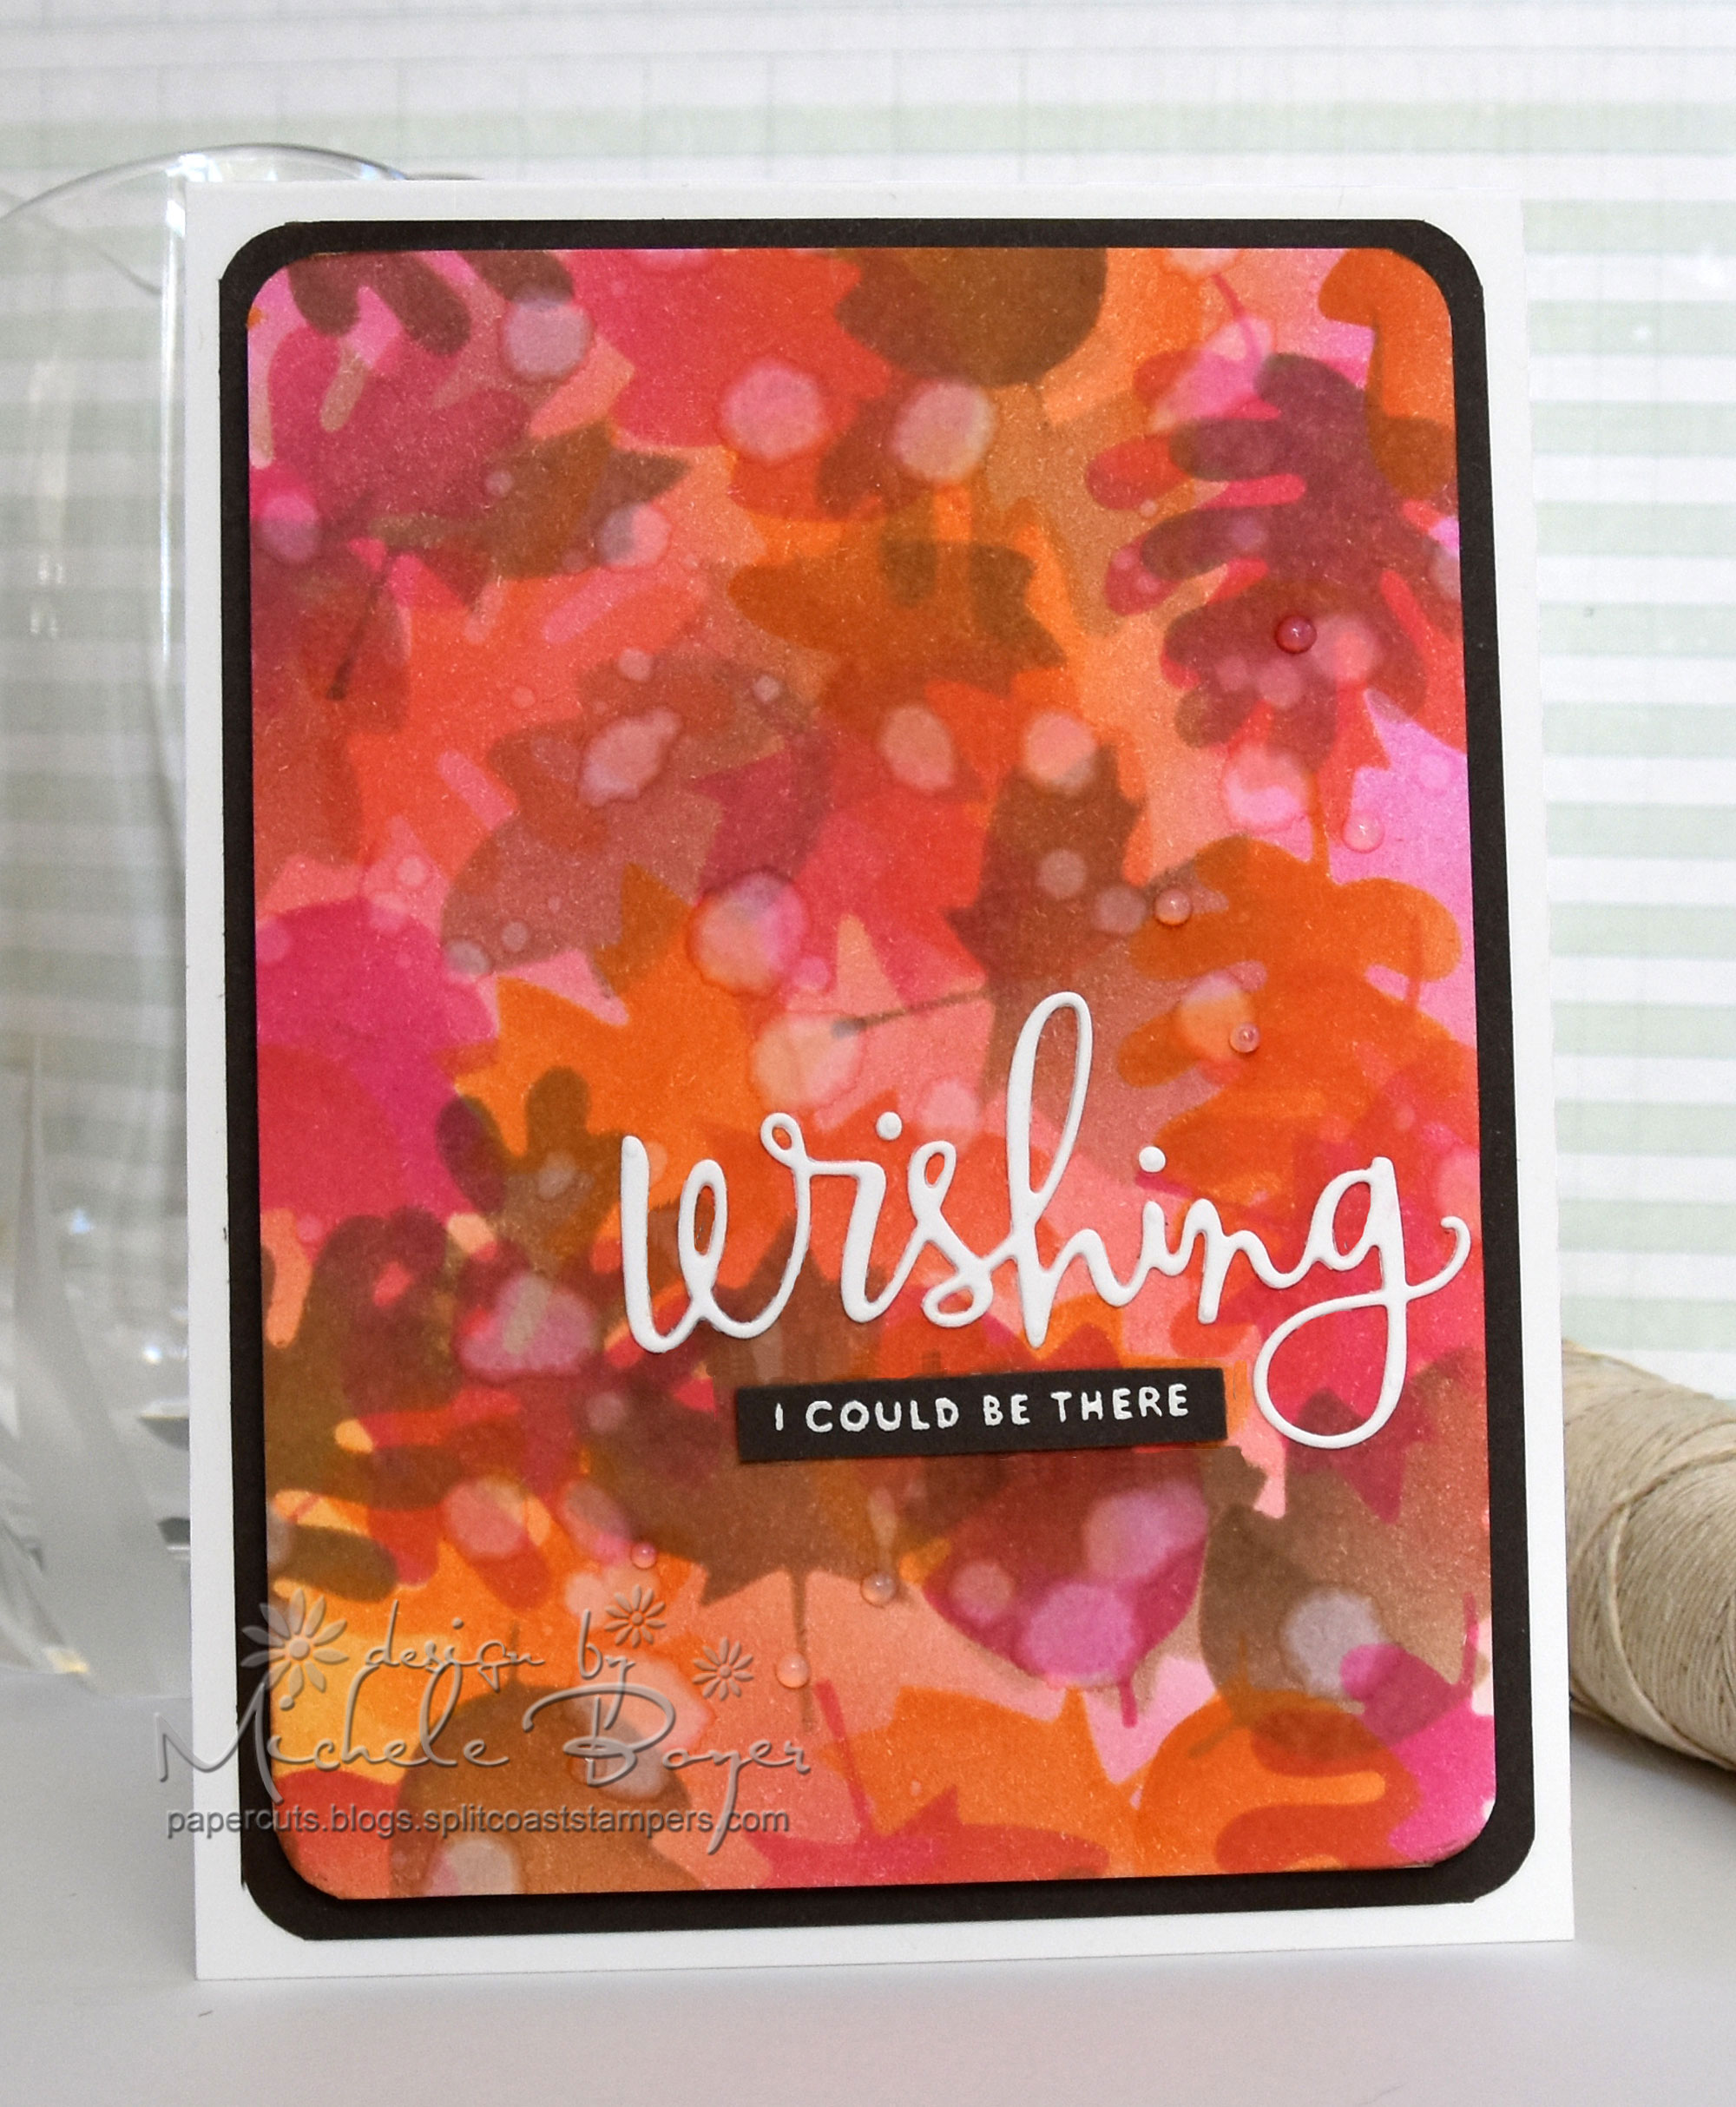
Earlier in the month, I created a simple stenciled background using a large background die and stencil sheet. Today I decided to return to the stencil sheets, this time creating the stencil with three leaf dies… and lots of ink layering.
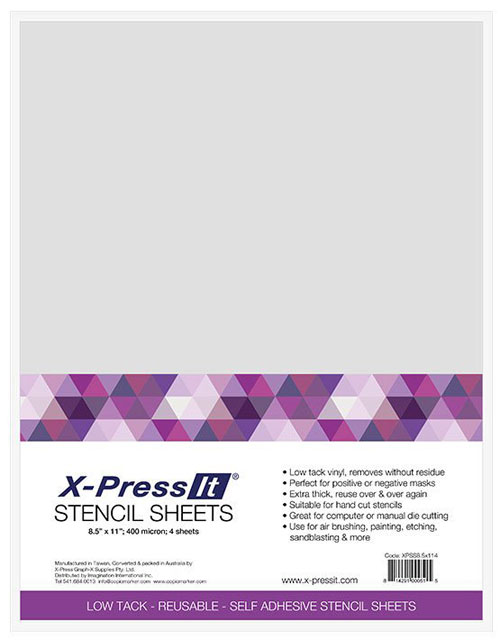
X-Press It Stencil Sheets

One of the great things about X-Press It Stencil Sheets is that they are backed with a low tack adhesive that sticks firmly to card stock yet lifts away easily with no residue left behind. If the sheet is cut larger or wider than the card stock, the adhesive also holds the work surface in place, making ink application so much easier.
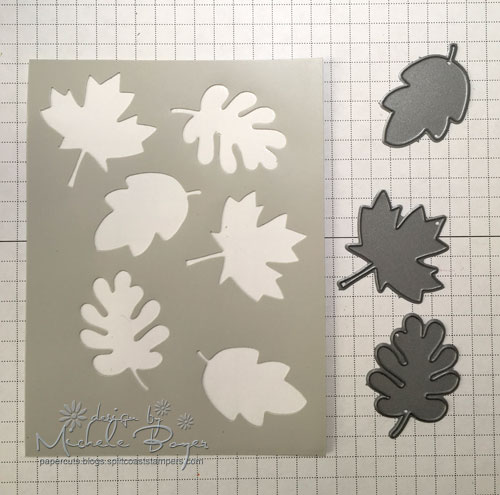
Stencil-Sheet3a

I first die-cut leaves from the stencil sheet. I cut six which required two passes through my die-cutting machine. I found it easiest to remove the die-cut shapes before sending the piece through the machine again for the additional cuts.

Stencil-Sheet3b

I blended Spiced Marmalade, Abandoned Coral and Picked Raspberry distress inks onto white card stock, leaving some white peeking through.
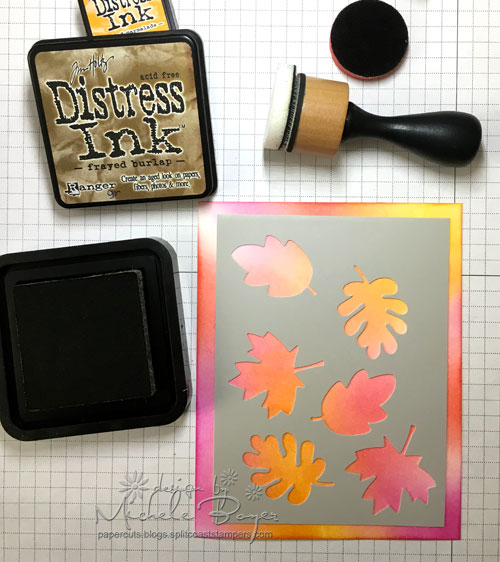
Stencil-Sheet3c

I removed the backing* from the stencil sheet, adhered the sheet over my card stock and inked the leaf openings using Frayed Burlap distress ink. (*Save the backing as the stencil sheet can be reapplied and saved for later use!)
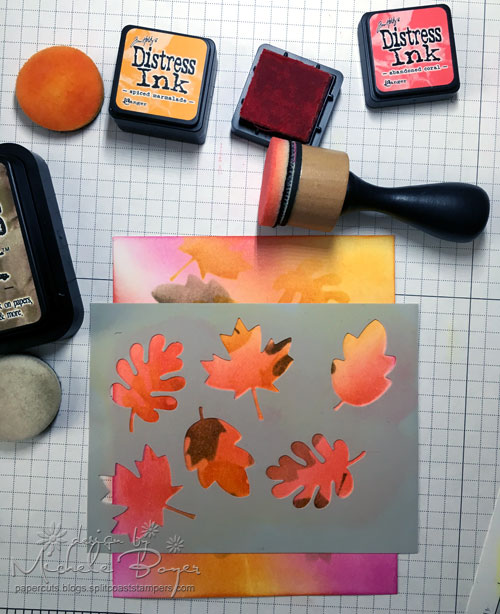
Stencil-Sheet3d

I lifted then rotated the stencil sheet, reapplied and inked again using the distress inks.
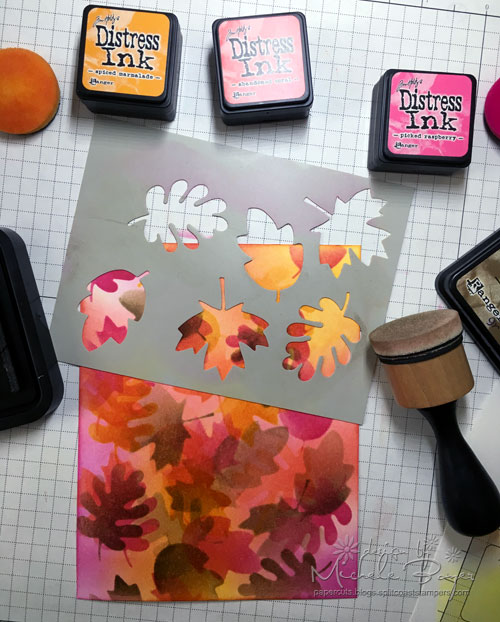
Stencil-Sheet3e

As I repeated the process, the stencil sheet did not stretch at all. (It’s fabulous!)
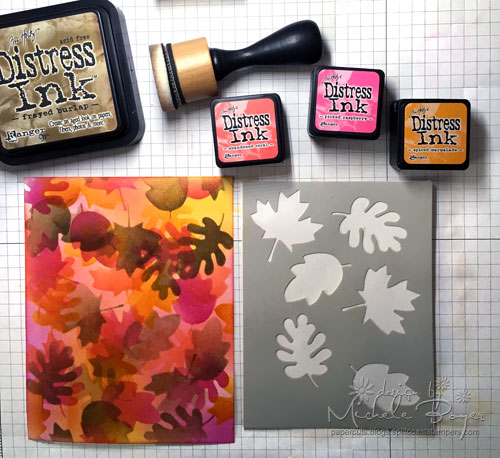
Stencil-Sheet3f

Once I was satisfied with the coverage, I wiped the ink from the stencil sheet using a baby wipe then re-adhered the sheet to the release paper, saving for later use.

Note: Stepout photos were taken in a location different from that of the final photo so colors appear a bit darker.
DIY Background with dies and stencil sheets (close-up)

Before assembling my card, I dripped water across the panel, allowed the drops to dry then added some dots of Glossy Accents diagonally above and below the sentiment.

I may add some more doo-dads to my card, I’m not sure. I feel it may need something more…but I don’t want to cover too much of the background. What do you think?

Thanks so much for visiting today! 🙂

1amichele siggy

Stamps: Simon Says Stamp Sending and Wishing  Dies: Simon Says Stamp Wishing; Paper Smooches Large Leaves Ink: Taylored Expressions Sugar Cube; Spiced Marmalade, Abandoned Coral, Picked Rapsberry, Frayed Burlap Distress  Paper: Taylored Expressions Sugar Cube, Mocha  Other: X-Press It Stencil Sheets, blending tool, white embossing powder, corner rounder, foam tape.
Playing with (stencil) Paste

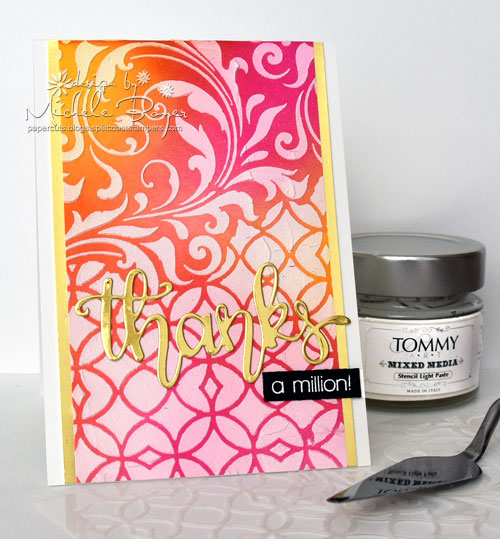
Hi everyone.  Today I’ve done a bit of playing with Tommy Mixed Media Stencil Paste. (I love how it looks over bright inks!)

Thanks-a-Million-500

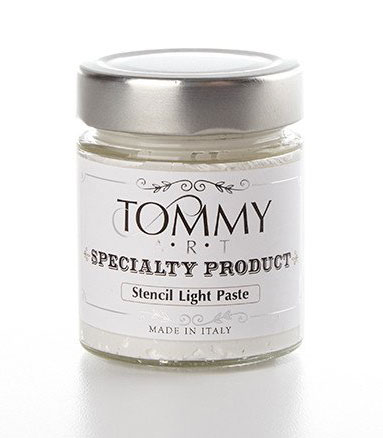
Tommy Stencil Light Paste is a super light and soft, creamy paste, perfect for use with stencils. If applied thickly, it doesn’t crack, and it can also be tinted with Tommy Art Colors.

Tommy  Stencil Light Paste

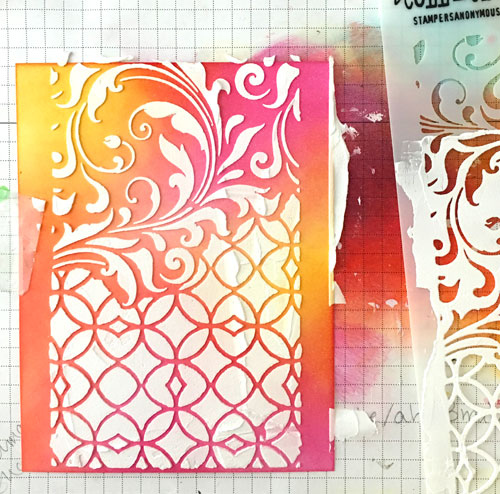
I first used a sponge blending tool to apply Spiced Marmalade, Abandoned Coral and Picked Raspberry Distress inks onto white card stock. I then used a pallette knife to apply the paste over my stencil, moving the palette knife from top to bottom.

Thanks-a-Million-1

Once applied, I carefully lifted the stencil so I wouldn’t disturb the paste, then I let it dry.

Thanks-a-Million-2

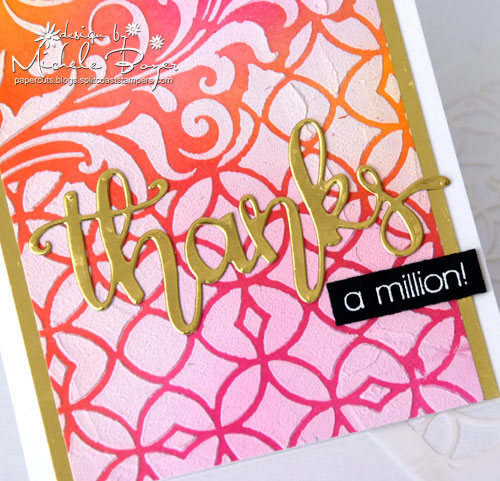
After trimming the piece to the desired size, I added a Thanks Script cut from gold card stock and white embossed “a million” (from Simon Says Stamp “Thanks” set).

Thanks-a-Million-CU

I love the texture of the paste with the bright colors showing.  🙂

Thanks (a million) for visiting today!

1amichele siggy

Stamps: Simon Says Stamp Thanks  Dies: Taylored Expressions Thanks Script Ink: MFT Sweet Tooth, Ranger Spiced Marmalade, Abandoned Coral and Picked Raspberry Distress  Paper: Taylored Expressions Sugar Cube and Oreo, X-Press IT Blending Card, gold  Other: Tim Holtz stencil, Tommy Mixed Media Stencil Light Paste, pallette knife, white embossing powder/heat tool, blending tool.

A Warm Copic Welcome, a Fond Farewell, Hop and a prize!

Today the Copic design team is joining together for two reasons. (Three, if you count the hop prize but first a little info regarding why we are hopping.)

Today we wish to extend a very warm welcome to the a-MAZING-ly talented Jennifer Dove who has joined our teaching team. If you are unfamiliar with Jenn’s work, you must click over to her blog. (You will be there a while as it is truly amazing. She is SO talented!) We’re very excited to have her join us.

On a somewhat sad note, we bid a fond farewell to Lori Craig. I say “somewhat” because while Lori is leaving the teaching team, she is moving into a new position, representing Tommy Art for Imagination International, Inc. She won’t be far at all (and I’ll still be bugging her).  We wish her the very best in her new position!

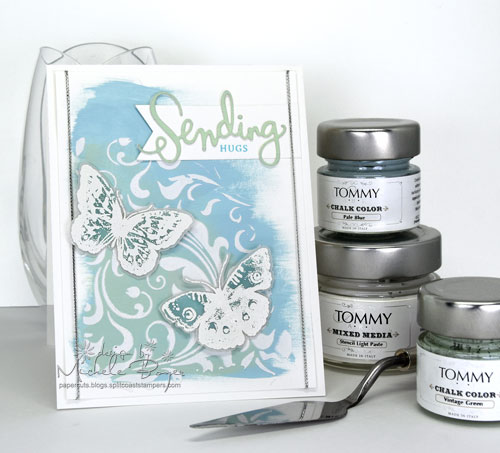
Here’s a peek at something I created using Tommy Chalk-based Mineral Paints and Mixed Media Stencil Paste. (Also available are metallic paints as well as specialty products, additional pastes, coatings, waxes and varnishes.)

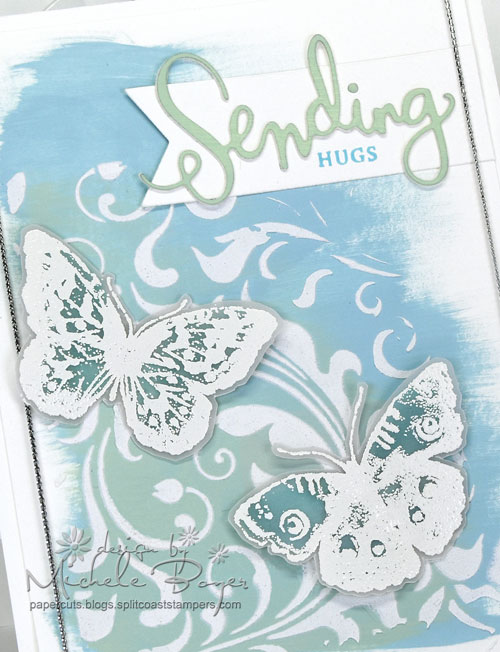
Sending-Hugs-500

I painted Pale Blue and Vintage Green Chalk Color onto white card stock then applied Stencil Paste over top. I wanted the die-cut “Sending” to match perfectly so I painted Vintage Green onto scrap card stock then die-cut the painted strip once dried. (It dries very quickly.)

Sending-Hugs-CU

Tommy Paint provides deep opacity with excellent coverage. Available in 40 colors (!), two sizes and the packaging is recyclable. That’s always a bonus. 🙂

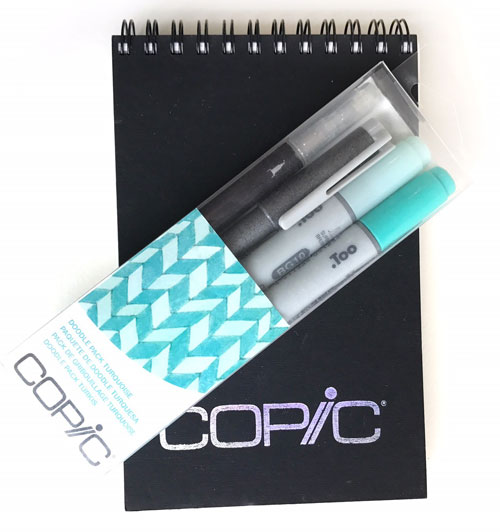
5-24-giveaway

To celebrate our hop, we are giving away a new Copic small sketchbook and Doodle Pack. Please note that the color of the Doodle Pack MAY BE DIFFERENT. Simply hop along and comment on each post for a chance to win. Commenting closes 11:59 pm EST on Sunday, May 28. The winner will be announced Tuesday morning, May 30th on Michelle Houghton‘s blog. Here are your hop links:

One final note: You can find a list and description of available Copic classes for the remainder of the year HERE and schedule HERE.

Thanks so much for visiting and hopping today! ♥

1amichele siggy

SUPPLIES   Stamps: Simon Says Stamp Prayers, Tim Holtz/Stampers Anonymous MM103 (butterflies with stencil)   Dies: Simon Says Stamp Sending, Taylored Expressions Banner Stacklets 1   Ink: Taylored Expressions Sprinkles and Sugar Cube   Paper: Taylored Expressions Sugar Cube and Heavyweight Vellum  Other: Tommy Chalk Color Pale Blue and Vintage Green, Tommy Light Stencil Paste, silver cord, white embossing powder, X-Press It 1/2″ and 1/4″ Double-sided tape


Doodling with Gasenfude

Hi everyone! Today I needed a card for a friend who is going through a particularly tough time. Simon Says Stamp‘s Uplifting Thoughts was the perfect sentiment set to use. I also wanted to include a floral image so I decided to step out of my comfort zone and use Copic’s Gasenfude nylon brush pen to create my own image.

So-Many-Beautiful-Reasons-500

The Gasenfude pen includes waterbased, black pigment ink that is 100% compatible with Copic markers. It has a super-fine point for detail work and 9mm long bristles for creating a dry brush effect, depending on how you hold and use the pen.

101_gasenfude

I practiced a bit on scrap paper before trying the pen on X-Press It Blending Card.

So-Many-Beautiful-Reasons-CU

After coloring with Copic markers, I used Opaque White to add a few highlights to the two larger flower centers.

Thanks so much for visiting! 🙂

1amichele siggy