It’s finally time to share My Favorite Things‘ newest releases! The new products are now available in the MFT Boutique right HERE.
You can find direct links to all samples HERE on the MFT Blog. Don’t forget to leave comments as you look! One lucky winner will receive a $50 gift voucher to the MFT Boutique!

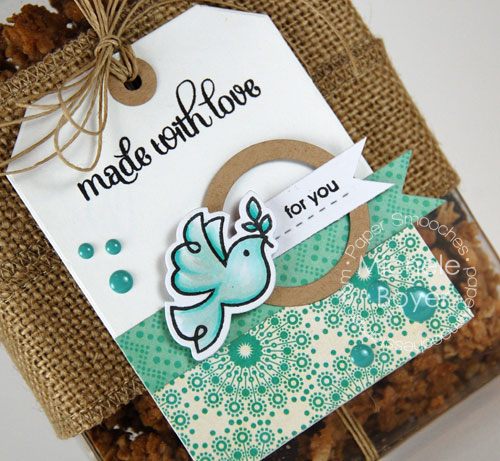
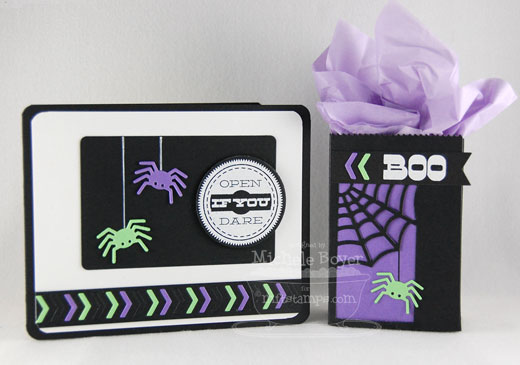
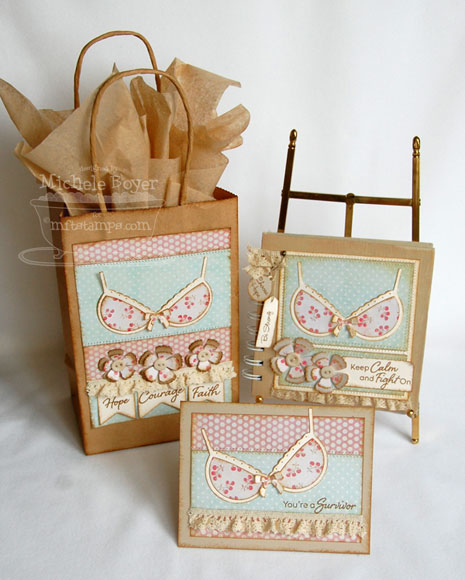
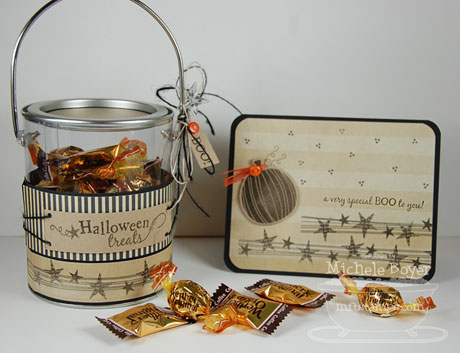
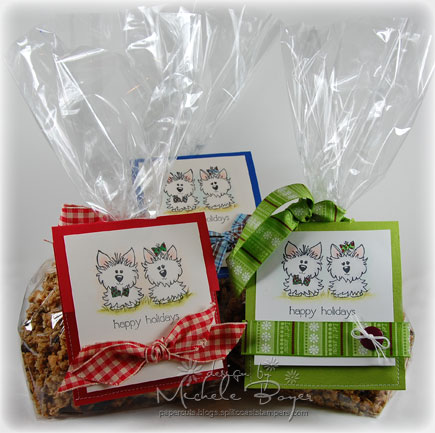
I have a trio of cards to share using new Prehistoric Girl from the Pure Innocence collection. To go along with one of my cards, I created a coordinating treat jar.
All base cardstock is MFT heavyweight cardstock and all stamping was done on X-Press It Blending Card (my favorite for coloring with Copics).
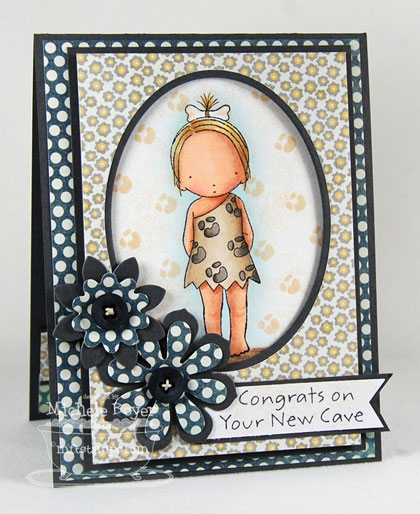

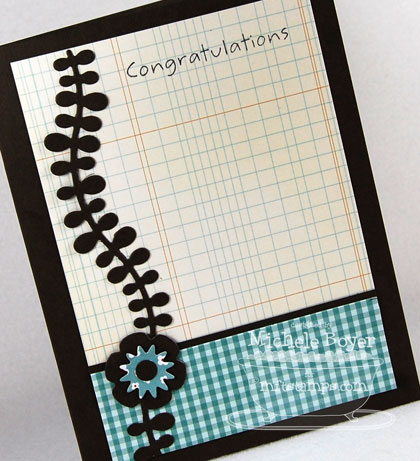
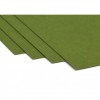
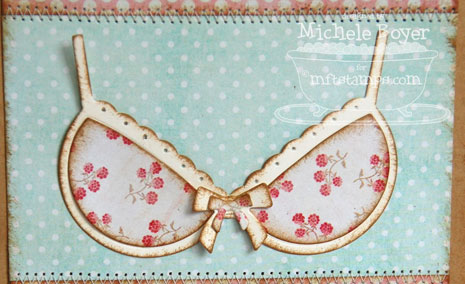
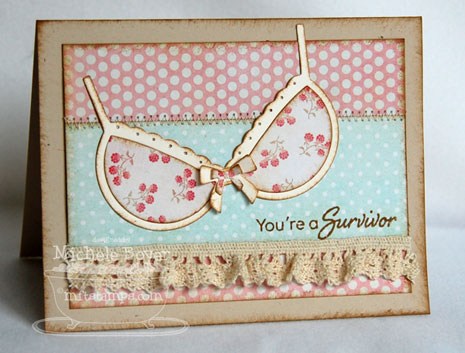
Here I’ve paired my Prehistoric Girl with MFT’s new Steel Grey cardstock and My Mind’s Eye The Sweetest Thing “Bluebell” patterned papers.
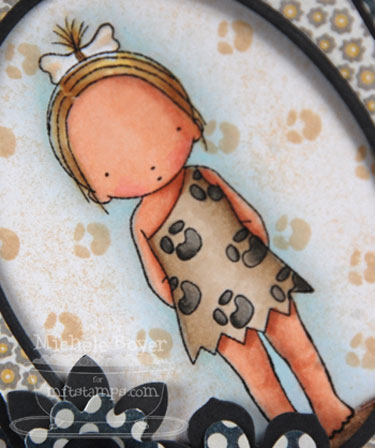
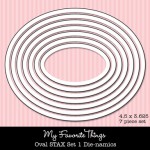
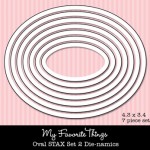
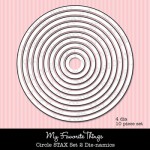
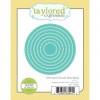
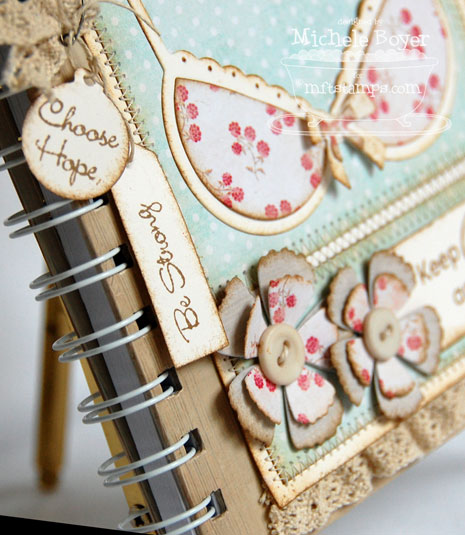
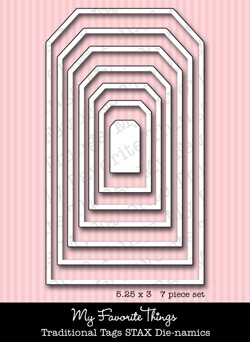
I created a “window” affect by die-cutting layers with Oval STAX 1 & 2 and then popping up the frame on foam tape. After coloring with Copics and stamping the background pattern, I used a sponge to daub in a bit of added color.
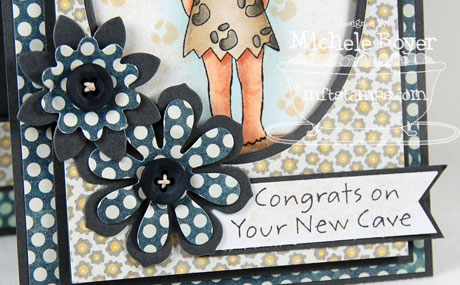
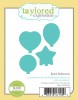
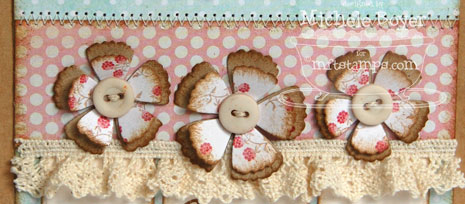
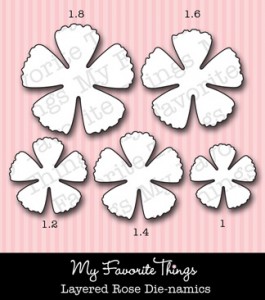
The flowers were die-cut using Steel Grey cardstock, dotted paper and new Flower Medley Die-namics. Steel Grey buttons were stitched into the centers using Hemp Cord.
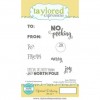
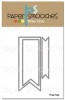
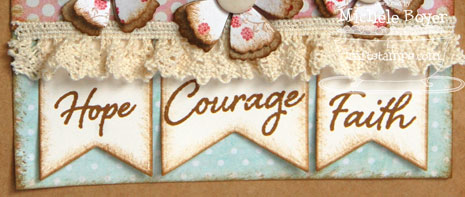
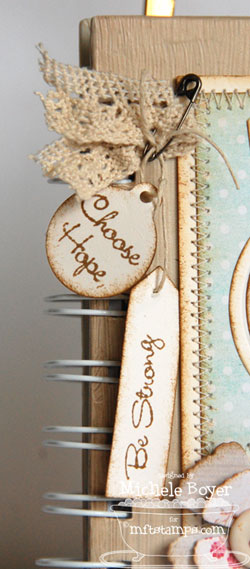
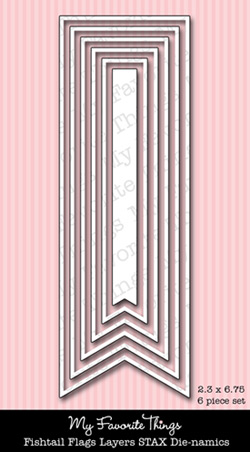
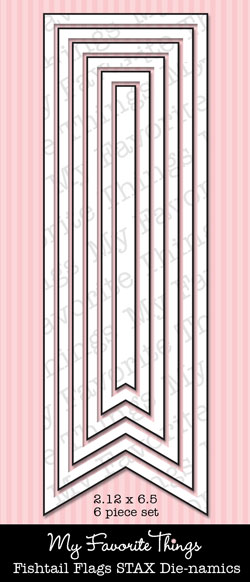
The sentiment was stamped onto a Fishtail Flag, ends trimmed and then matted onto Steel Grey cardstock.
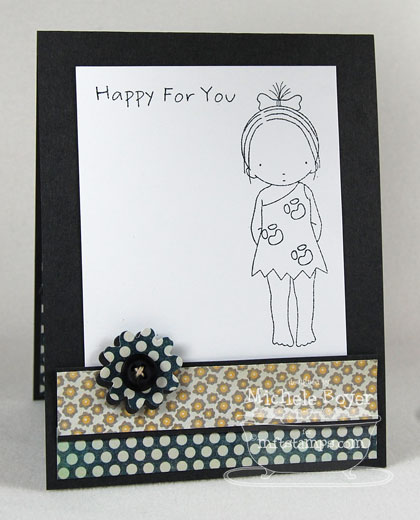
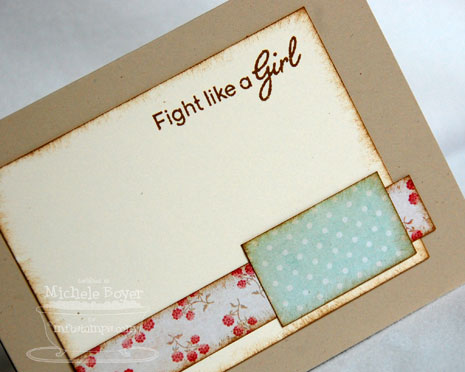
On the inside, I stamped a second sentiment (from Pure Innocence All Occasion Sentiments) and added another die-cut flower.
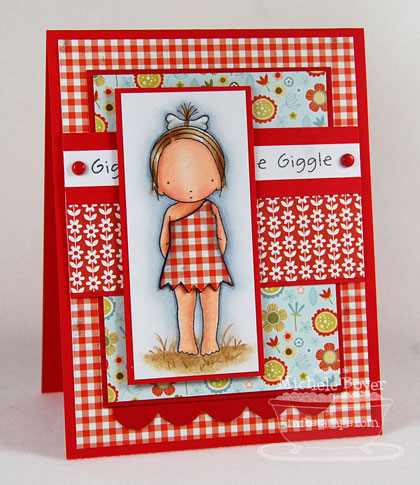
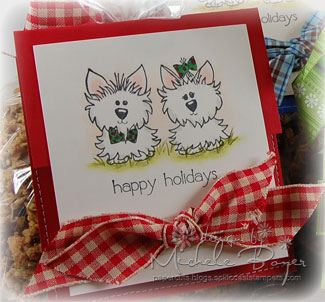
For my second card I’ve created a totally different look using MFT’s Red Hot cardstock along with fun gingham and flower prints.
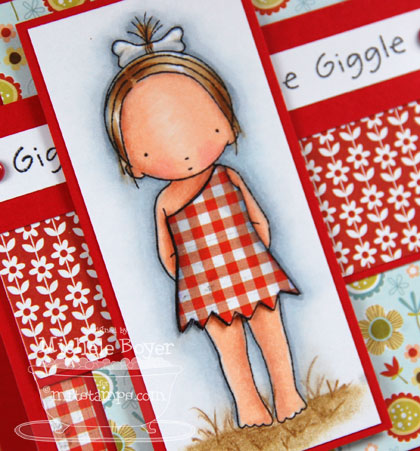
After coloring with Copics, I added a little gingham “cave dress.”
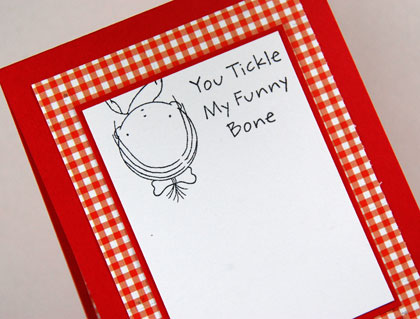
On the inside, I stamped the sentiment and the little Prehistoric Girl upside down. After all, she is silly. 🙂
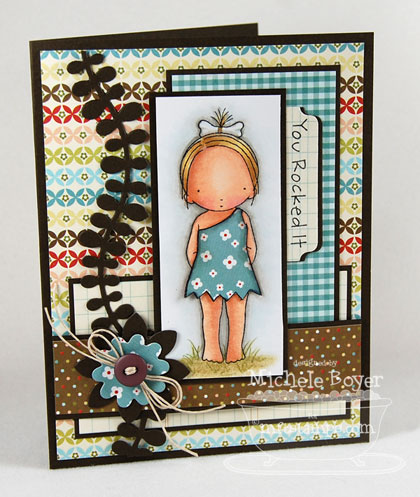
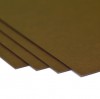
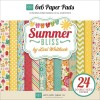
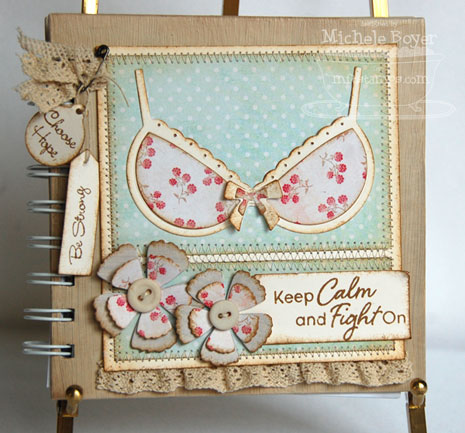
On my third card, I used MFT Hot Fudge cardstock and another of my favorite new My Mind’s Eye collections, Gnome Sweet Gnome.

This time I gave the girl a cute little flower print dress. 🙂
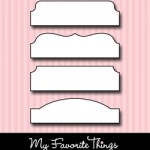
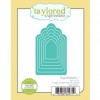
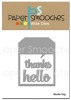
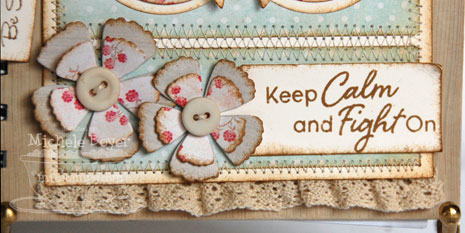
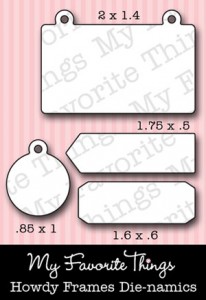
The sentiment was stamped onto a Mini Tabs Foursome which was then layered atop a dark brown die-cut to provide more definition against the gingham paper.
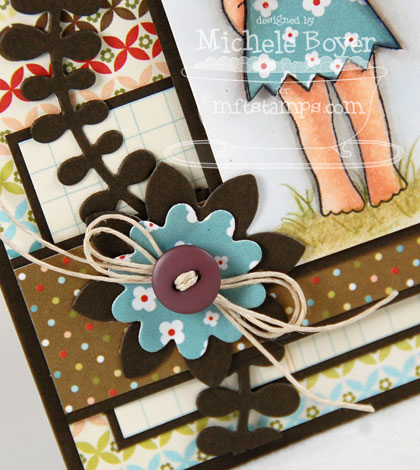
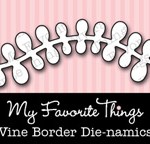
I die-cut and layered Flower Medley Die-namics atop a Hot Fudge Vine Border then stitched/tied a button using more Hemp Cord.
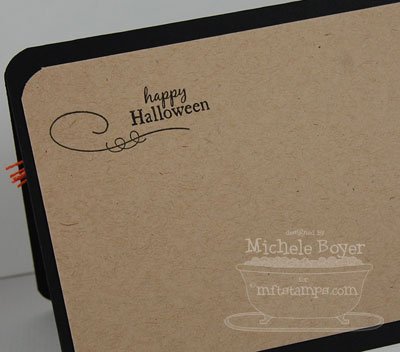
On the inside, I used another sentiment from Pure Innocence All Occasion Sentiments, another vine and flower.
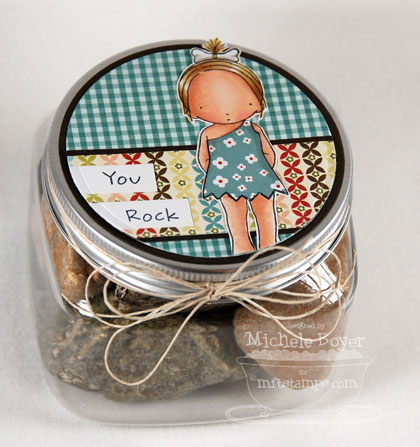
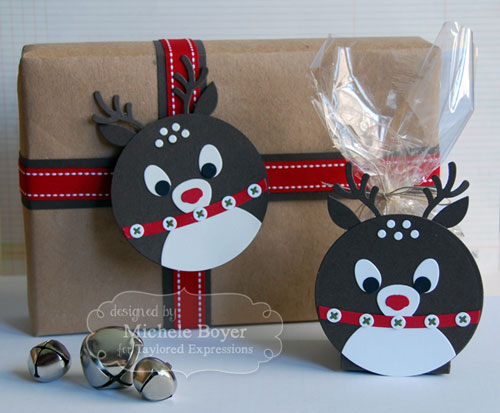
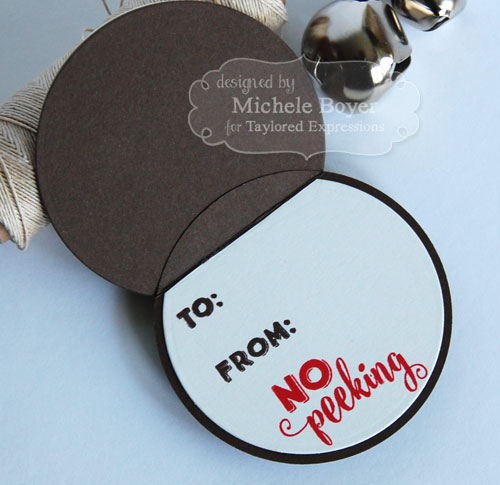
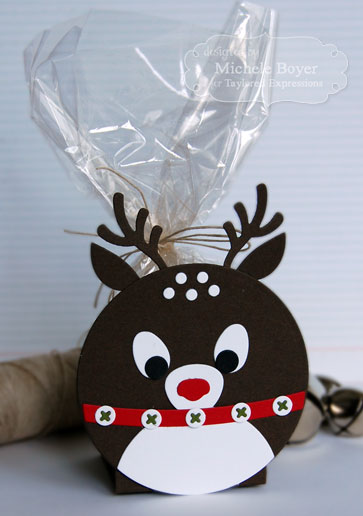
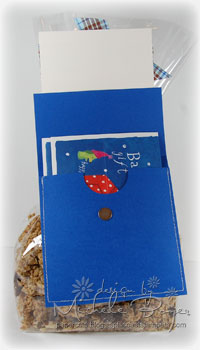
To go along with my third card, I created a treat jar filled with chocolate rocks. (They look VERY real, don’t they? They were purchased at Wegman’s, in case you’re curious.)
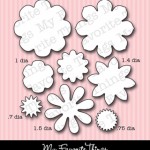
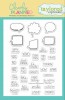
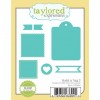
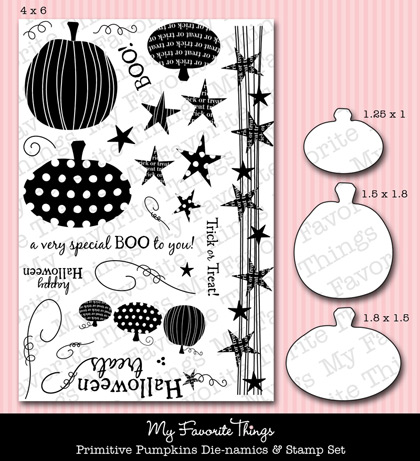
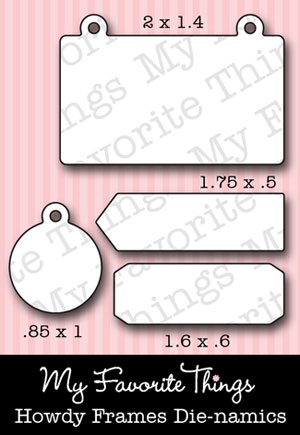
Below are all of the Die-namics used on my projects. (Clicking on each one will take you directly to that product in the MFT Boutique.)

Be sure to check out the MFT blog for direct links to more samples using this month’s stamp and Die-namics sets!
Thanks for visiting! 

Congrats on Your New Cave: MFT “Prehistoric Girl” and All Occasion Sentiments (Pure Innocence) Ink: Memento Tuxedo, Ranger Antique Linen Paper: MFT Steel Grey, X-Press It Blending Card, My Mind’s Eye The Sweetest Thing “Bluebell” (6×6) Accessories: Copic markers (E00, E11, E13, R20, Y21, E31, E35, E51, E42, E43, W3, W5, W7, BG70, BG10), Prismacolor pencils, MFT Oval STAX, Flower Medley and Fishtail Flags Die-namics, Steel Grey buttons, hemp cord, sponge, X-Press It 1/4″ foam tape. Finished size 4 1/4″ x 5 1/2″.
Giggle: MFT “Prehistoric Girl” (Pure Innocence) Ink: Memento Tuxedo Black Paper: MFT Red Hot, X-Press It Blending Card, My Mind’s Eye Six by Six “Gnome Sweet Gnome” and Lily Bee Design “Double Dutch” (6×6) Accessories: Copic markers (E00, E11, BV000, R20, E31, E35, E40, BG70, W00, W1, w3), Prismacolor pencils, MFT Simply Scallops Small Die-namics, brads, X-Press It 1/4″ foam tape. Finished size 4 1/4″ x 5 1/2″.
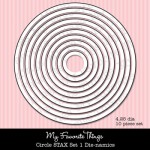
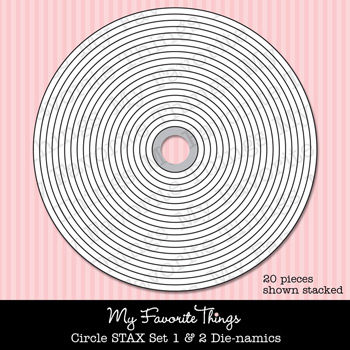
You Rocked It: MFT “Prehistoric Girl” and All Occasion Sentiments (Pure Innocence) Ink: Memento Tuxedo Paper: Prism Birchtone Dark, X-Press It Blending Card, My Mind’s Eye Six by Six “Gnome Sweet Gnome” (6×6) Accessories: Copic markers (E00, E11, R20, Y21, E31, E35, W00, W1), Prismacolor pencils, MFT Circle STAX, Vine Border, Flower Medley and Mini Tabs Foursome Die-namics, button, hemp cord, jar. Finished size 4 1/4″ x 5 1/2″.


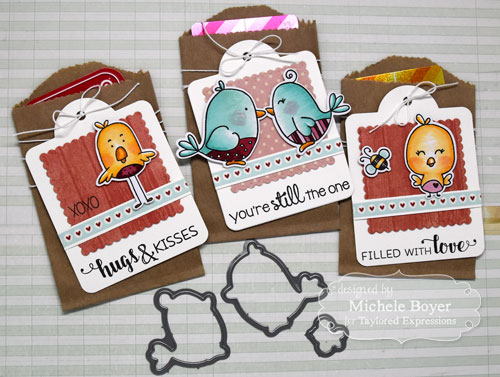


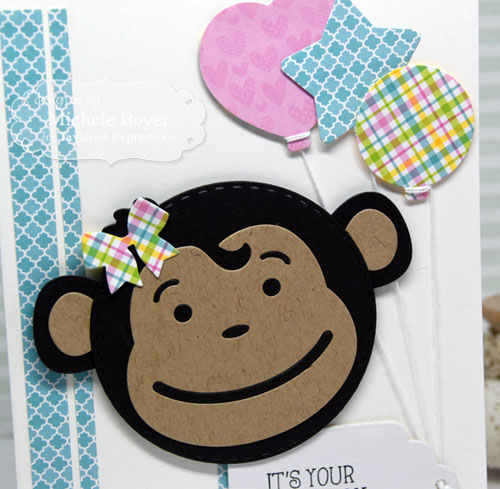

 Taylored Expressions is celebrating Release Week with some fabulous giveaways! Visit the
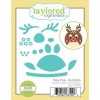


