Category Archives: Craftsy

The Versatility of VersaMark

VersaMark ink truly is a staple every stamper should have on hand.  It has so many uses – watermarks, embossing, emboss resist and much more.

1-Versamark500

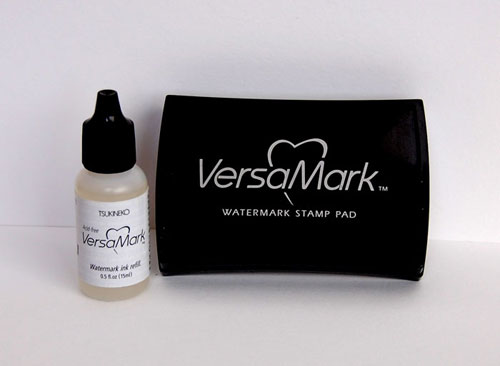
I most commonly use VersaMark for embossing/emboss resist.

6-Emb-Resist-on-Color500

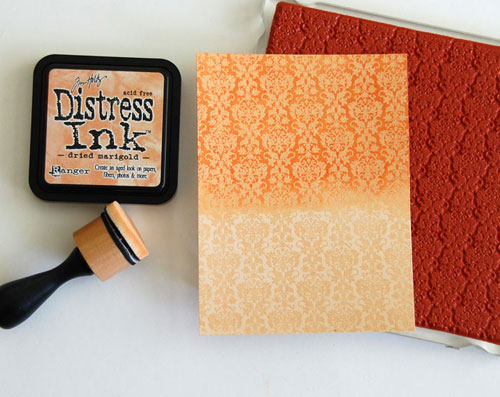
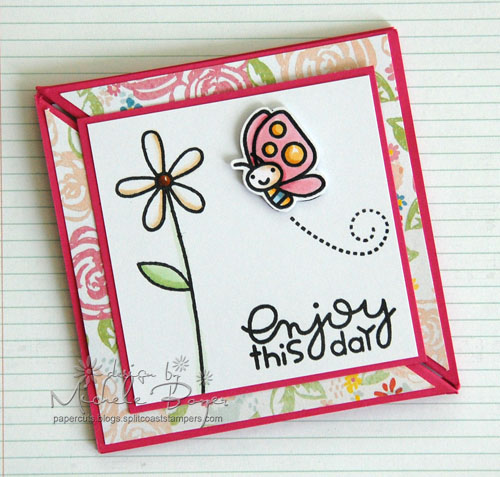
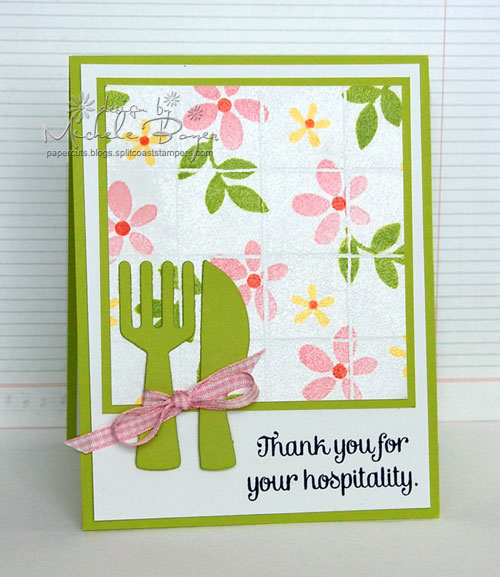
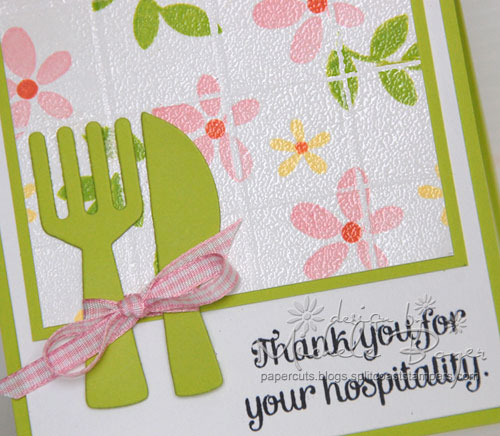
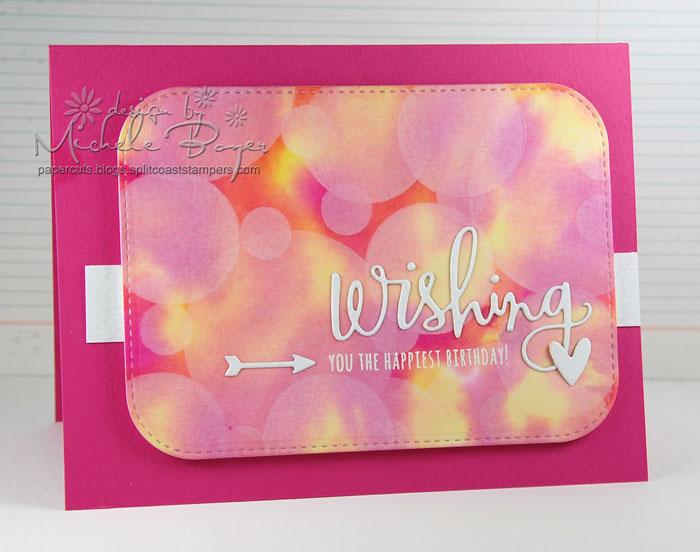
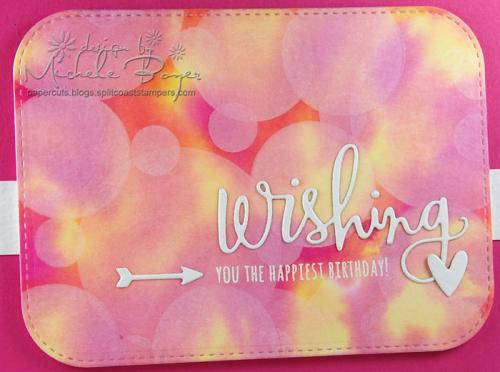
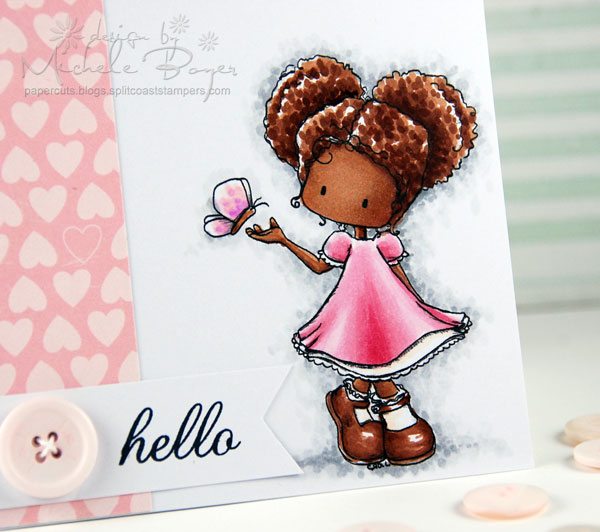
But my favorite technique is Poppin’ Pastels.

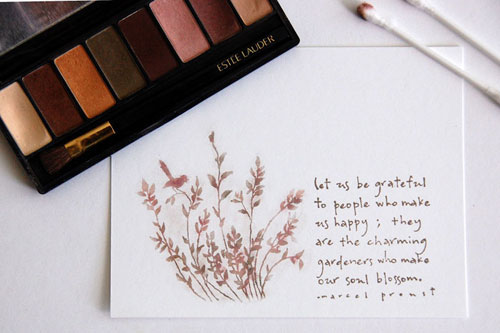
Did you know powder eye shadow works just as well if you’d don’t have pastels?

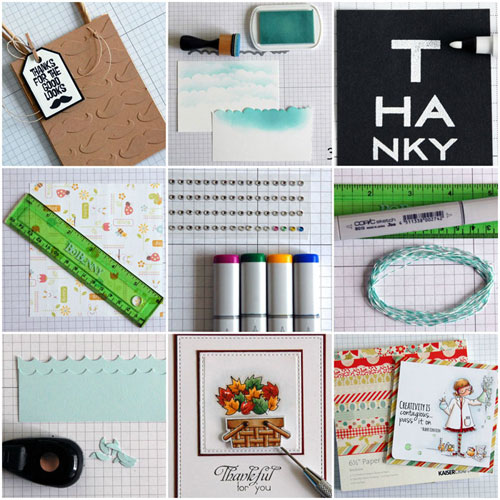
It’s kind of like magic, watching the image appear over the invisible ink.

7-Poppin'-Pastels500

Find out more about these techniques, as well as others, on the Craftsy blog today.

Thanks for stopping by!

1amichele siggy

enjoy this day (a tutorial)

Hi everyone! I have a triangle trifold card to share today. It folds to a cute 3 1/2″ x 3 1/2″ and is held closed with small hidden Basic Grey magnetic discs.

Michele Boyer - Paper Smooches

I used a flower from Twiggy Florets and a cute butterfly from Flap Happy, both by Paper Smooches. The flower and butterfly were both colored with Copic markers, and the butterfly is raised on foam tape.

Finished left open

The left side (with front panel) folds open.

Finished open sides down

Then the right side folds open to reveal the inside.

Finished sides up_edited-1

Both sides also fold up to reveal the front panels.

You can find complete step-by-step instructions HERE on the Craftsy Blog.

1amichele siggy

Additional supplies/info: Copic markers (E50, E53, G40, G43, E57, R81, R83, Y21, YR23, B21, B34). Finished size 3 1/2″ x 3 1/2″.

Thank You for Your Hospitality

Sometimes it’s fun to revisit older techniques. My card today uses faux tile, created by stamping images over scored lines and then embossing for a tile-like shine.

Michele Boyer - Paper Smooches

To create my tile pattern, I used Botanicals 3, a sentiment from Recipe for Success and a die-cut fork and knife from Flatware, all by Paper Smooches.

Michele Boyer - Paper Smooches

I had a bit of leftover “tile” so I used it on the inside of the card.

Michele Boyer - Paper Smooches

You can find a complete, step-by-step tutorial HERE on the Craftsy blog.

Thanks so much for visiting!  🙂

1amichele siggy 

Additional info/supplies: Pink gingham ribbon. Finished size 4 1/4″ x 5 1/2″.

more card making tips & tricks

Hi everyone!

I have nine more card making tips posted on the Craftsy blog today. I hope you’ll check it out. Maybe you’ll see something new.

BeFunky-Collage500

Thanks for stopping by!  🙂

1amichele siggy

Handmade Matching Envelope — No problem

Hi everyone.  🙂

I thought I’d take my card making one step further and create a coordinating envelope. (Image by Stamping Bella.)

Final-w-card500

Did you know there’s one basic formula to create any size envelope? Your only limitation is the size of paper you have on hand.

Final-Tall-2-500

You can find a complete, easy to follow, step-by-step tutorial HERE.

Final Long500

Presentation counts, right?  Yes, sometimes it does. 🙂

1amichele siggy

Stamping Bella Ramona and her Wagon

Patterned Paper Echo Park Simple Life (6×6)

Bokeh over Watercolor (a tutorial)

Hi everyone!  I’ve been playing around a bit with different watercolor techniques and decided this is definitely one of my favorites!

I created a bright watercolor background then added different sizes of white dots. It’s super cool (I think). 🙂

Finished-wcbokeh

I dropped vibrant pink and yellow inks onto wet watercolor paper, then tipped the paper to allow the inks to mix in some areas, creating bright spots of orange mixed in with the pink and yellow. Once dried, I sponged circles of white pigment ink over to create a bokeh appearance.

Finished-wcbokeh-CU

I die-cut and adhered “wishing” from Simon Says Stamp‘s Sending & Wishing and white embossed the remainder of the sentiment. The small arrow and heart were cut using Paper SmoochesTiny Hearts Dies.

If you’d like to try this technique, you can find a step-by-step tutorial HERE on the Craftsy blog.

Thanks for stopping by!

1amichele siggy 

Farm in a (Shadow)box, a tutorial

Hi everyone!  I shared a sneak peek of this card the other day when I announced I’m  joining the Taylored Expressions Creative Team.  (Still super excited about that!)

Shadowbox

As previously mentioned, I created a farm scene inside a shadowbox using TE’s Green Acres stamp set.

There is an accordian fold on each side of the card with die-cut frames adhered in each fold. The individual elements are adhered to each frame, creating loads of depth, and it folds flat for mailing.

Step-7-Adhere-colored-diecut-pcs

You can find a step-by-step tutorial for creating shadowbox scenes HERE on the Craftsy blog. It’s a cool concept.  🙂

Finished-Angle

Thanks for visiting!

1amichele siggy

Supplies: TE Green Acres, TE Red Pepper card stock, X-Press It Blending Card, Echo Park 6×6 Dots & Stripes Homefront, MFT Rectangle STAX 1 and Fishtail Flag Layers, Paper Smooches Cute Clouds, Copic markers. Finished size 5 1/2″ x 4 1/4″.

hello (Pointillism, a tutorial)

Pointillism is one of my favorite techniques for adding texture. It’s perfect for coloring curly hair and fur, and it’s even great for creating depth and shadow.  Pointillism can be used to color part of an image or even an entire image.

Finished-

In a nutshell, dots of varying size and color are used to create texture and dimension.  Here I used pointillism and Copic markers to color curly hair and add shadow around digi image Faythe Flies by Tiddly inks.

Finished-CU2

You can find a complete step-by step, start to finish tutorial using this technique HERE on the Craftsy blog.  If you haven’t already tried it, I hope you will!  Once you “get the hang of it,” it’s pretty quick and actually pretty easy too. Be sure to let me know!  🙂

1amichele siggy

Additional supplies/info: Copic markers (N0, N1, N3, E23, E25, E27, E29, R02, R81, R83, R85, E50, V04, Colorless Blender). Finished size 4 1/4″ x 5 1/2″.

DIY Magnetic Frame – a tutorial

I have a fun project to share today using Crate Paper‘s Confetti collection and a plain wood frame.  🙂  (Tutorial HERE.)

MF-Final-Lrg3-K

I hid a thin metal sheet behind the paper background so photos and/or keepsakes can quickly and easily be switched any time.

MF9-Magnets

Coordinating chipboard accents were used to create cute magnets to hold photos in place.

MF7 CU1

And Confetti dies were used to create big, beautiful layered flowers.

MF-Final-Collage3

For added versatility, I adhered a magnetic sheet to the back of an embellished pocket where additional photos, tickets or small flat keepsakes can be kept.

MF8 CU2

You can find a complete list of supplies as well as a step-by-step tutorial HERE on the Craftsy blog.

Thanks for stopping by! Have a great day!

1amichele siggy

Unraveling the Copic Code

Hi all!

My Craftsy post today focuses on the Copic numbering system.

Markers

You’ll find a simple breakdown of the letters and numbers, as well as how to find natural blending groups.

I hope it’s helpful.  🙂

1amichele siggy