
Hi everyone! Happy New Year! I hope your evening was fun and safe. I was safely wrapped in a blanket on the couch watching tv. 🙂
Today I’m sharing two cards using my favorite Queen & Company kit, Heart Throb. I love the color scheme and small patterns in the paper pad as well as the tiny heart toppings.

My first card uses the Lines Foam Front Shaker Kit in addition to the Heart Throb kit. As I’ve mentioned before, the foam kits are so easy and quick!
Before adhering Lines foam shape, I adhered to the card front a panel of dotted paper so the dots show through the shaker windows. I filled the openings with the tiny hearts included in the kit as well as Diamonds and Posies. The acetate was added then topped with a panel of heart paper die-cut using the Lines Foam Front Die.
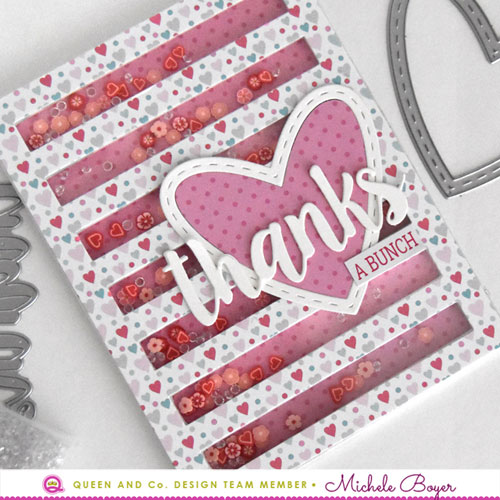
I die-cut the heart and thanks sentiment (both included in the kit) then layered over the shaker windows.
The kit also includes a sentiment sticker sheet. I adhered the “a bunch” sticker over card stock then trimmed and adhered over the heart and foam front. By adhering the sticker to card stock, the sticker has a stronger base, providing a smooth surface over the uneven layers below.
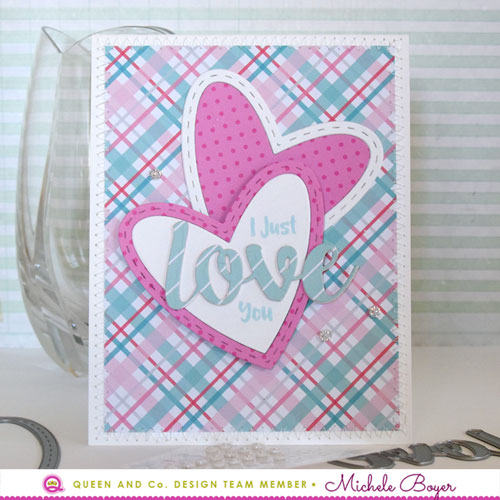
Next, I created a quick and easy “love” card using the heart and love dies from the Heart Throb kit as well as a partial sentiment from the stamp set included in the Fruit Basket kit.
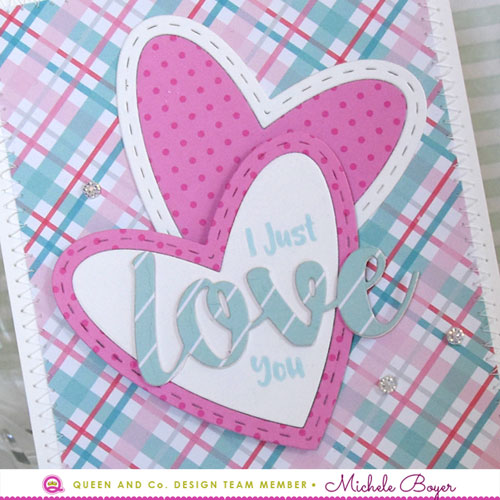
I die-cut “love” three times from white card stock then once from patterned paper, layered and adhered to the white heart. I then used my MISTI to position the partial sentiment above and below the die-cut. The two hearts were adhered to the plaid patterned paper then stitched to the card front.
As a finishing touch, I adhered three glittery white Posies. I love the posies as they easily add a little sparkly detail to any design.
Thanks so much for stopping by today!


2 responses to “Thanks a Bunch (Queen & Company)”