Hi everyone! Today I’m featuring another topic covered in Imagination International‘s Intro to Coloring with Copic Markers.

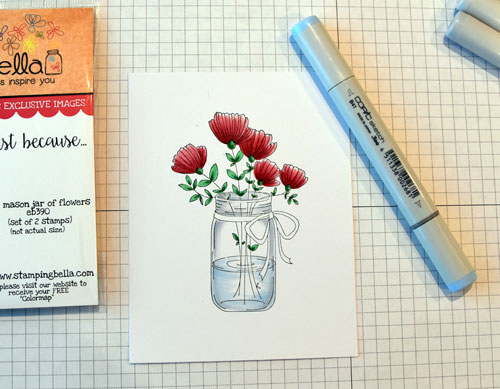
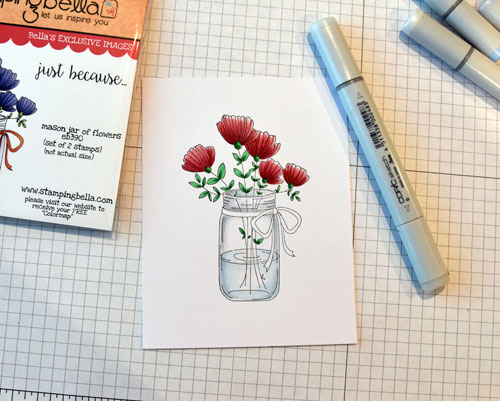
As mentioned previously, there are so many helpful tips in this book. I colored wood in this post and vividly beautiful butterflies using only two markers in this post. Today I’m sharing how I colored the mason jar in this oh-so-pretty image by Stamping Bella, Mason Jar of Flowers. (The simple “hi” sentiment is from Tiny Townie Penelope has a Pencil.)

There are two methods of coloring glass in Intro to Coloring with Copic Markers. I used the Colorless Blender method. (Colorless Blender info can be found here and purchased here, although it is currently out of stock.)
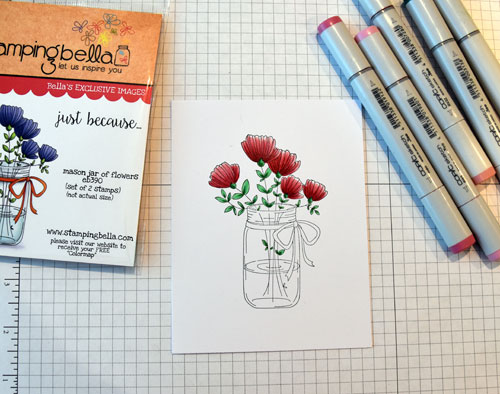
I first stamped the flowers onto X-Press It Blending Card and colored with Copics.

Next I colored around the edges of the jar using two grays, C1 and C3. I left a small strip of white along the outside left and right edges of the jar and used short feathering strokes, moving in toward the center of the jar.
I added blue to the water using B41, again using feathering strokes from outside edges in toward the center, leaving the center area white.
Lastly, I applied Colorless Blender in the center, allowing the colorless solution to push the edges of the gray and blue ink away from the center and toward the edges.
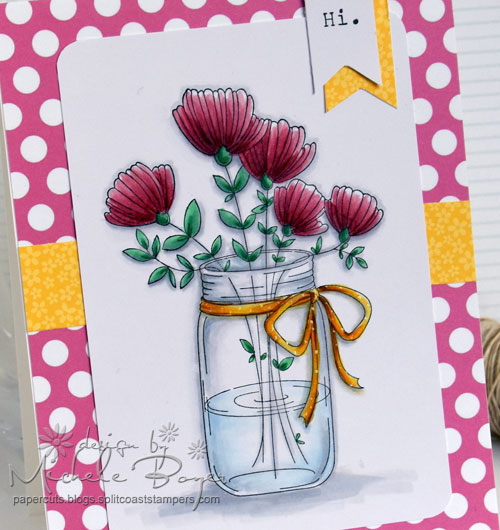
Copic markers – B41, C00, C1, C3, G03, G16, E35, R83, R85, R39, RV32, Y15, Y17, Y38
Once the coloring of the glass was complete, I added more shading around the flowers and ribbon and grounded the jar with a bit of gray.
You can find this description in greater detail, as well as many other coloring tips and tricks in Intro to Coloring with Copic Markers. It is an excellent resource!
Thanks for visiting!