
I love to color all things, but if you’re a regular here on my blog, you know people are my favorite. There’s just something about bringing life to a face or figure. Boy or girl, young or old, it doesn’t matter. I, of course, have my way and style of coloring, but I love to see how others do the same. And I’m always up for learning something new!

I was so excited to get a copy of Copic’s Coloring Faces & Hair by Marianne Walker (published by Imagination International). As soon as the book was in my hands, I immersed myself in every word. The book is packed with info on coloring simple as well as complex images, different skin tones, styles of hair, no hair (bald heads), eyeglasses (which I found very interesting), and more. This is my favorite of Copic’s books to date. *I highly recommend.*
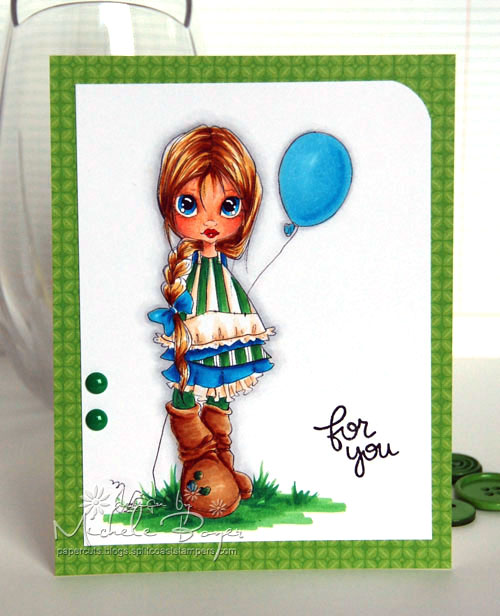
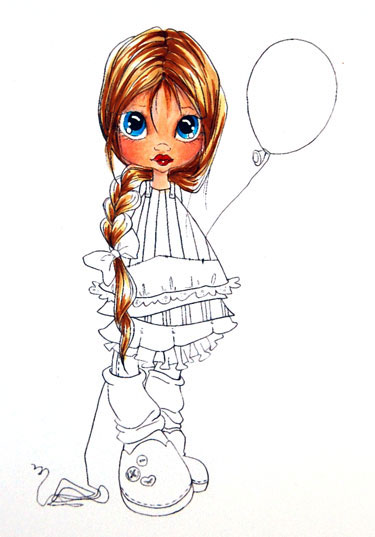
Follow along below to see how I’ve colored the hair and skin on Saturated Canary‘s Ava. (I’m not sure if the image is still available as I don’t see it listed in the store.)
R20
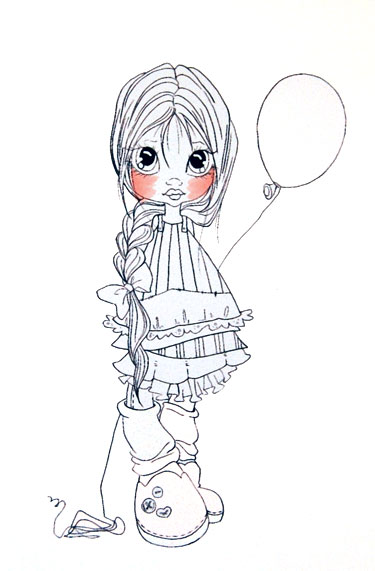
Step 1:
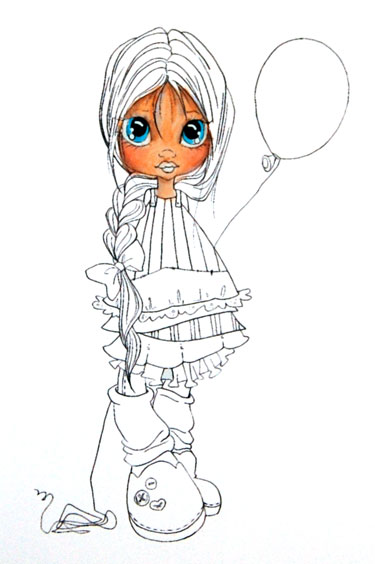
Add color to cheeks with R20, moving marker from outside lines in toward center of face. I know it looks weird coloring the cheeks first, and to be honest I hadn’t thought to color the cheeks first until reading the book, but it works, and it looks great.
E00
Step 2:
Apply base color E00 over face, including the cheeks.
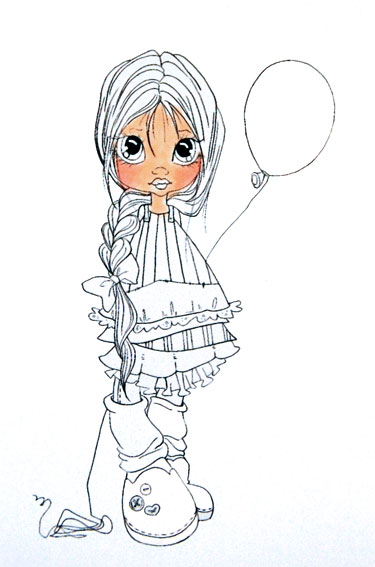
BV000
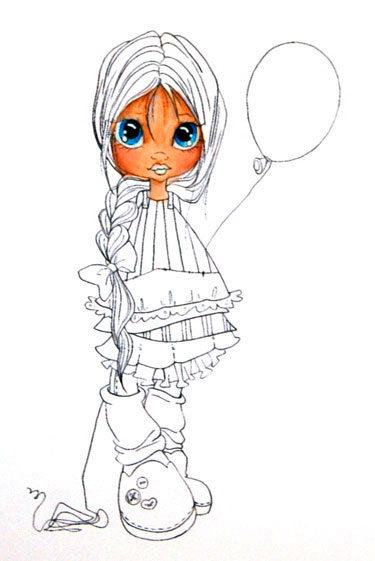
Step 3:
As explained in the book, real life shadows in skin look a bit blue or purple so I often use a BV marker in these areas. Above, I used BV000 along the hair and cheek lines, the outer edges of the eyes closest to the nose and under the chin.
E11, E00, B04
Step 4:
Add deeper skin tone shadows within the BV000 areas with E11, then blend edges with E00. The lighter BV000 areas still show just a bit. Using the tip of the E11 marker, lightly flick up from the nose line to create a bit of a nose bridge then blend with E00.
Color irises with B04.
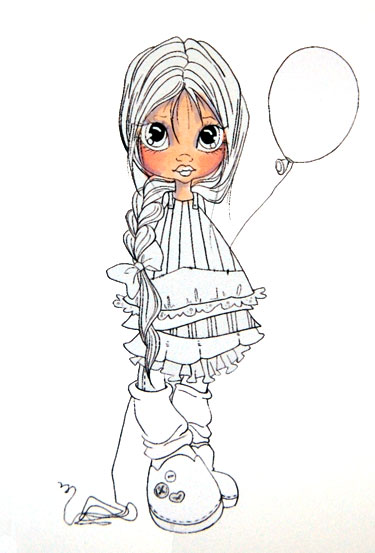
B06, B04
Step 5:
On each side of the uppermost corners of each iris, add a bit of darker color, B06, then blend the edges with B04.

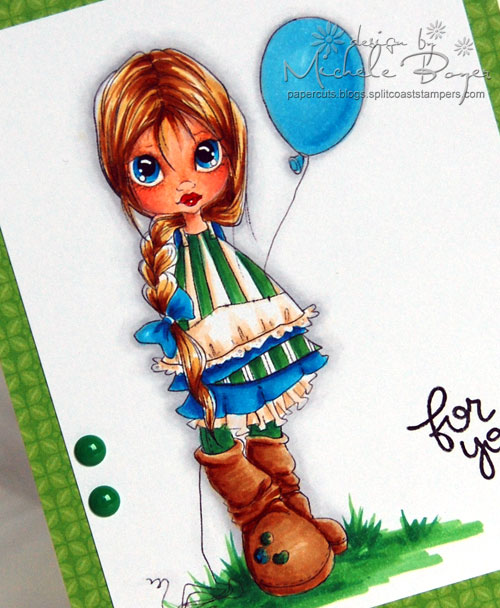
R20, R29
Step 7:
Using R29, add color the the lips, leaving a tiny dot of white to show on the bottom lip as a highlight.
I also added a bit more R20 to the cheek area.
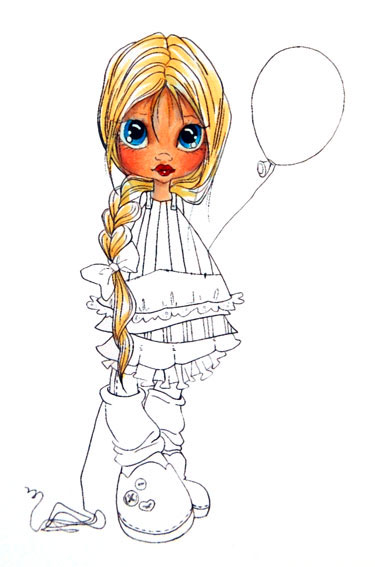
Y21
Step 8:
When coloring hair, look at how the different strands fall. Some are tucked within others, some are curved, etc. Where hair is tighter together (i.e. in the braid or at a part), the color will be darker. Highlights will occur where hair is curved out, or around the face.
Moving the marker in the direction of the hair strands, add color, leaving white as highlights.
E31
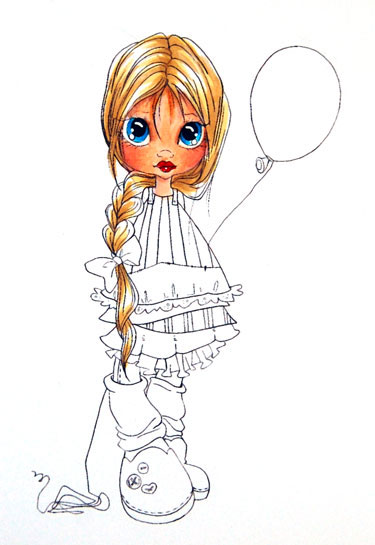
Step 9:
Begin to build shadow in darker areas using E31. Be sure to use shorter strokes than those used in Step 8 so that the Y21 strokes still show.
E35
Step 10:
Add even darker shadow with E35 using shorter strokes. If needed, use E31 to very lightly blend the ends of the E35 strokes.
Step 11:
Use Y21 to add just a bit more blending within the hair. Be sure to leave some white areas uncovered as highlights.
Once the entire image was colored, I added just a bit more shadow to the face using E11, blending with E00.


3 responses to “Coloring Faces & Hair with Copic Markers”